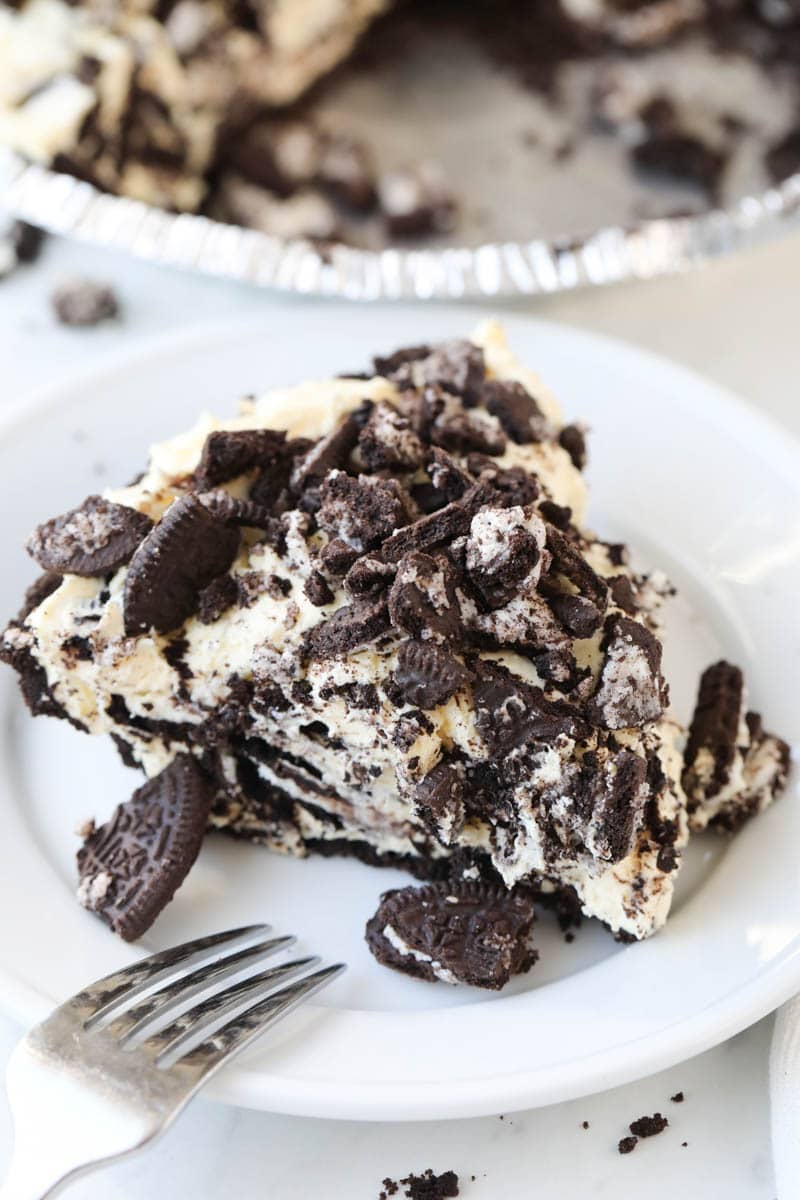
Oreo Pie is a crowd-pleasing, family favorite dessert that is perfect for any occasion! Made with your favorite classic cheesecake ingredients, including Cool Whip and cream cheese, and then mixed with tons of crumbly Oreo cookie pieces, this easy, no-bake pie will not disappoint.
If you’re a fan of easy recipes, this is made with simple ingredients loaded with flavor! It’s one of my favorite desserts for a reason – and I think that you’ll agree! I hope you like Oreo crumbs – because this no bake Oreo pie recipe is loaded down! The whole family is going to love it!
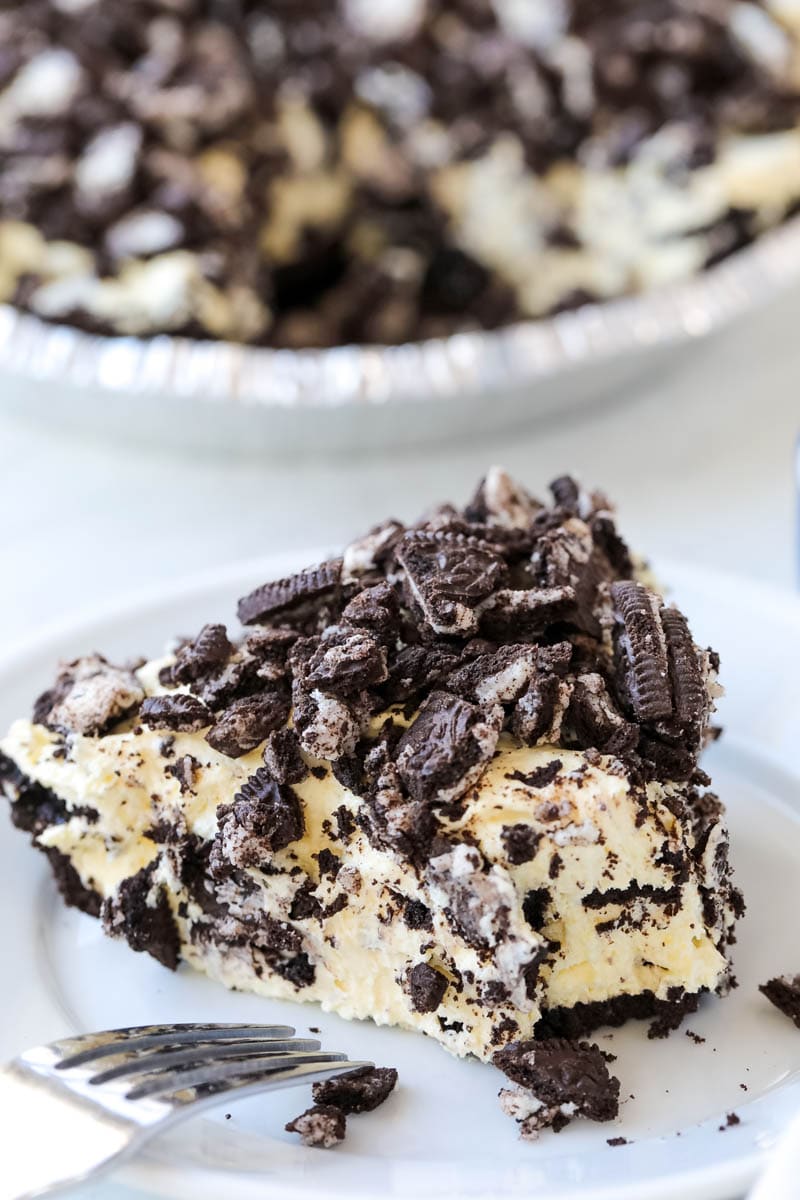
Delicious, No-Bake Oreo Pie
Who doesn’t love an Oreo dessert? Personally, I have been known to finish off a box of these classic cookies a time or two. One of my favorite things about the cookies is how versatile they are! I have recipes for Peppermint Oreo Balls, Oreo Truffles With Cream Cheese, Oreo Dirt Pie, Oreo Poke Cake, No-Bake Oreo Cheesecake an Oreo Fluff Dessert, and even the viral TikTok Oreo Mug Cake — and now this rich, silky pie.
With only about a half hour (or less) of active cooking time, you can either buy an Oreo-specific pie crust or make your own from scratch by using crushed Oreos and melted butter. Then, simply combine the ingredients into the pie filling and let chill — that’s it! Super easy and no baking required.
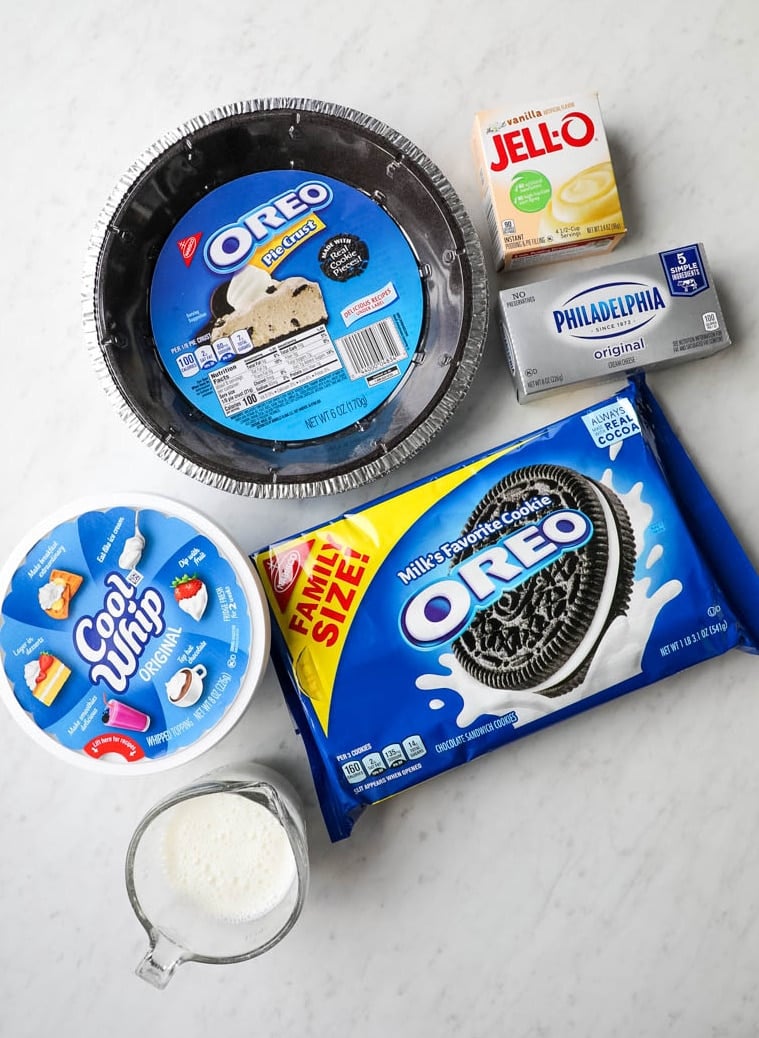
Oreo Pie Ingredients
- Oreo Pie Crust – Don’t worry, you don’t have to make the pie crust from scratch! I used a store-bought Oreo Pie Crust for this recipe.
- Oreos – I like to use the original Oreos, but if you can definitely try toe “Double-Stuffed” or even confetti versions if you want to get a little creative. Whichever Oreos you use, you’ll need to crush these prior to beginning your pie.
- Cream Cheese Mixture – I mixed together a few traditional cheesecake ingredients to create the filling, including a box of instant Vanilla pudding, original softened cream cheese, milk, and thawed Cool Whip.
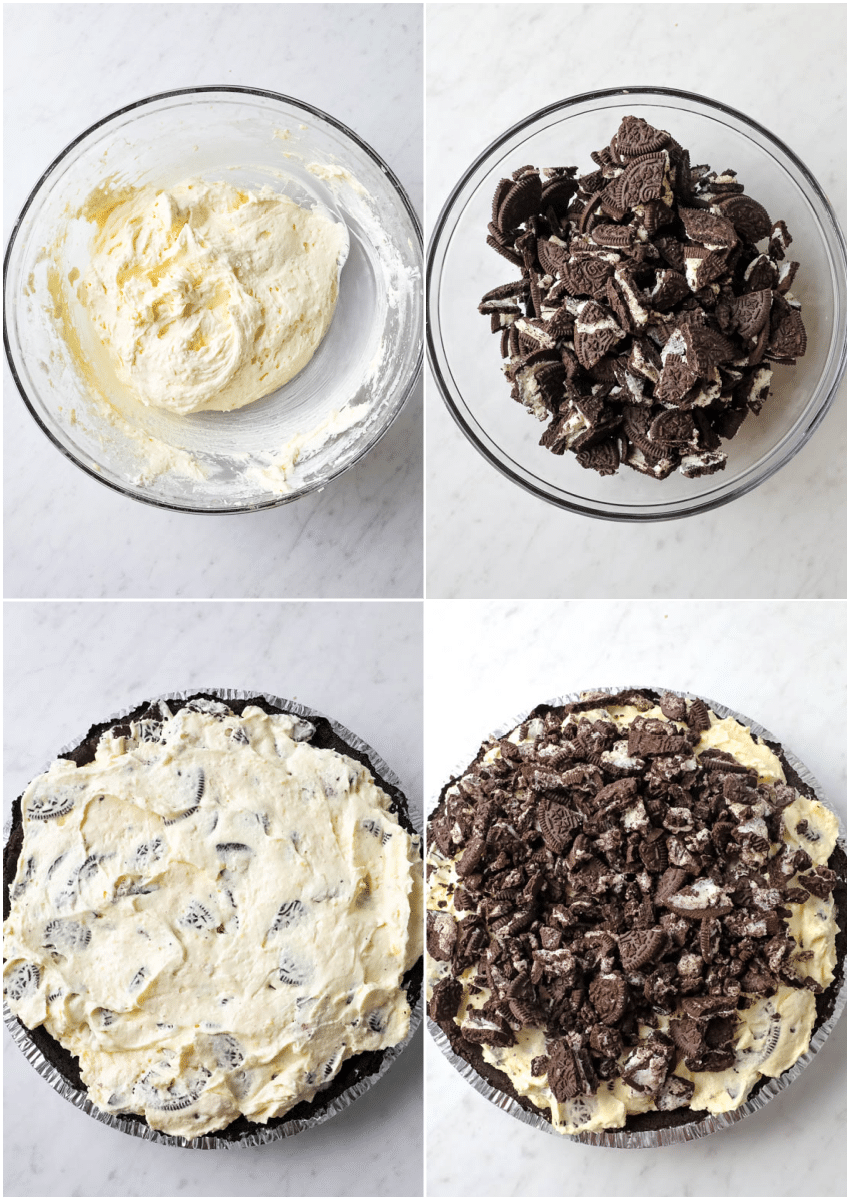
How to make Oreo Pie
Step 1: Crush Oreos
The first step is crushing your Oreo cookies into smaller, crumbly pieces. You can do this by hand, but I prefer to put a few at a time in a ziplock bag and hit them with a rolling pin. Stress relief and cooking in one!
Step 2: Mix Cream Cheese and Pudding
Next, beat the cream cheese and pudding in a large bowl until fully combined.
Step 3: Fold In Ingredients
When the cream cheese and pudding are mixed well, fold in the whipped topping first, and then fold in half of the Oreos. Mix gently.
Step 4: Construct Pie
Now it is time to spoon the pie filling into the Oreo crust and then top with the remaining cookies pieces.
Step 5: Chill and Enjoy!
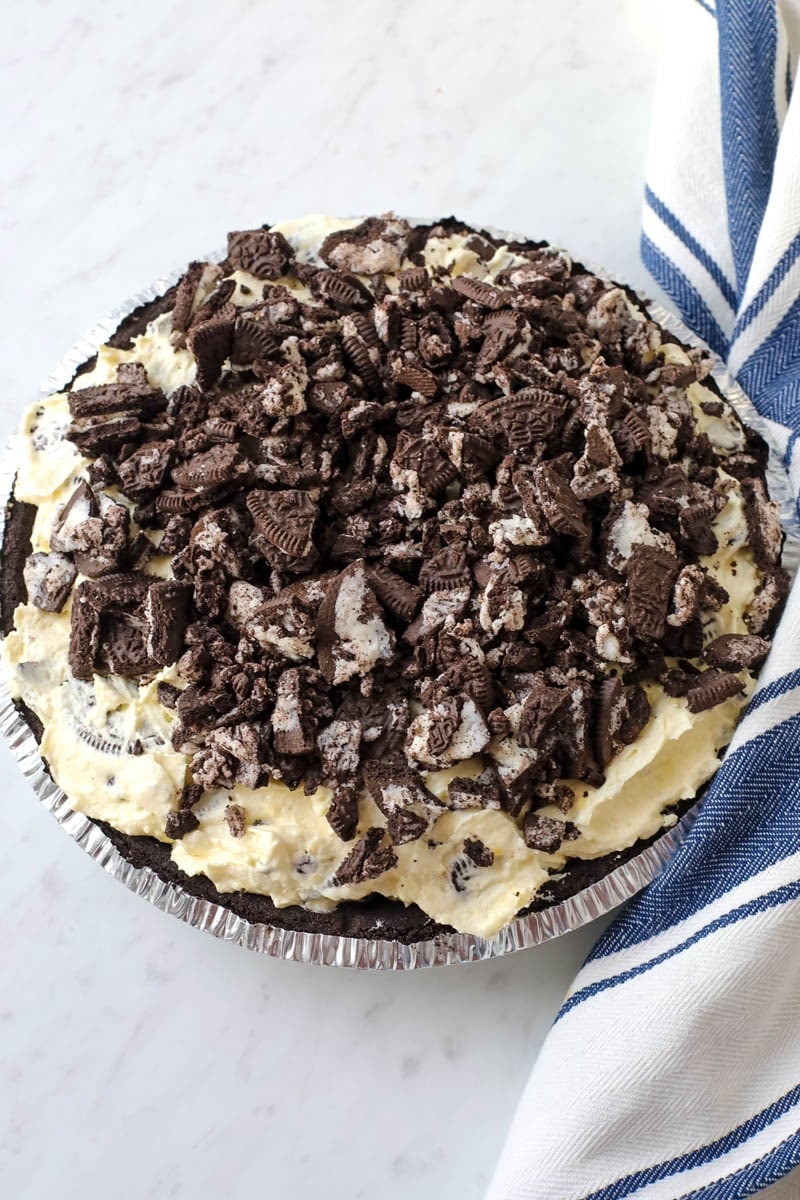
Let your pie chill in the fridge for at least 2-3 hours before serving, then enjoy!
Tips for Delicious Oreo Pie
- Careful when crushing! Make sure not to overload the plastic bag when crushing the Oreos — too many can cause the bag to break and make a mess.
- Fold, don’t mix. It’s important to fold in the whipped topping and Oreos — not whisk or mix — to preserve some of the air in the pie filling. Too much mixing will lead to a very flat, runny pie.
- More chocolate. If you’re really a super chocolate fan, putting some shaved dark chocolate flakes to the pie filling mixture or even as a garnish on top is a sweet addition.
- Be patient and chill. Don’t rush the process — let your pie chill at least a few hours, as many as you can afford. I like to make my pies the day before and allow to cool overnight. The last thing you want is to slice into your delicious dessert and find gooey filling that’s falling apart.
Does this recipe only work with Oreos?
You can use this pie recipe with pretty much anything! Want to use another type of cookie? Go for it. Want to use Reese’s? I haven’t tried that, but I don’t see why it wouldn’t work! The great thing about this easy no-bake pie recipe is that it’s super versatile, very basic, and can easily fit with. your favorite toppings or ingredients.
Can Oreo pie be made in advance?
This is the perfect dessert to make ahead of an event, party, or anytime dinner surprise! Simply prepare per the recipe and then instead of cooling in the fridge, cover and put the pie in the freezer. When you’re ready to enjoy your Oreo pie, simply allow to thaw, similar to a cheesecake, and then indulge in this rich, delicious treat.
How do you store Oreo pie?
Leftovers will last in the fridge for 2-4 days. Simply cover the remaining pie with plastic wrap.
Can I use golden Oreos?
You can! Since there are only a handful of ingredients, you can easily change up the way to make the whole pie. Sometimes I’ll even add some chocolate chips on top or drizzle with chocolate ganache. Oreo lovers agree that this easy pie recipe tastes great no matter how you make it! Change up the ingredients in a fun way and enjoy every bite of your decadent creation.
You can even make a easy Oreo chocolate pie by using creamy chocolate filling! Just add the same pieces of chocolate cookies on top of the rich Oreo filling and you’ll be a big fan – trust me!

More Delicious Pie Recipes to Try!
- No Bake Pumpkin Pie
- Chocolate Peanut Butter Pie
- Buttermilk Pie
- No Bake Cherry Cheesecake
- No Bake Peanut Butter Pie
- No-Bake Oreo Dessert
- Cherry Pie
- Lemon Cream Cheese Pie
Oreo Pie
Ingredients
- 1 package Oreos crushed
- 8 oz Cream Cheese softened
- 4 oz Instant Vanilla Pudding
- 3/4 cup Milk
- 8 oz Cool Whip thawed
- 1 Oreo Pie Crust store-bought
Instructions
- Start by crushing the Oreo cookies by hand or place them in a ziplock bag and hit with a rolling pin.1 package Oreos
- In a large bowl beat the cream cheese and instant pudding until mixed well. Add the milk and mix well again.4 oz Instant Vanilla Pudding, 8 oz Cream Cheese, 3/4 cup Milk
- Fold in the whipped topping.8 oz Cool Whip
- Next, fold in half of the Oreos and mix gently.
- Spoon the filling into the pie crust.1 Oreo Pie Crust
- Top with remaining Oreos and chill in the fridge for at least 2-3 hours before serving.


This is really good! I made it for Thanksgiving. I ended up having enough pie filling for two pies!
GREAT! I am happy to hear this!!
Hi there. This pie looks delicious and I’d like to make it but where does the milk fit in? It’s in the ingredients but not the directions:p
The milk is in step 2