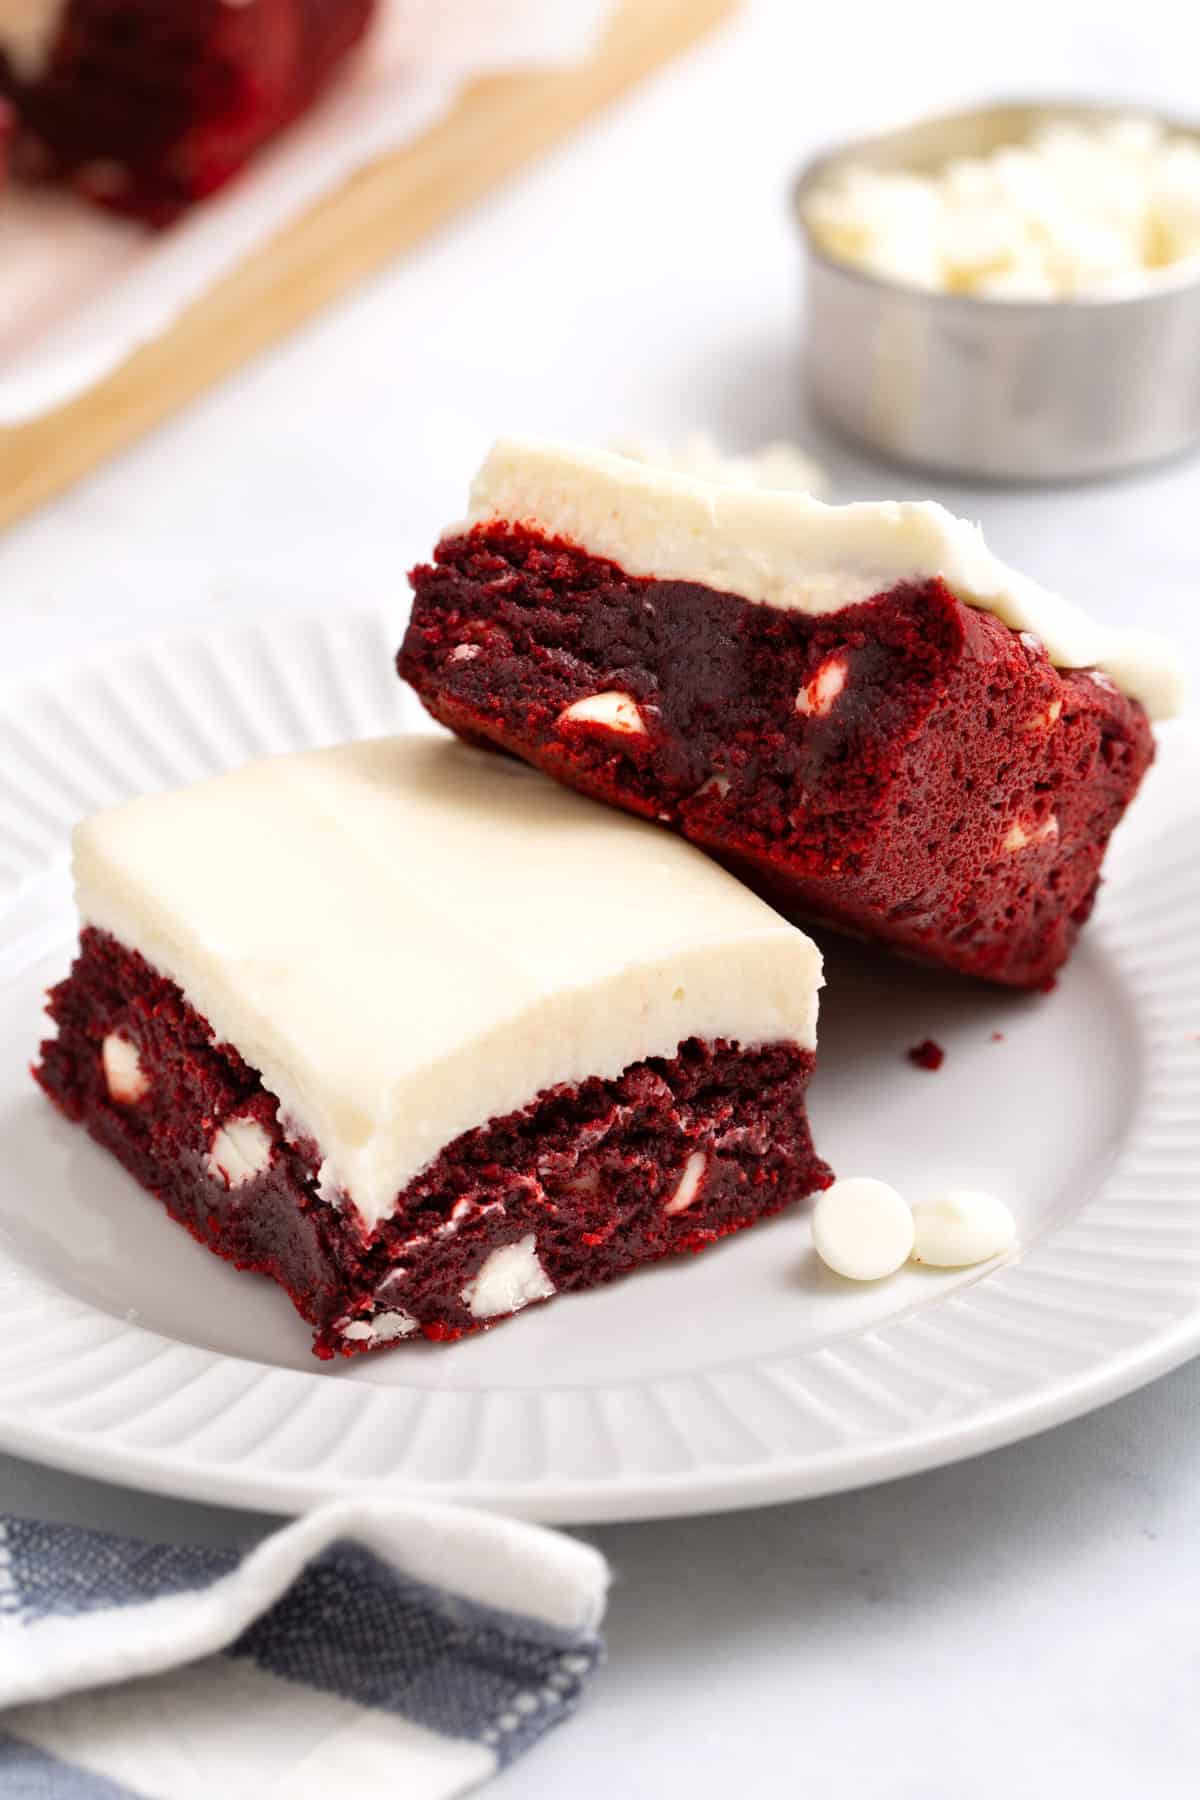
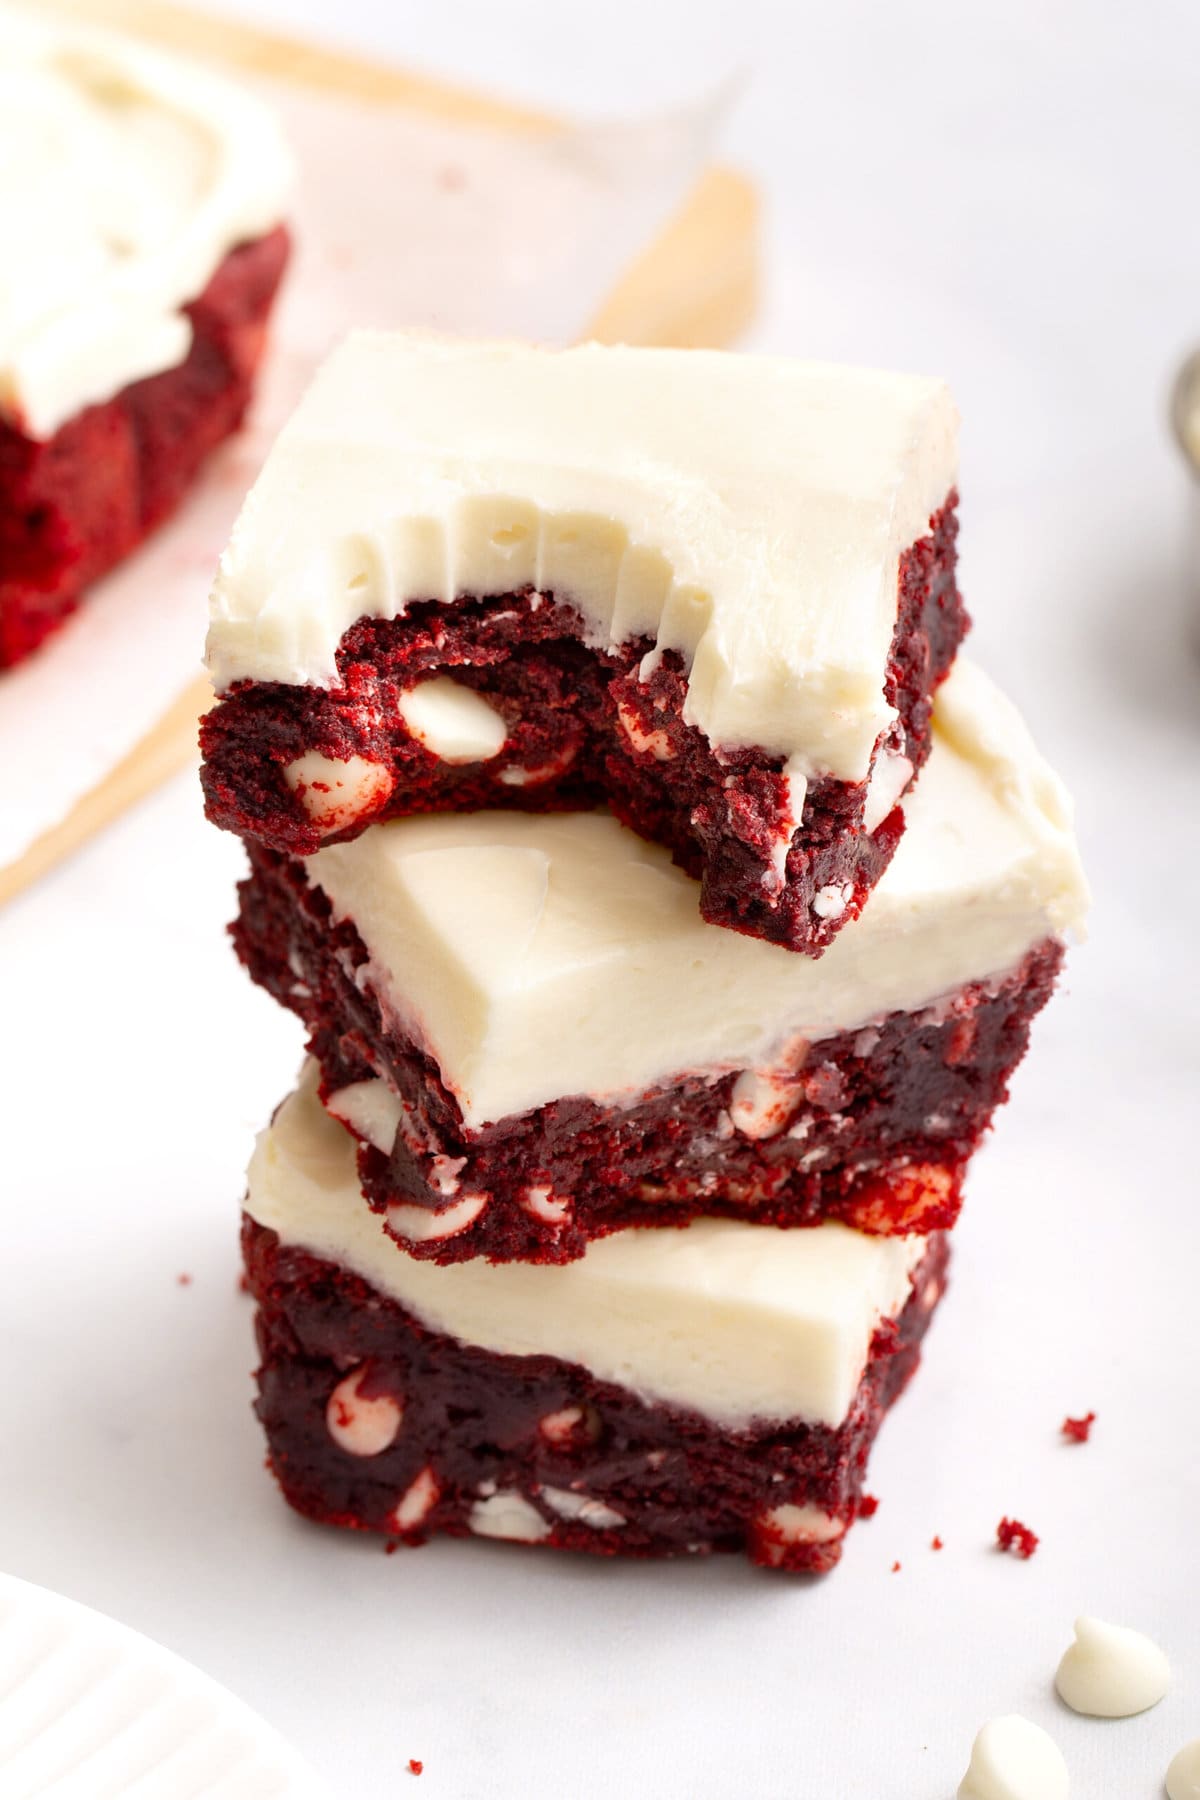
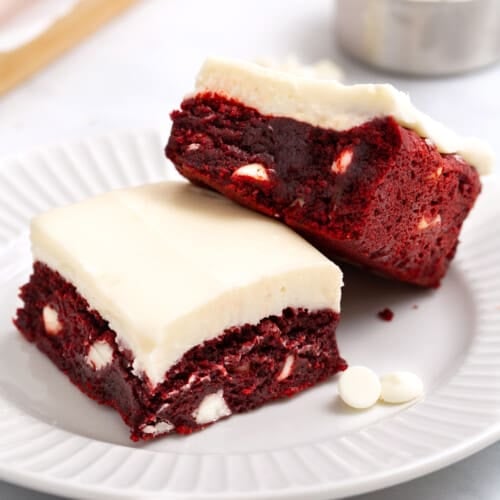
Red Velvet Brownies are decadently fudgy and filled with pockets of melty white chocolate chips. Topped with a sweet and tangy cream cheese frosting, they’re a scrumptious treat that looks beautiful on any dessert table!
Pin this recipe now to save it for later
Pin RecipeIf you love Old Fashioned Red Velvet Cake, then you’ll want to stick around for these easy and irresistible red velvet brownies. Full of the classic chocolatey flavor you love, this recipe uses a red velvet cake mix to make things easy. As a result, it’s a fail-proof dessert, just like my other Cake Mix Brownies!
The brownies themselves are delicious, but red velvet treats wouldn’t be the same without that sweet and tangy cream cheese, right?! So, once cooled, we smear the top with an indulgent dose of cream cheese frosting. Yum!
At this stage, you get to determine how creative you want to be by decorating your red velvet brownies with red sprinkles, a light dusting of cocoa powder, or piped frosting in a rosette design!
Red Velvet Brownies Recipe
These red velvet brownies are a complete treat in themselves, but they can certainly be served with a scoop of vanilla ice cream for those special occasions. The iconic red and white also lends itself perfectly to holidays, such as Christmas and Valentine’s Day!
If you love red velvet recipes, don’t miss out on these Red Velvet Cake Mix Cookies, Red Velvet Waffles, and Red Velvet Cupcakes, too!
Grab My Favorite Tools
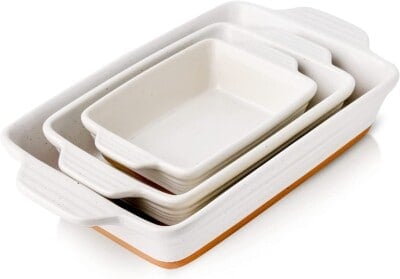
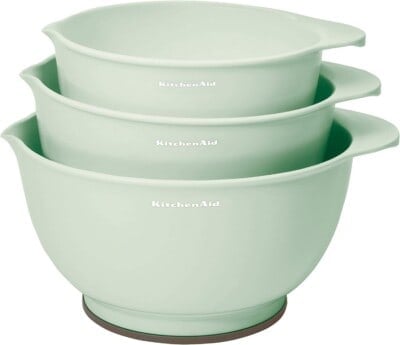
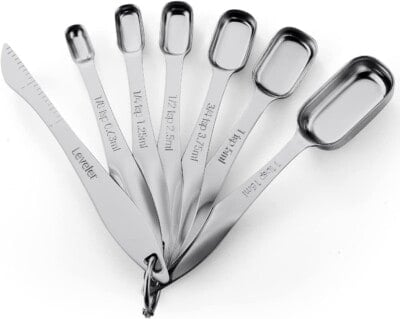
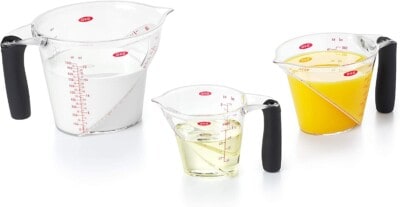
Click on the products below to see my favorite tools for making this recipe!
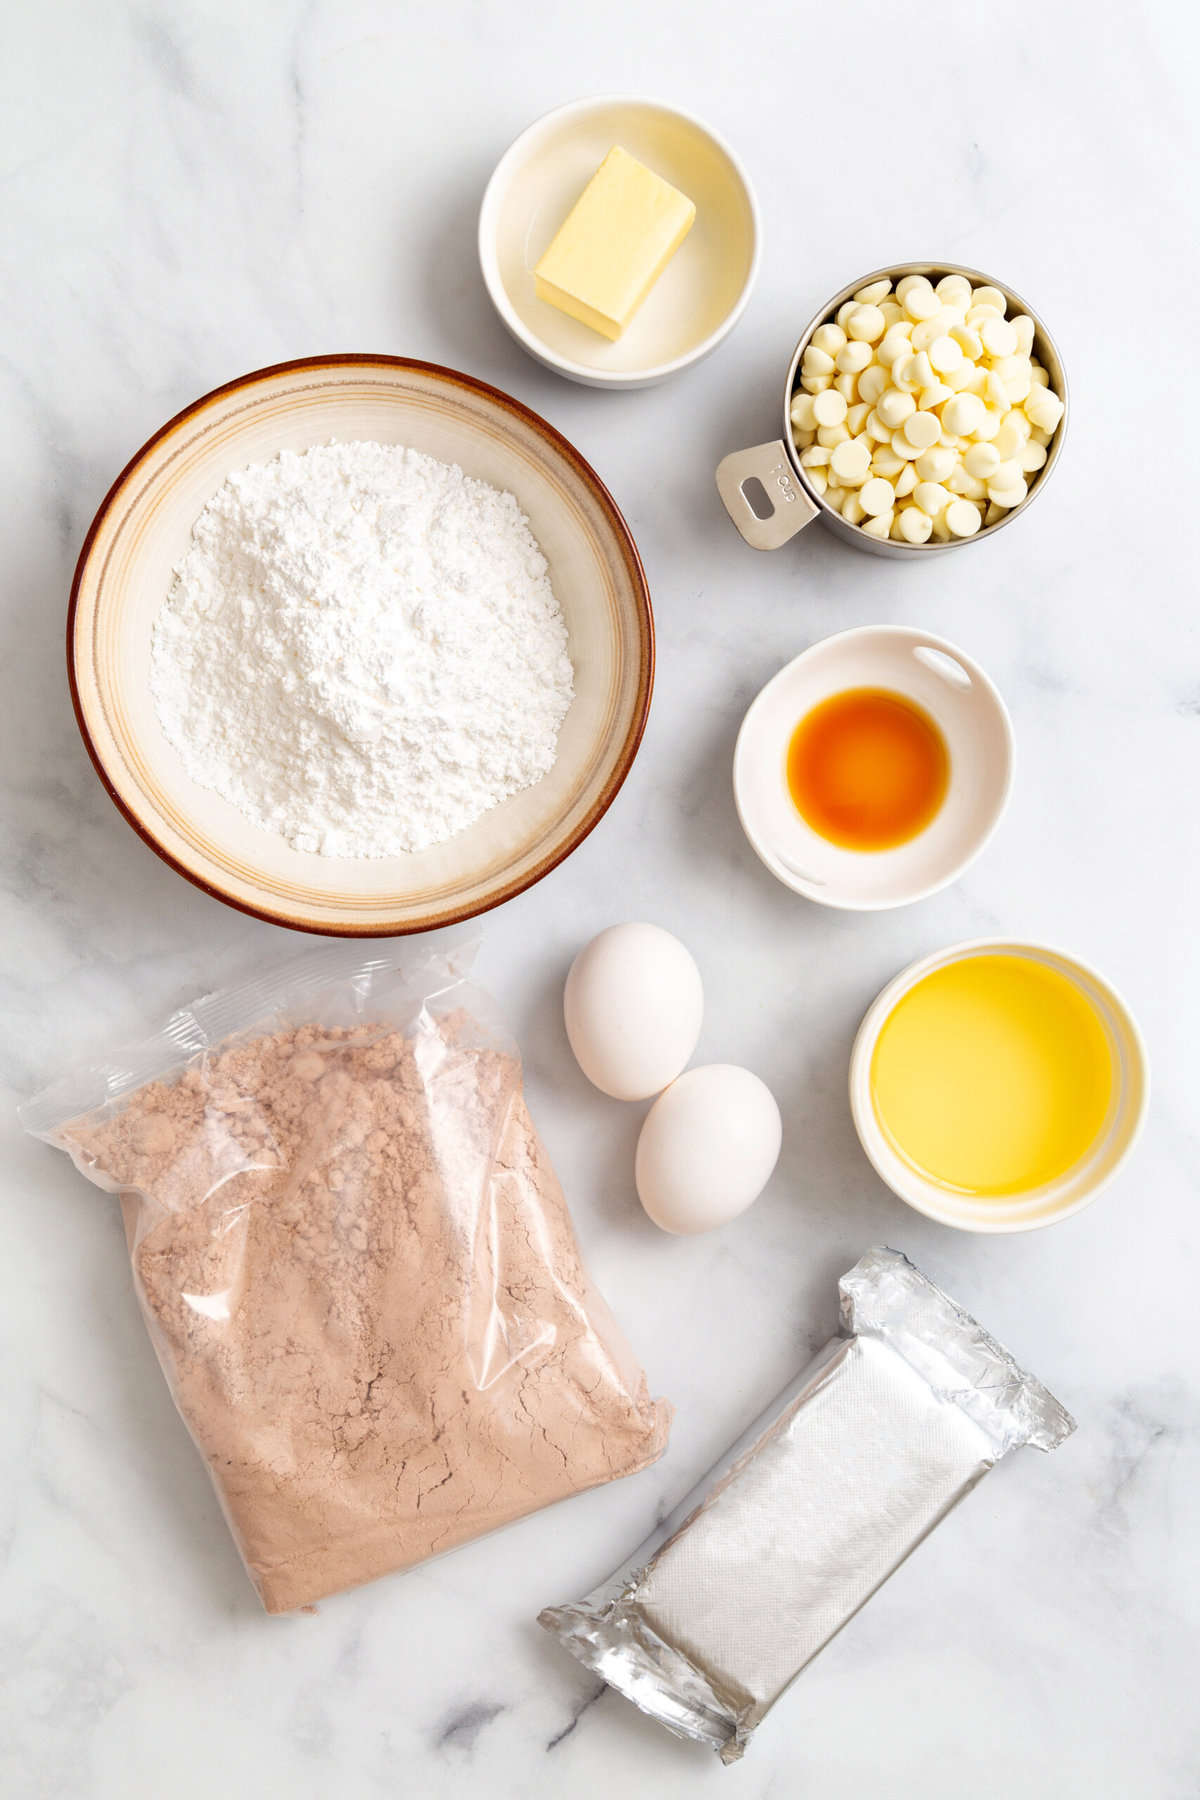
Ingredients for Red Velvet Brownies
See recipe card below this post for ingredient quantities and full instructions.
For the Brownies:
- Red velvet cake mix – Use your favorite brand.
- Large eggs – Learn the best way to crack an egg!
- Vegetable oil – Canola oil or unscented coconut oil can also be used.
- White chocolate chips – White chocolate chunks from chopped candy bars are also a great option.
For the Cream Cheese Frosting:
- Cream cheese – Softened at room temperature for easy mixing.
- Butter – Softened at room temperature. Unsalted butter is best.
- Powdered sugar – I recommend sifting the powdered sugar to eliminate any lumps in the frosting.
- Vanilla extract
Variations
- Use a gluten-free cake mix when catering to those with gluten sensitivities.
- An 8×8-inch pan creates an ideal-sized brownie, but you could use a 9×9 instead. Keep in mind that the brownies will be thinner when using a larger baking pan and may require reduced baking time to avoid overbaking.
- White cake mix can be used if you can’t find red velvet cake mix. To create a red velvet appearance, 2-3 teaspoons of red food coloring should be added to the brownie batter.
- Get a little fancy by adding some red sprinkles to the top of these red velvet brownies or a light dusting of cocoa powder. The cream cheese frosting can also be piped onto the tops of the brownies in a pretty rosette design!
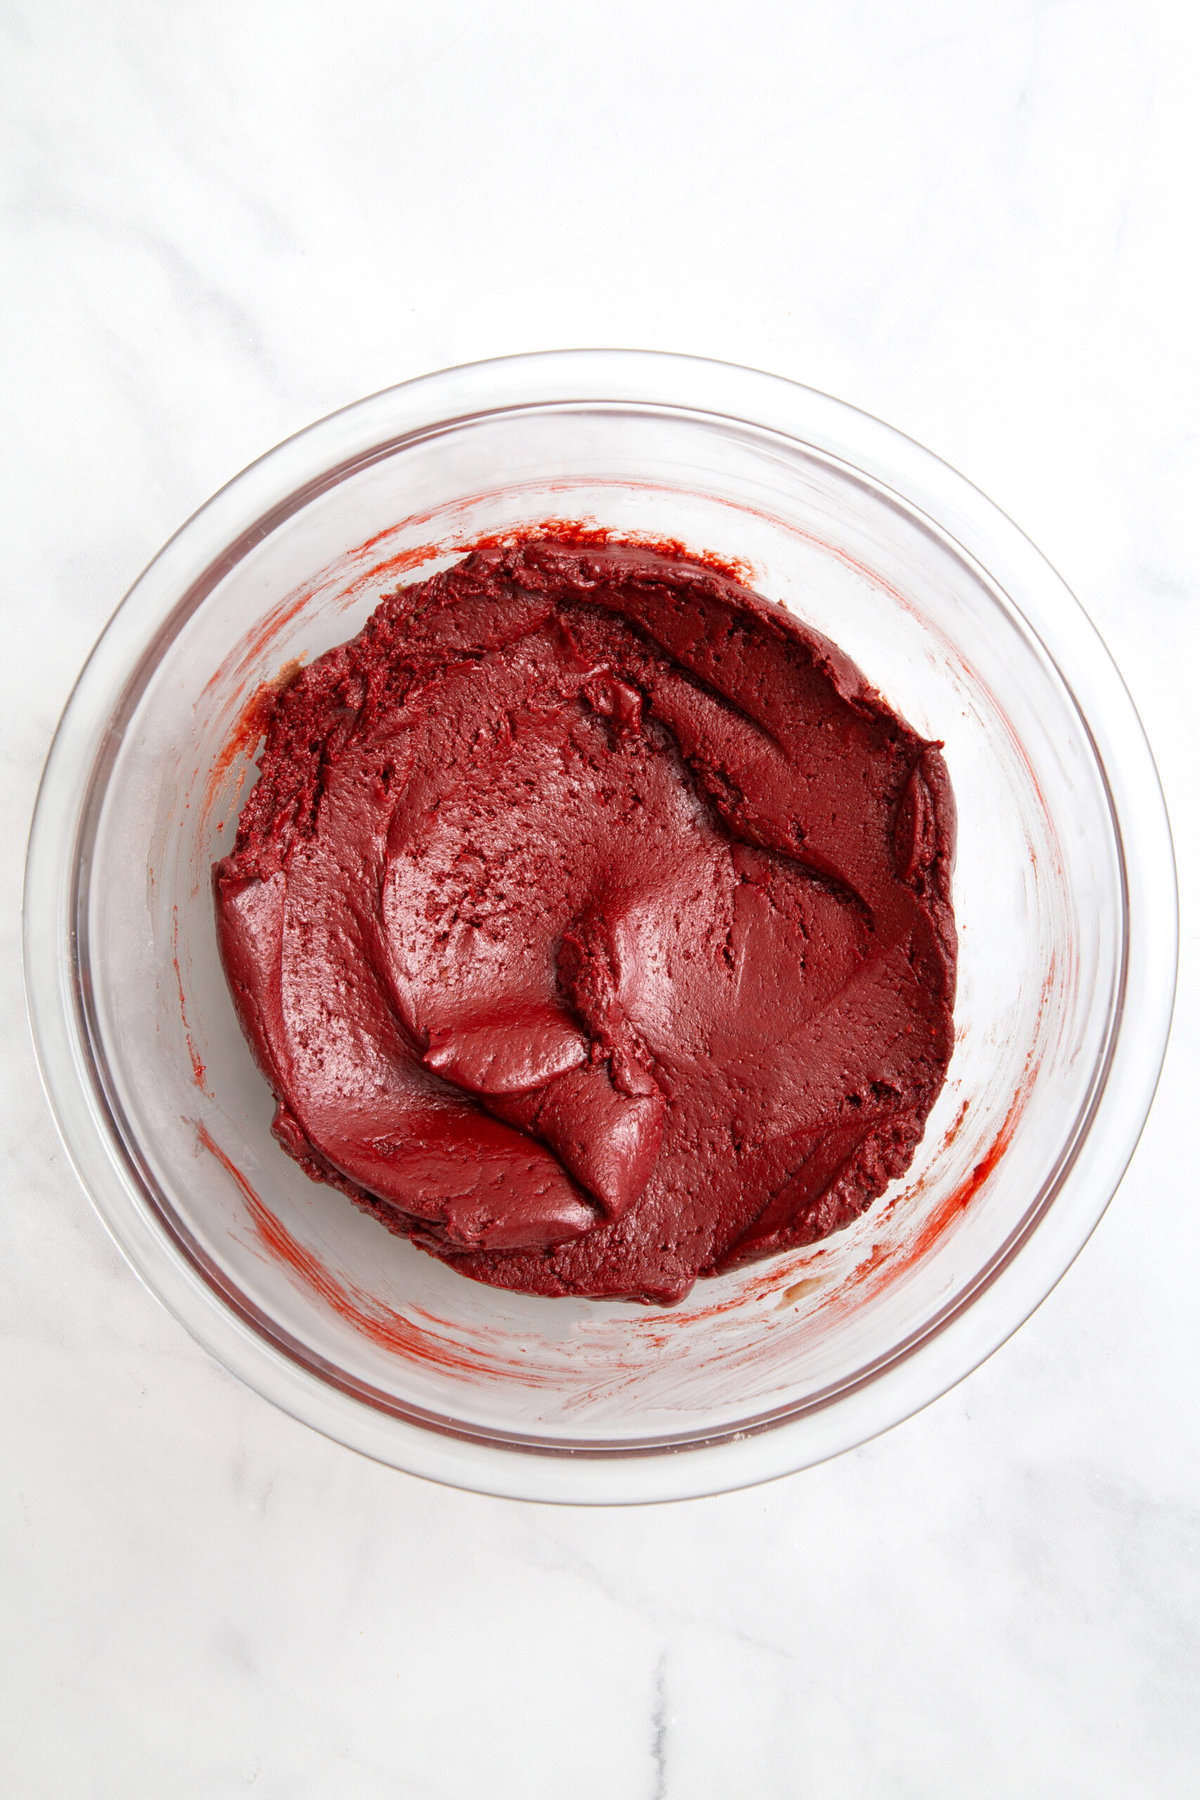
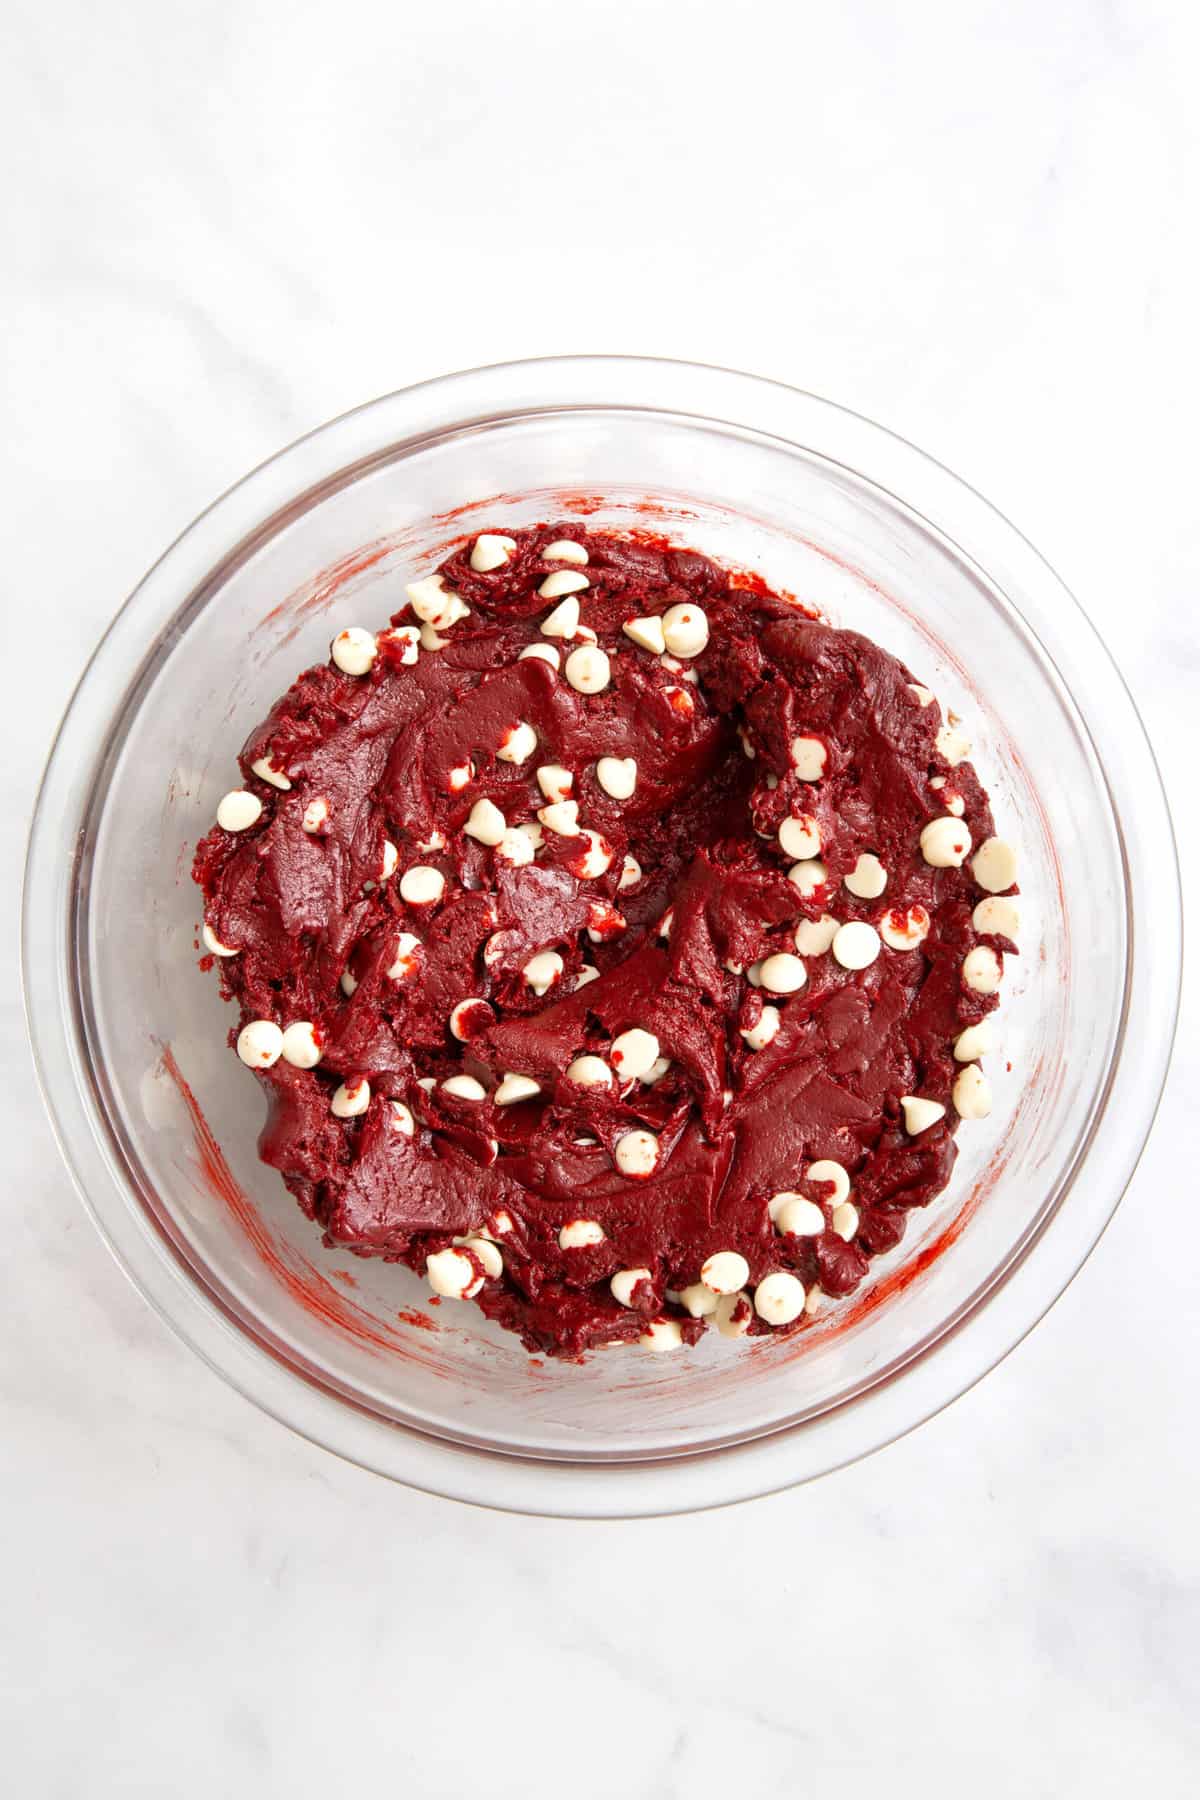
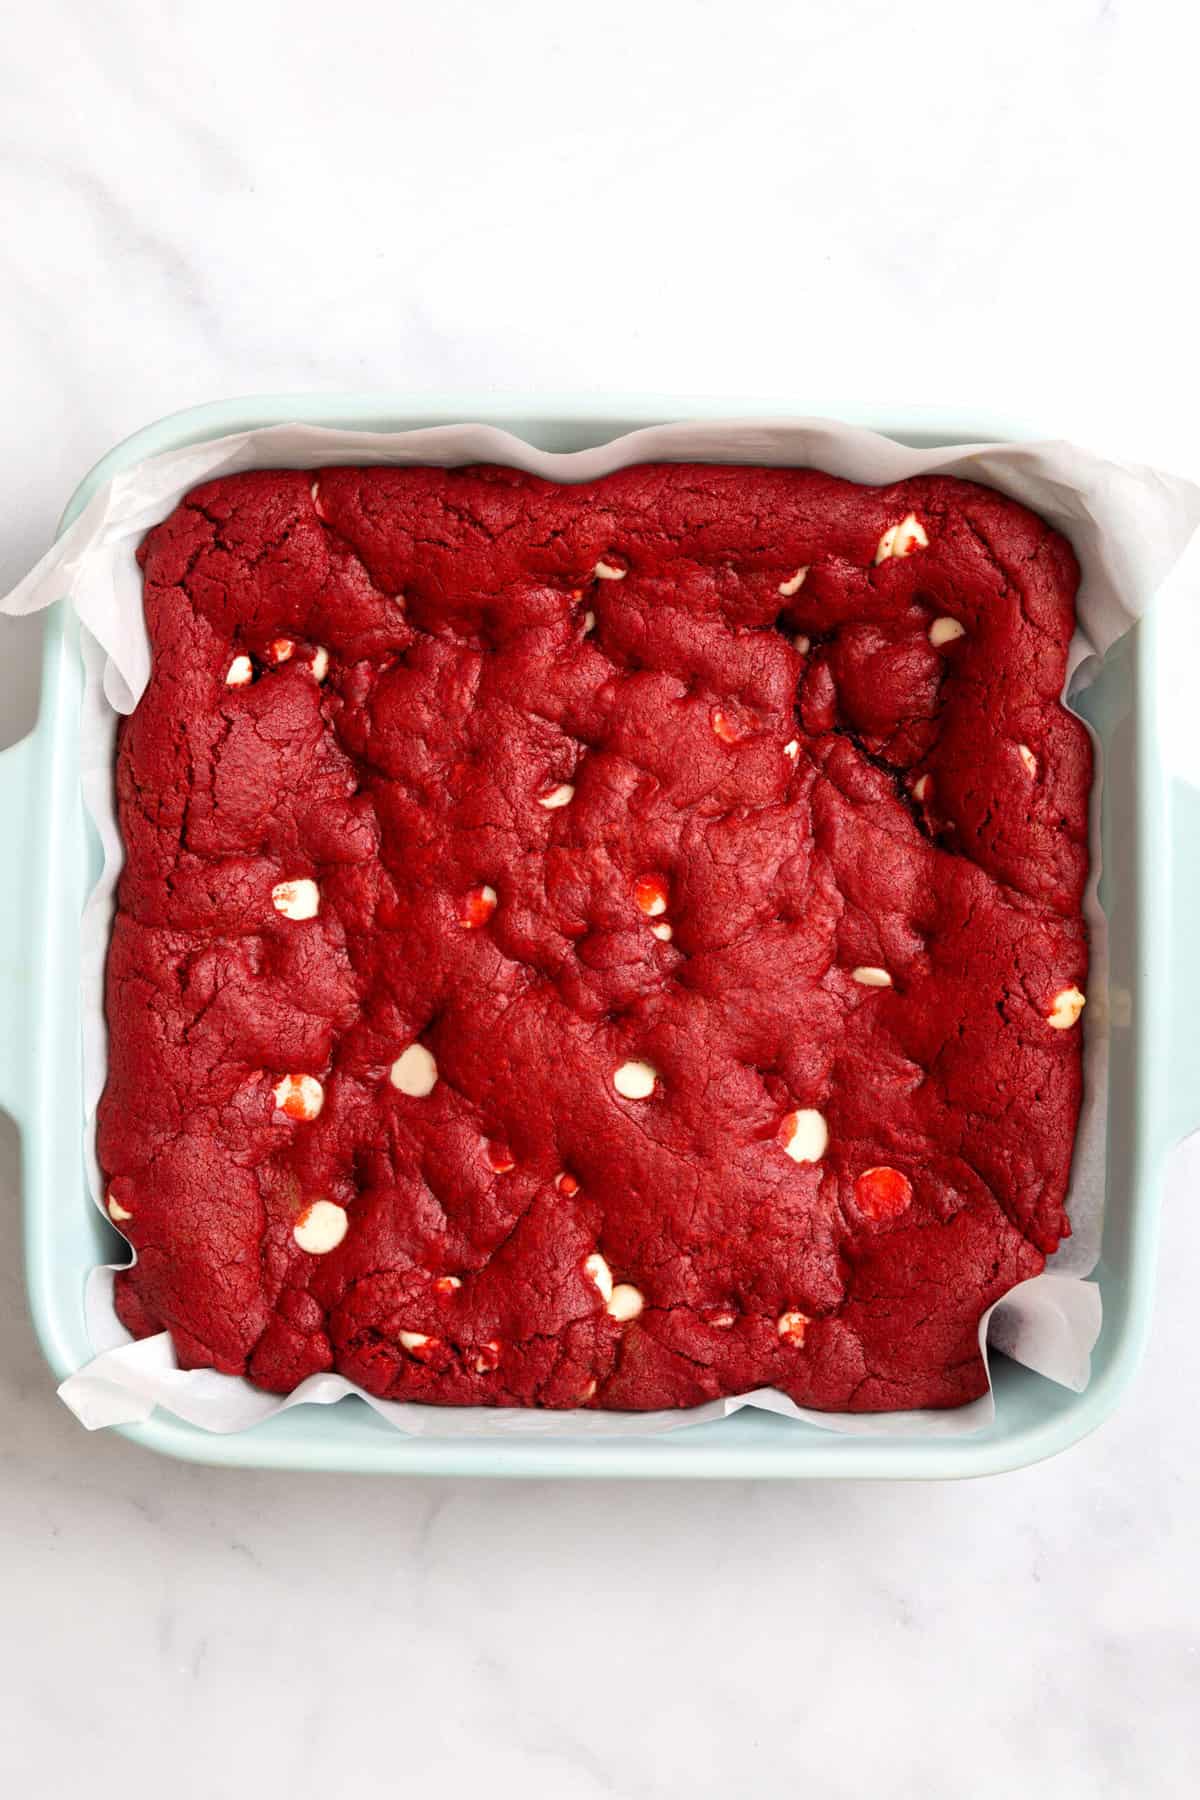
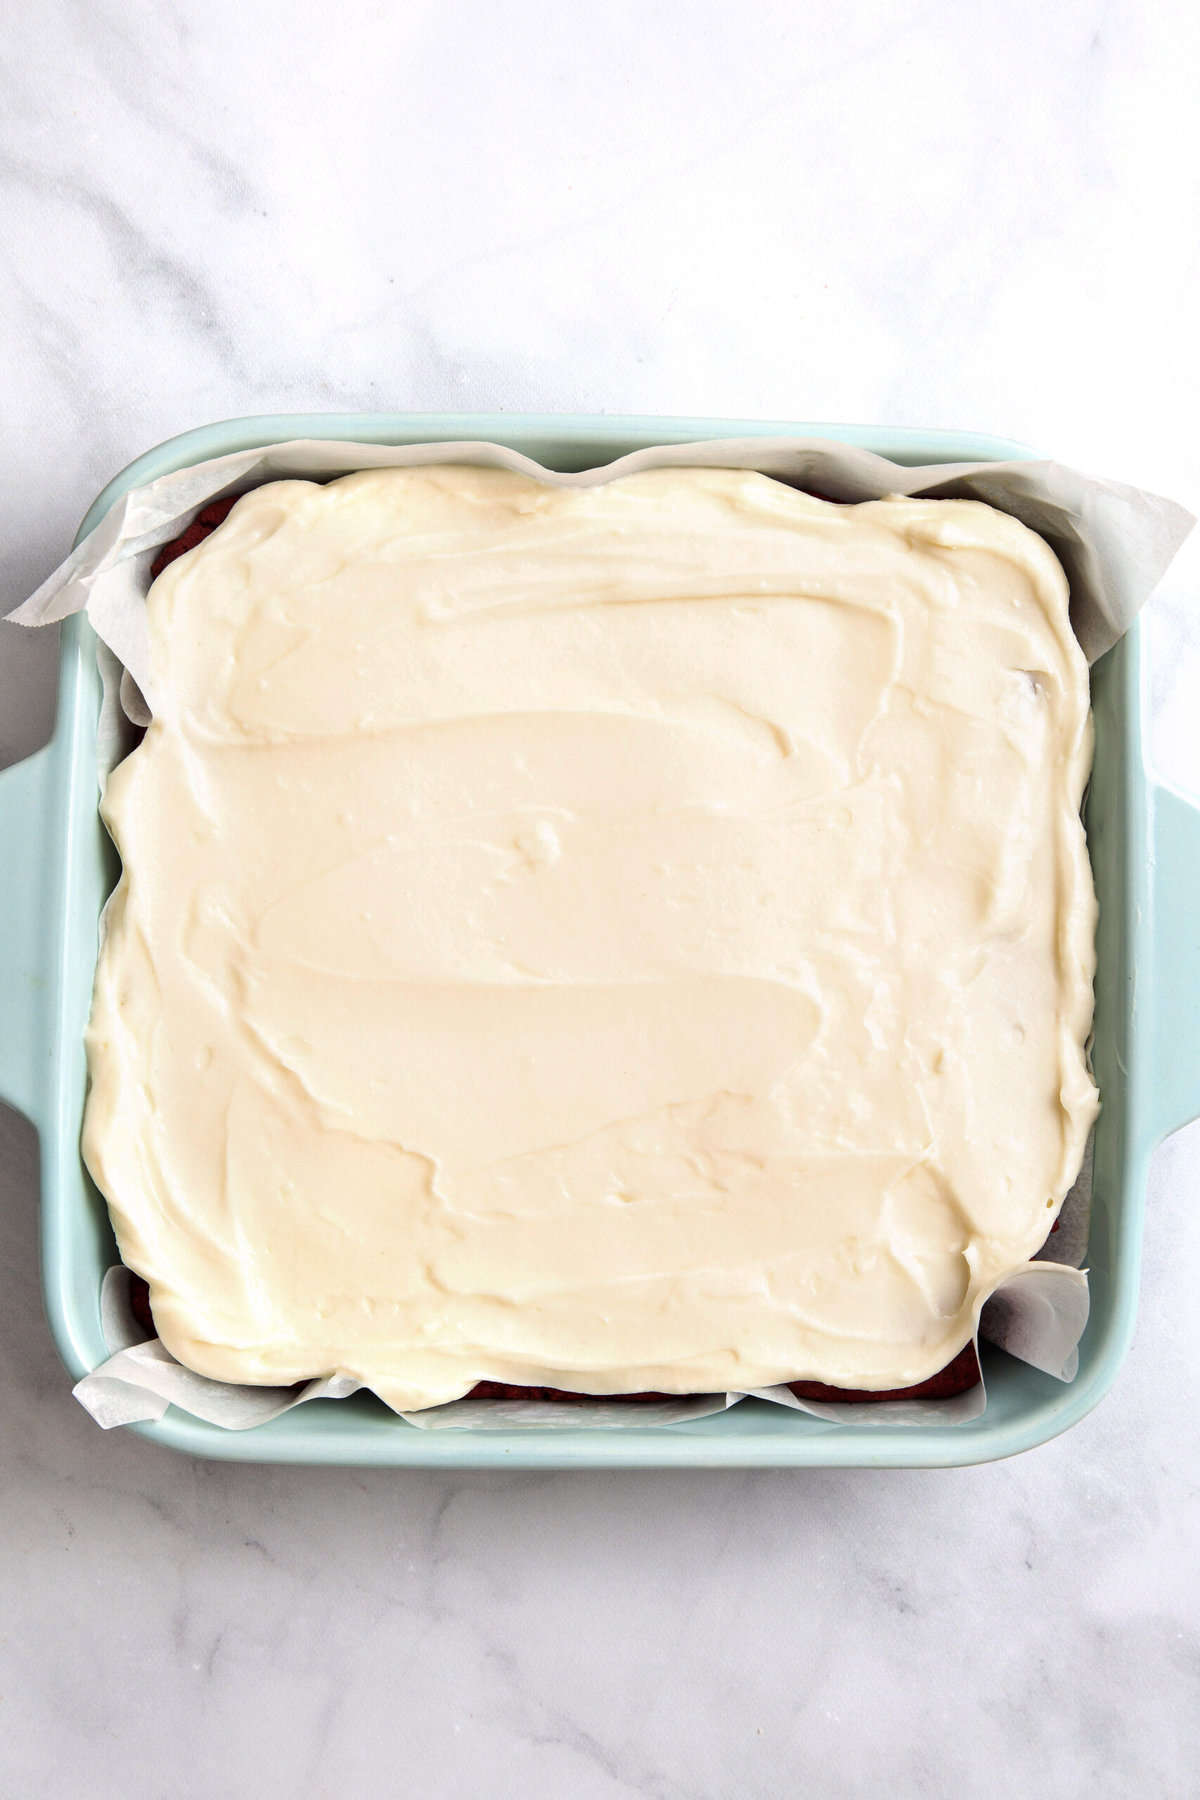
How to Make Red Velvet Brownies
- Prepare: Preheat the oven, and line the baking pan with parchment paper. Spray the sides of the pan to help prevent the baked brownies from sticking.
- Make the brownie batter: Combine the batter ingredients in a bowl until smooth, and gently fold in the white chocolate chips. Scoop the batter into the baking pan, and spread evenly.
- Bake: Bake the brownies for 20 minutes or until the tops no longer look wet. Remove from the oven, and allow the brownies to cool in the pan.
- Make the frosting: Combine the cream cheese frosting ingredients in a bowl until smooth. Spread the frosting evenly over the cooled brownies.
- Slice and serve: Cut the brownies into squares, and enjoy!
Quick Tip
To check for doneness, insert a toothpick into the center of your brownies. If it comes out clean or with just a few moist crumbs, they’re ready to eat!
Quick Tip
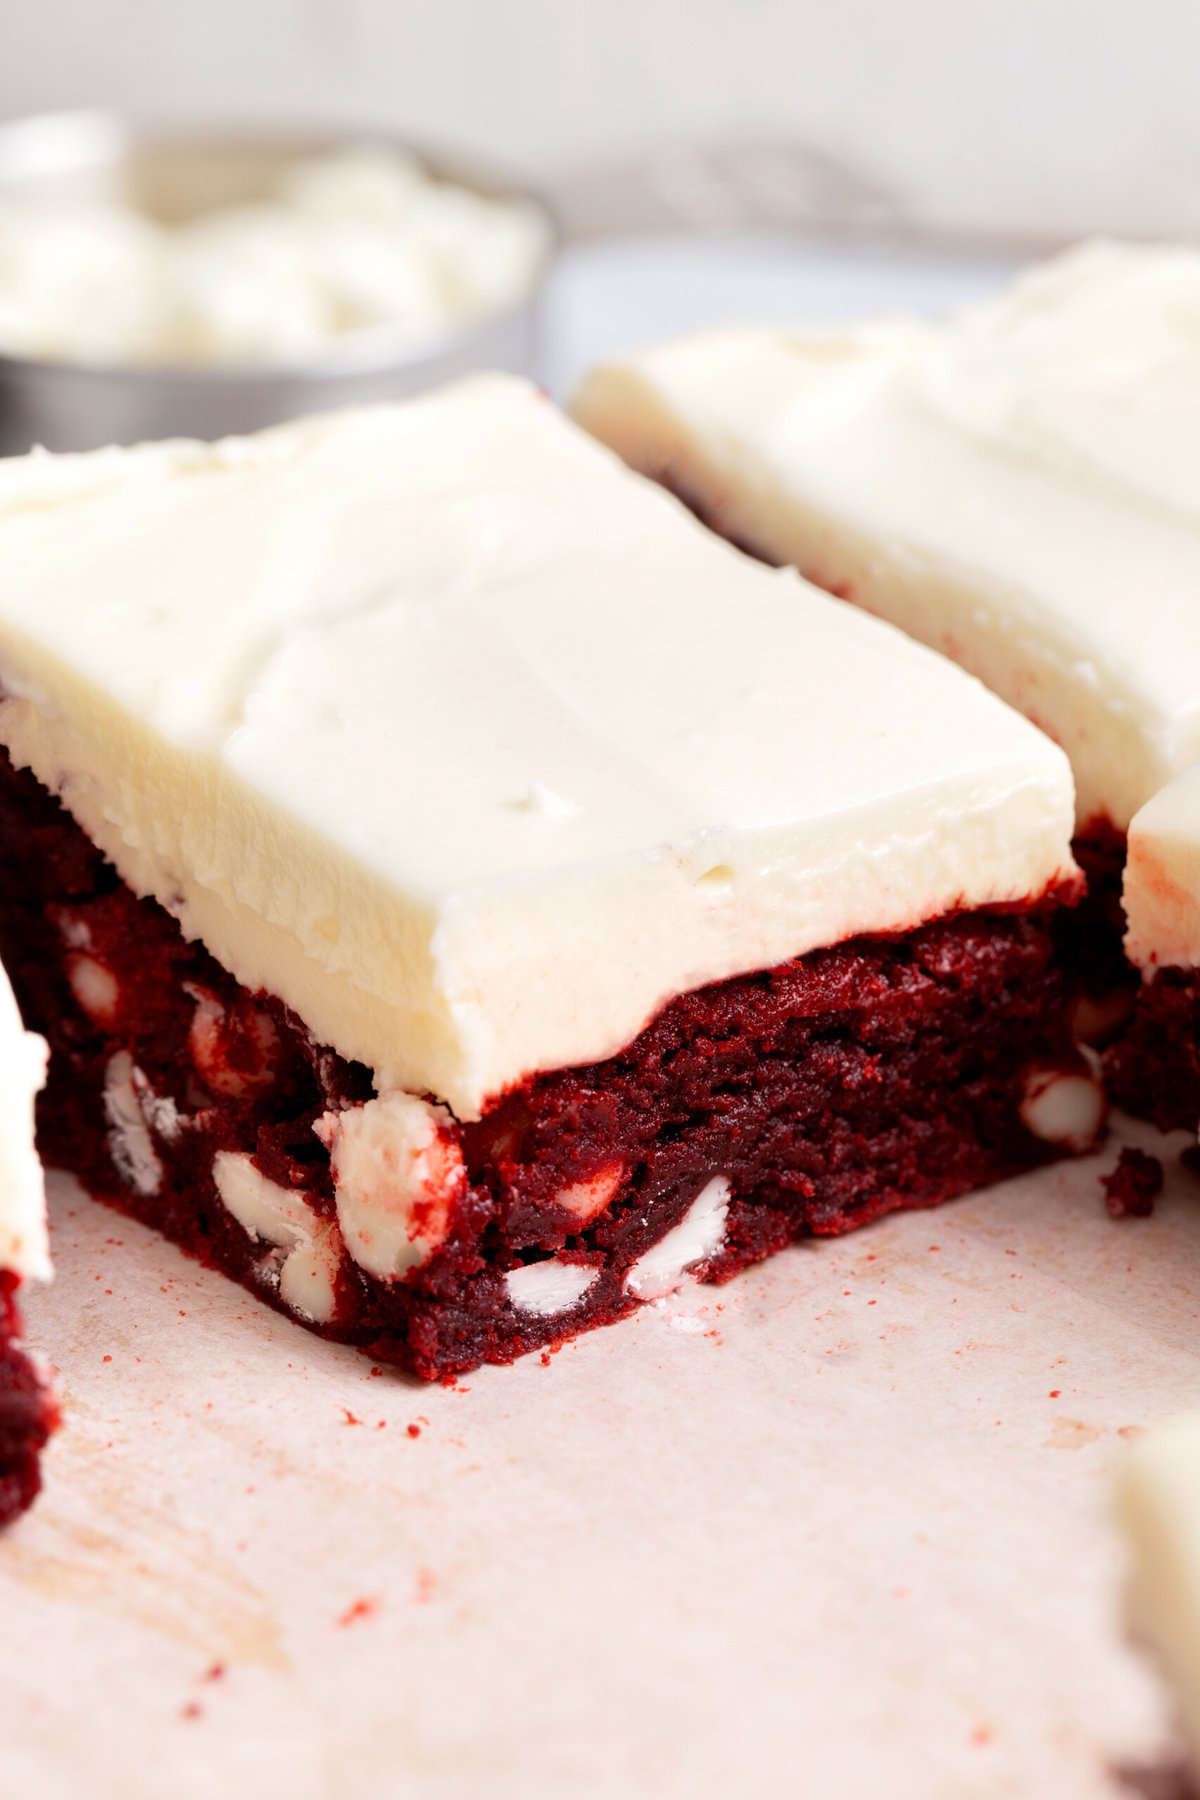
Heat a knife to slice the brownies, and wipe the knife after each slice to prevent brownie buildup on the blade. This will ensure clean brownie squares every time!
How to Store Red Velvet Brownies
Store leftovers in an airtight container in the fridge for up to a week. Do not leave them out at room temperature, or the frosting will go bad!
For a longer-lasting option, transfer your red velvet brownies to the freezer for up to 2 to 3 months. Place a sheet of parchment paper between each layer to prevent them from clumping together.
Thaw them in the fridge overnight when you’re ready to serve.
FAQs
Traditional red velvet cakes and brownies have a mild cocoa flavor with a touch of tartness. The dominant flavor comes from the sweet and tangy cream cheese frosting, which perfectly compliments the velvety smooth batter.
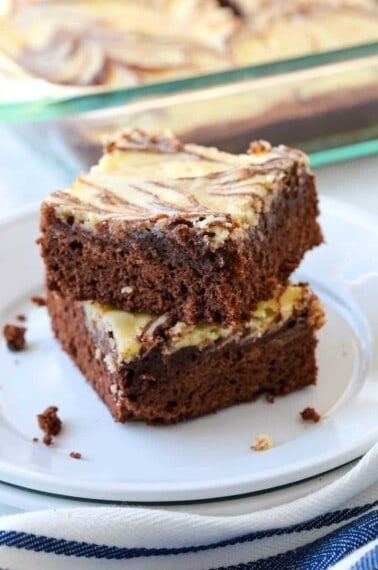
For this recipe, we keep the cream cheese layer separate from the red velvet layer. However, some recipes swirl cream cheese into the batter. To do so, dollop cheesecake batter onto the unbaked brownies in a baking pan. Then, use a knife or toothpick to swirl it around, creating pretty designs before transferring the brownies to the oven.
Absolutely! While brownies are known for their denser texture when compared to cakes, it’s still possible to overmix the matter and create very heavy brownies. The key is to combine the batter ingredients just until smooth, and no more!
More Brownie Recipes
Quick & Easy Desserts
Easy Cheesecake Marble Brownies Recipe
All Recipes
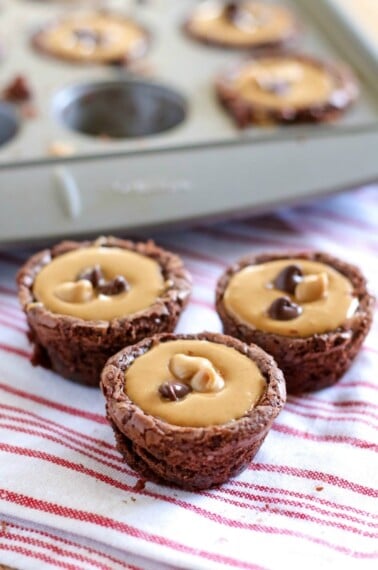
Peanut Butter Cup Brownies
Quick & Easy Desserts
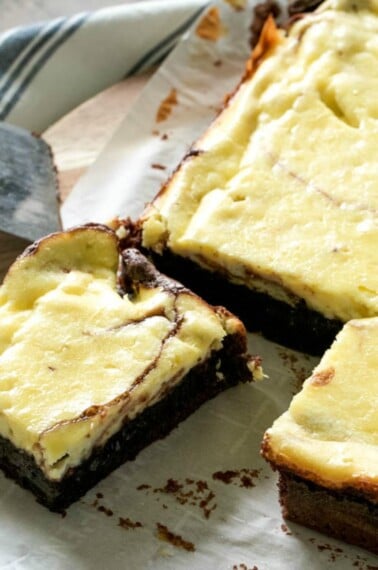
Cream Cheese Brownies
All Recipes
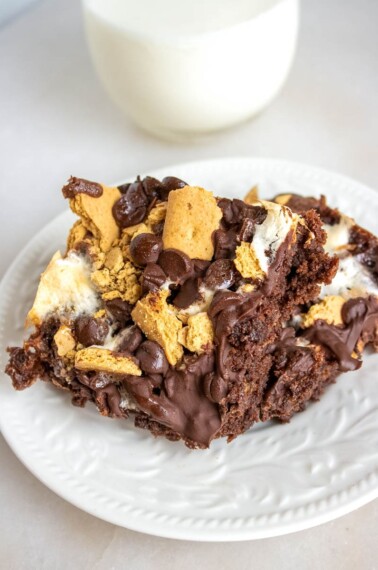
S’mores Brownies
Quick & Easy Desserts
Oreo Brownies
Quick & Easy Desserts
Slutty Brownies
Red Velvet Brownies
Equipment
- Large mixing bowl
- Electric hand mixer or stand mixer with paddle attachment
- Rubber spatula
- food processor
- Measuring cup
- measuring spoons
Ingredients
Brownies
- 15.25 ounces red velvet cake mix 1 box
- 2 eggs
- ½ cup vegetable oil
- 1 cup white chocolate chips
Cream Cheese Frosting
- 8 ounces cream cheese softened
- 3 Tablespoons butter softened
- 1 ½ cups powdered sugar
- 1 ½ teaspoons vanilla extract
Instructions
- Preheat your oven to 350ºF and line an 8×8 inch square baking pan with parchment paper. Gently spray the edges of the pan and parchment with a little baking spray and set the pan aside.
- Add the red velvet cake mix, eggs, and vegetable oil to a large mixing bowl and whisk into a smooth batter.15.25 ounces red velvet cake mix, 2 eggs, ½ cup vegetable oil
- Stir in the white chocolate chips.1 cup white chocolate chips
- Scoop the batter into the prepared pan and spread it into an even layer.
- Bake the red velvet brownies for 18-20 minutes. The tops of the brownies will look set and no longer wet.
- Let the brownies cool completely in the pan.
- While the brownies cool, make the cream cheese frosting. Add the softened cream cheese and butter to a medium-sized mixing bowl. Beat the two ingredients together until smooth.8 ounces cream cheese, 3 Tablespoons butter
- Add the powdered sugar and beat again until very fluffy, scraping down the sides of the bowl so all of the ingredients are blended in evenly.1 ½ cups powdered sugar
- Stir in the vanilla extract.1 ½ teaspoons vanilla extract
- Once the brownies are cool, spread the cream cheese frosting over the top of the brownies in the pan.
- Cut the brownies into squares. Use a hot knife and wipe the knife after each cut to keep the frosting neat and white.
- Enjoy immediately or store in the fridge for up to a week!
Notes
- Add some extra white chocolate chips, red sprinkles, or a dusting of cocoa powder to the top of the brownies as a decoration.
- Pipe the cream cheese frosting on top of the brownies in a rosette design. This will make your brownies look very fancy!
