This post may contain affiliate links. Please read our disclosure policy.
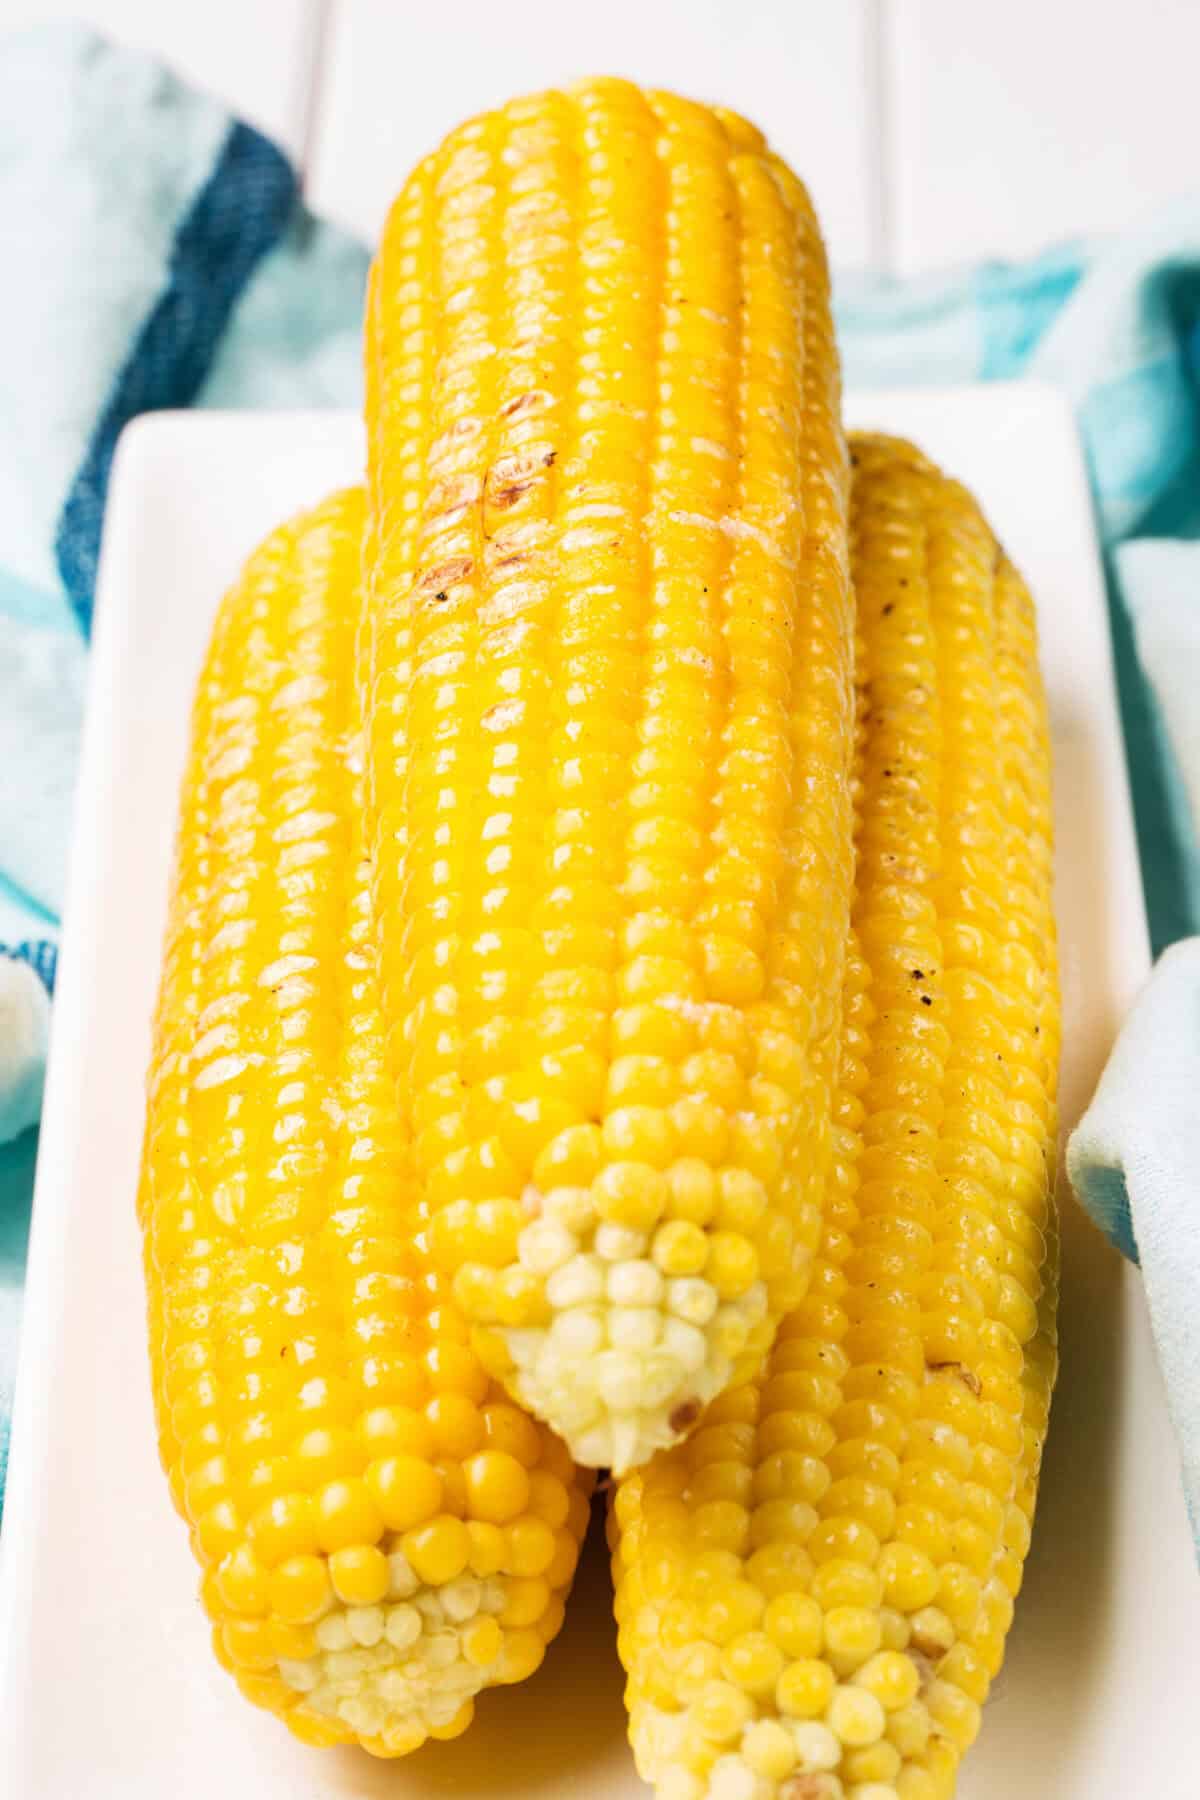
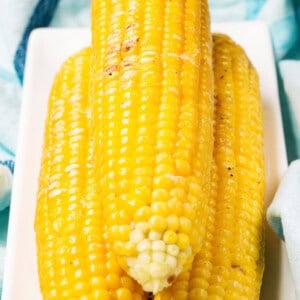
Learn how to grill corn on the cob three easy ways for the perfect smoky, sweet summer side dish! Whether you want to grill corn in the husk, wrapped in foil, or directly on the grill, these simple methods guarantee juicy, flavorful corn every time.
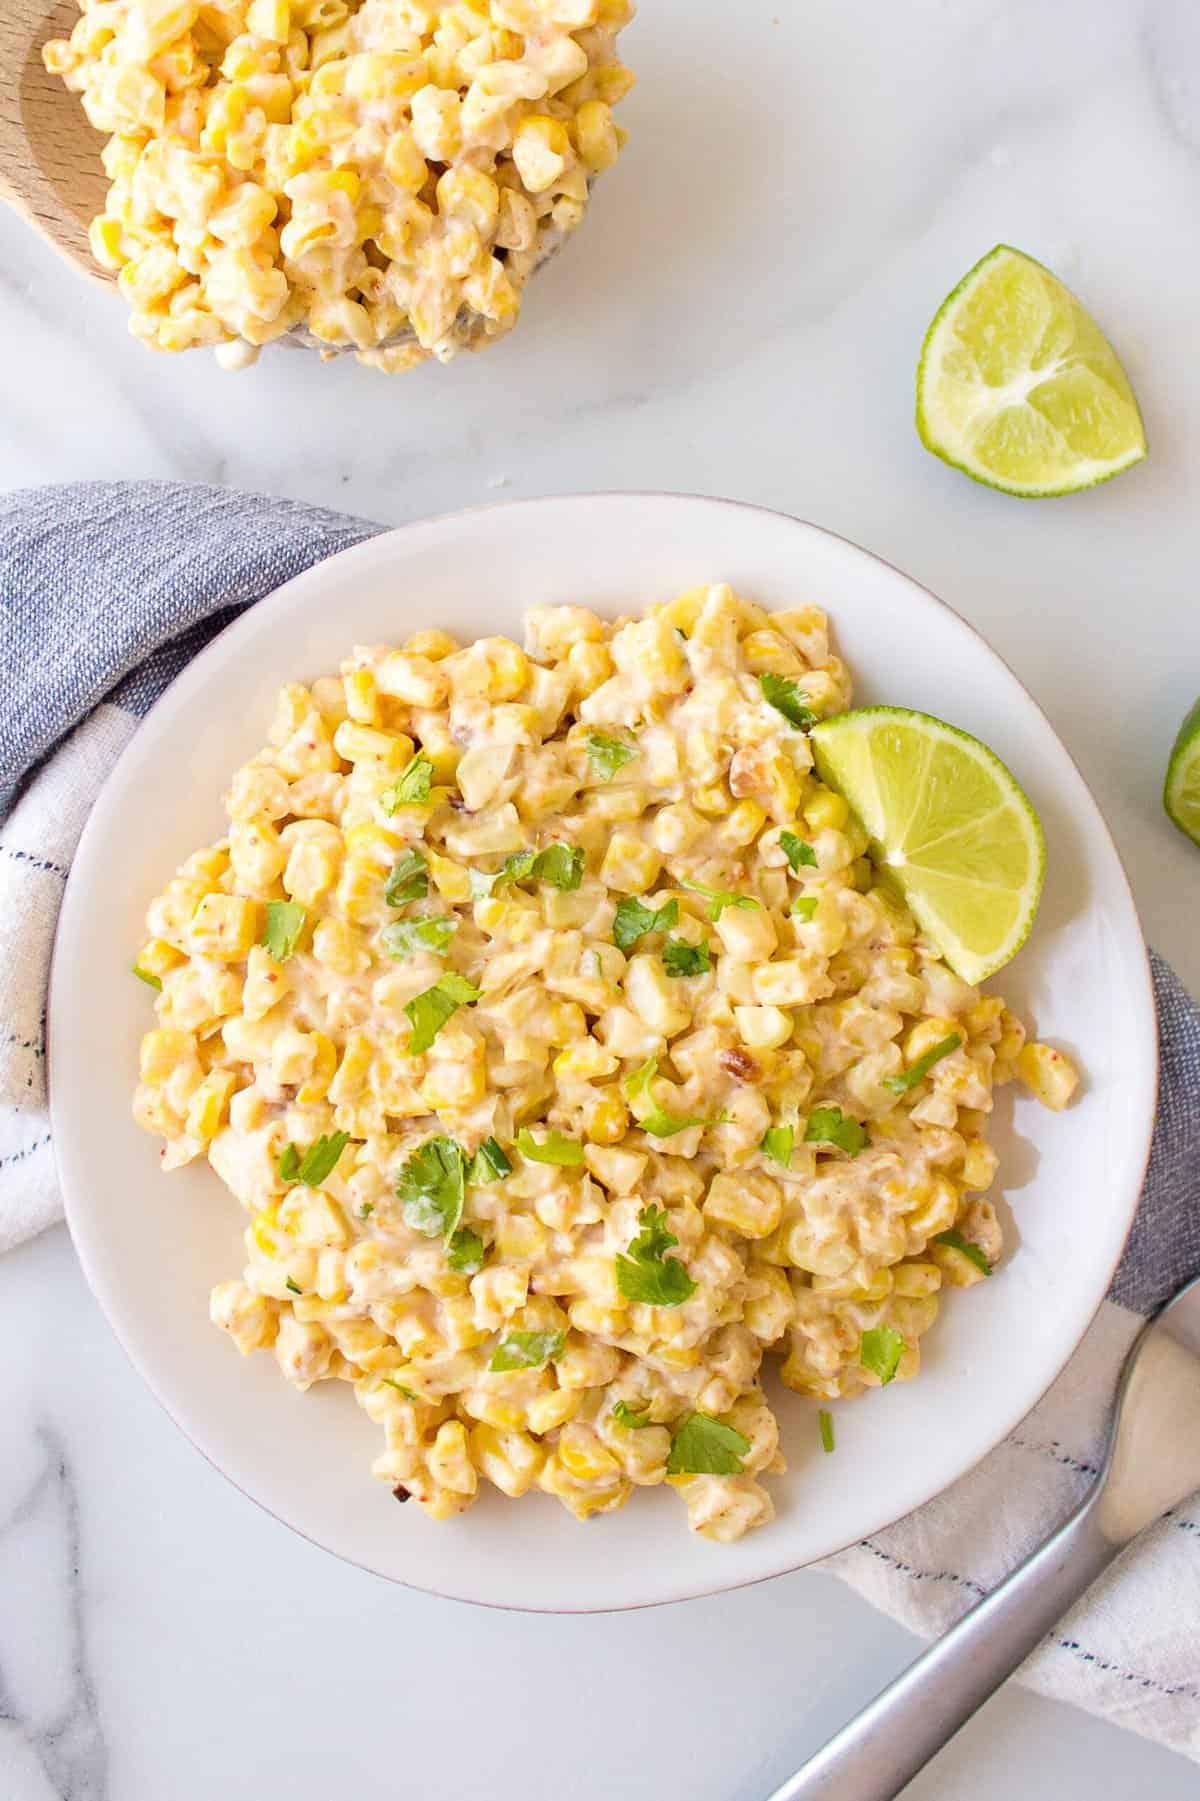
Love corn? Then you’ll also want to check out my Easy Mexican Corn and Corn, Avocado & Cilantro Salad recipes!

Why you’ll love this grilled corn recipe!

I love the simplicity and convenience of cooking corn on the cob in an Instant Pot. However, summer barbecues are not quite the same without grilled corn on the cob! It’s the perfect vegetable side dish for sandwiches, crock pot hot dogs, wraps, Sloppy Joes, hamburgers, and more.
If you’ve never tried to grill corn, don’t worry. It’s an easy way to cook corn and as long as you have a grill, you can pull it off! Serve your warm grilled corn on the cob with crumbled feta or Cotija, a creamy sauce, fresh herbs, and lime wedges. You can’t go wrong!
- Easy to make: Grilling corn on the cob takes very little prep and cooks quickly.
- Packed with flavor: The grill adds smoky flavor and delicious charred kernels.
- Three simple methods: Learn how to grill corn with husks, in foil, or without the husk.
- Perfect summer side dish: Grilled corn pairs with burgers, hot dogs, chicken, ribs, and more.
Table of Contents
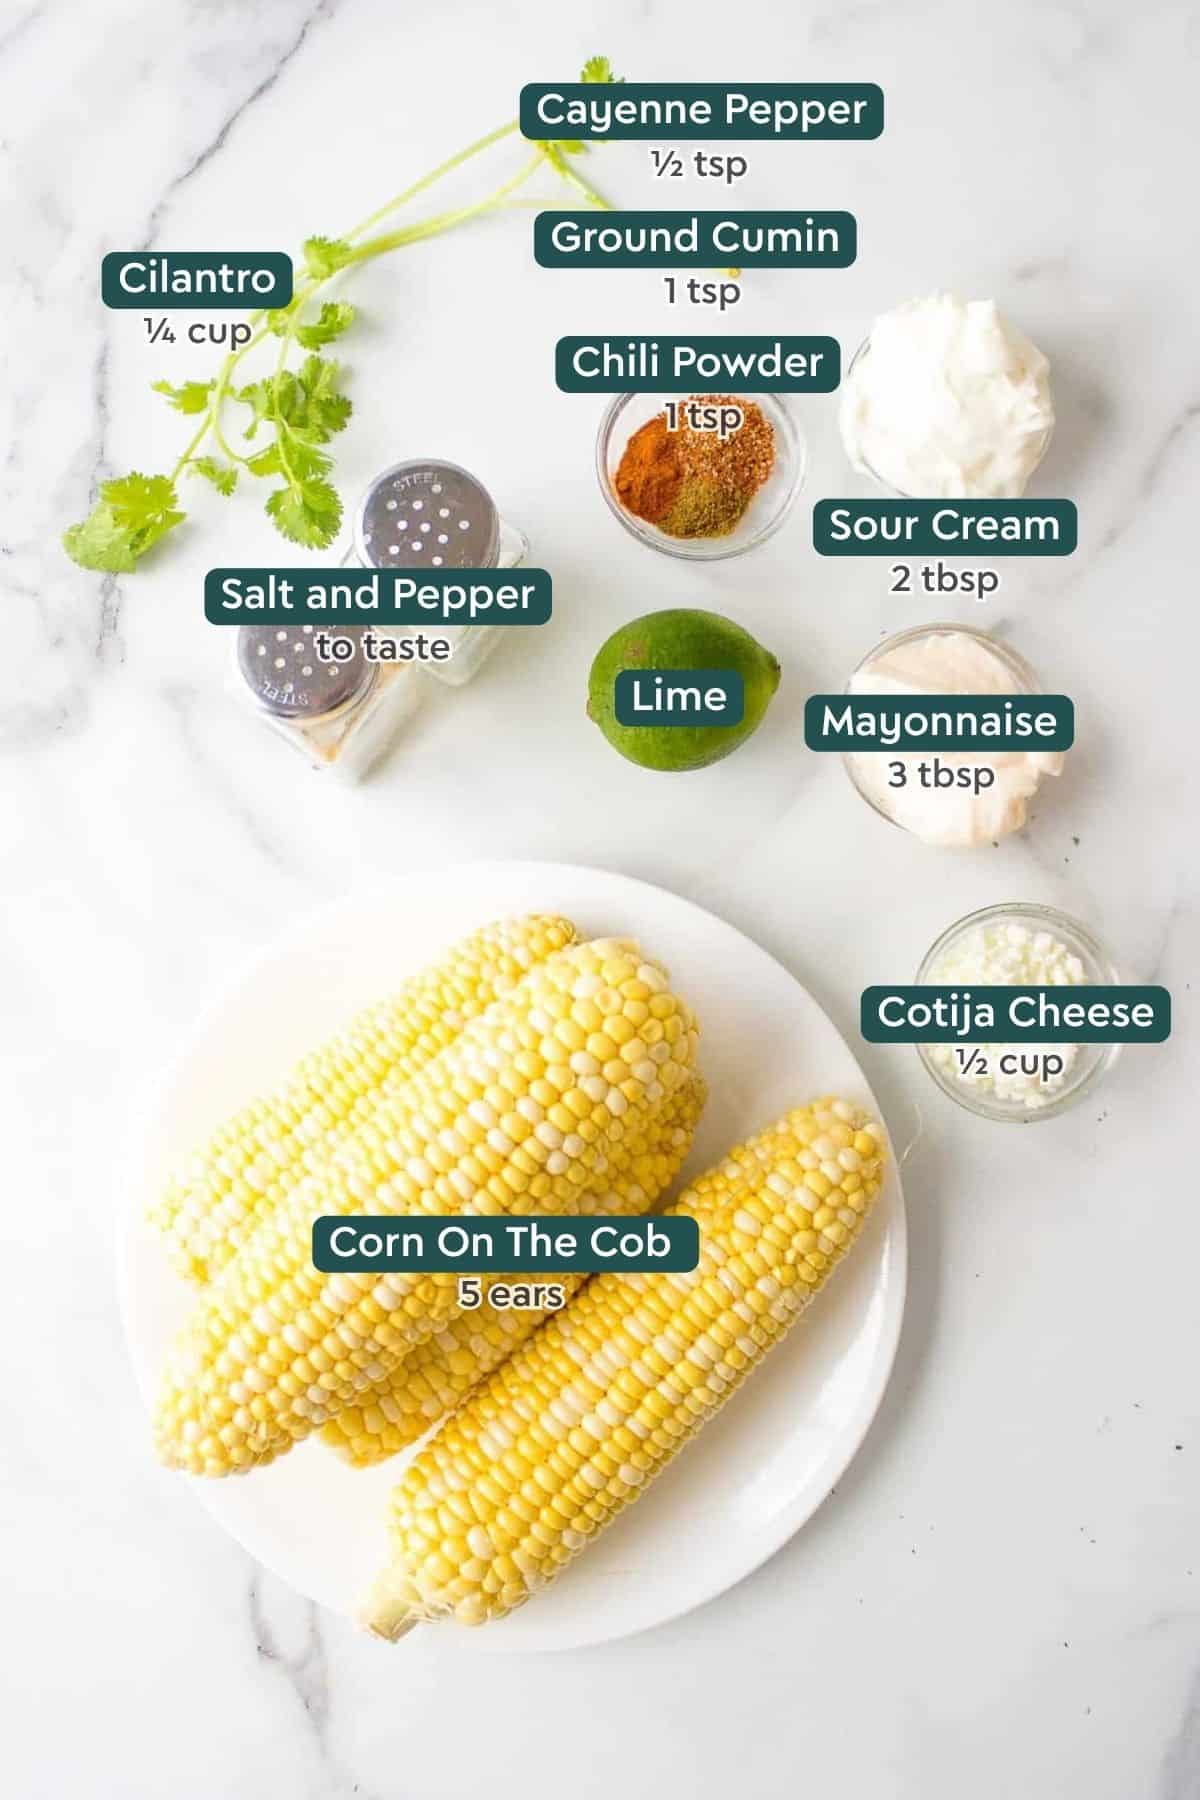
Ingredient Notes
See recipe card below this post for ingredient quantities and full instructions.
- Fresh corn on the cob – Sweet summer corn works best.
- Butter or oil – Helps add flavor and keeps the corn tender.
- Salt and pepper – Simple seasoning is all you really need.
- Optional toppings – Cotija cheese, feta cheese, fresh cilantro, lime wedges, mayo, sour cream, chili powder, or garlic butter.

How to Make Grilled Corn
1. Prepare The Grill
Preheat the grill about 15-20 minutes before cooking. This allows plenty of time for it to come to the correct temperature and kills any bacteria that may be lingering on the surface. When grilling corn, I recommend heating your grill between 350 and 400 degrees Fahrenheit.
Once the grill is preheated, clean the grill rack with a long-handled wire grill brush. This makes it easy to remove any dirt and debris from previous grilling sessions. It’s also good practice to scrape the grill once you have finished cooking on it!
Option 1: Grilled Corn On The Cob In Husks
- Prepare the grill: Preheat and clean the grill as directed above.
- Remove the silk: Peel back the husks from each ear of corn, leaving them intact at the bottom. Remove as much of the silk as possible, then pull the husks back up. You can either choose to season your cobs at this step. Or, wait to do so once they are grilled.
- Soak the ears of corn: Soak the ears of corn in a bowl of cold water for about 10 minutes. The husks will soak up the moisture, which will keep them from burning when placed directly on the hot grill. Remove the ears of corn from the water, drain, and pat dry.
- Grill: Place each ear of corn with the husks on the hot grill over medium-high heat. Turn the cobs every 5 minutes to ensure that all sides cook. Continue this for a total of 15 minutes which should be enough time to cook the corn properly.
- Remove and serve: Remove the grilled cobs from the hot grill. Then, carefully peel off the husks, making sure to not burn your fingers. Season with your favorite spices, butter, mayo or sour cream, crumbled cheese, and fresh cilantro.
Option 2: Grilled Corn On The Cob Wrapped In Foil
- Prepare the grill: Preheat and clean the grill as directed above.
- Remove husks and silk: Remove the husks and silk from each ear or corn.
- Season: Slather the corn with butter or oil and your choice of favorite seasonings and spices.
- Wrap in foil: Wrap each ear of corn with foil.
- Grill: Place each foil-wrapped cob on the hot grill over medium-high heat. Turn every 5 minutes to ensure that all sides cook. Continue this for a total of 15 minutes which should be enough time to cook the corn properly.
- Remove and serve: Remove the grilled corn from the hot grill and carefully remove the foil, making sure to not burn your fingers. Serve your grilled corn with a selection of creamy mayo, sour cream, Cotija cheese, fresh cilantro, and a lime wedge.
Option 3: Grilled Corn On The Cob Without Husks
- Prepare the grill: Preheat and clean the grill as directed above. It’s not a bad idea to lightly oil your grill when placing the uncovered ears of corn directly on the hot surface to avoid any sticking.
- Remove husks and silk: Remove the husks and silk from each ear or corn.
- Grill: Place each cob directly on the hot grill over medium-high heat. Turn every 5 minutes to ensure that all sides cook. Continue this for a total of 15 minutes which should be enough time to cook the corn properly.
- Remove and serve: Remove the grilled cobs from the hot grill. Season the grilled cobs and serve them with a selection of creamy mayo, sour cream, Cotija cheese, fresh cilantro, and a lime wedge.
Serving Suggestions
Grilled corn on the cob is the type of vegetable side dish that can pair well with all sorts of meats, such as grilled BBQ chicken, grilled chicken tenders, or chicken kabobs, air fryer pork chops, or BBQ pork ribs. Or go with classic cookout pairings: burgers and hot dogs!
How To Store + Freeze
Wrap leftover whole grilled corn on the cob with plastic wrap, and store it in the fridge for up to 2 days. If you intend to use the corn in other recipes, go ahead and slice the corn from the cob. Then, store the kernels in an airtight container in the fridge.
To freeze, wrap individual grilled corn cobs with foil, and place them in an airtight freezer-safe bag. Freeze for up to 1-2 months. Just keep in mind that freezing grilled corn may alter the taste and texture.
To reheat leftovers, brush each cob with oil or butter. Then, heat them on a grill pan over medium heat. Rotate the cobs every 30 seconds to ensure even heating on all sides.
More Corn Recipes You’ll Love

Side Dishes
Easy 5-Ingredient Corn Casserole

Dips & Dressings
Black Bean and Corn Salsa
All Recipes
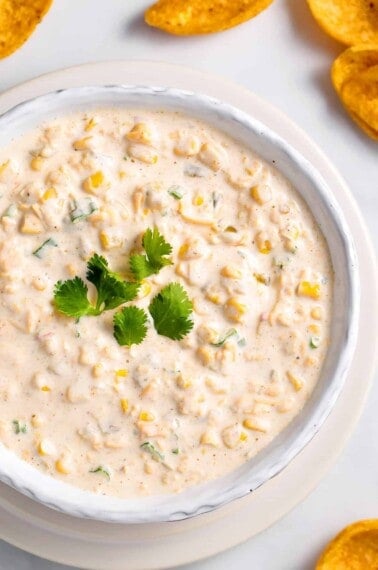
Creamy Corn Dip
Side Dishes
Corn Pasta
💌 Love easy recipes? Join my newsletter and get my Top 10 Reader-Favorite Recipes eBook FREE! Sign up here.
How To Grill Corn On The Cob
Equipment
- 1 grill
Ingredients
- Corn cobs
Instructions
Grilled Corn On The Cob In Husks
- Preheat and clean the grill.
- Peel back the husks from each ear of corn, leaving them intact at the bottom. Remove as much of the silk as possible and pull the husks back up. You can either choose to season your cobs at this step or wait to do so once they are grilled.
- Soak the ears of corn in a bowl of cold water for about 10 minutes. The husks will soak up the moisture which will help prevent them from burning when placed directly on the hot grill. Remove the ears of corn from the water, drain, and pat dry.
- Place each ear of corn with the husks on the hot grill over medium-high heat. Turn the cobs every 5 minutes to ensure that all sides cook. Continue this for a total of 15 minutes which should be enough time to cook the corn properly.
- Remove the grilled cobs from the hot grill and carefully peel off the husks, making sure to not burn your fingers. Season the cobs with your favorite spices, butter, mayo or sour cream, crumbled cheese, and fresh coriander.
Grilled Corn On The Cob Wrapped In Foil
- Preheat and clean the grill.
- Remove the husks and silk from each ear or corn.
- Slather the corn with butter or oil and your choice of favorite seasonings and spices.
- Wrap each corn on the cob with foil.
- Place each foil-wrapped cob on the hot grill over medium-high heat. Turn the cobs every 5 minutes to ensure that all sides cook. Continue this for a total of 15 minutes which should be enough time to cook the corn properly.
- Remove the grilled cobs from the hot grill and carefully remove the foil, making sure to not burn your fingers. Serve your grilled cobs with a selection of creamy mayo, sour cream, Cotija cheese, fresh coriander, and a lime wedge.
Grilled Corn On The Cob As Is
- Preheat and clean the grill. It's not a bad idea to lightly oil your grill when placing the uncovered cobs directly on the hot surface to avoid any sticking.
- Remove the husks and silk from each ear or corn.
- Place each cob directly on the hot grill over medium-high heat. Turn the cobs every 5 minutes to ensure that all sides cook. Continue this for a total of 15 minutes which should be enough time to cook the corn properly.
- Remove the grilled cobs from the hot grill. Season the grilled cobs and serve them with a selection of creamy mayo, sour cream, Cotija cheese, fresh coriander, and a lime wedge.
Notes
- Season your grilled cobs with your favorite seasonings and serve with butter or as you would Mexican corn with mayonnaise, sour cream, Cotija cheese, cilantro, and lime wedges.
- The cobs can either be seasoned before grilling or after grilling, depending on your preference. This works best for cobs covered by husks or foil, while it could lead to sticking and burning for cobs placed directly on the hot grill.
- Feel free to unwrap your grilled cobs and place them directly on the hot grill for a slightly charred appearance. Be careful that they don’t overcook or burn!


Have you considered how different marinades might change the flavor profile? I’d love to hear your thoughts on level devil pairing options that elevate this classic dish.
I didnt know it was so easy to grill corn. I’ll be doing this all summer!