This post may contain affiliate links. Please read our disclosure policy.
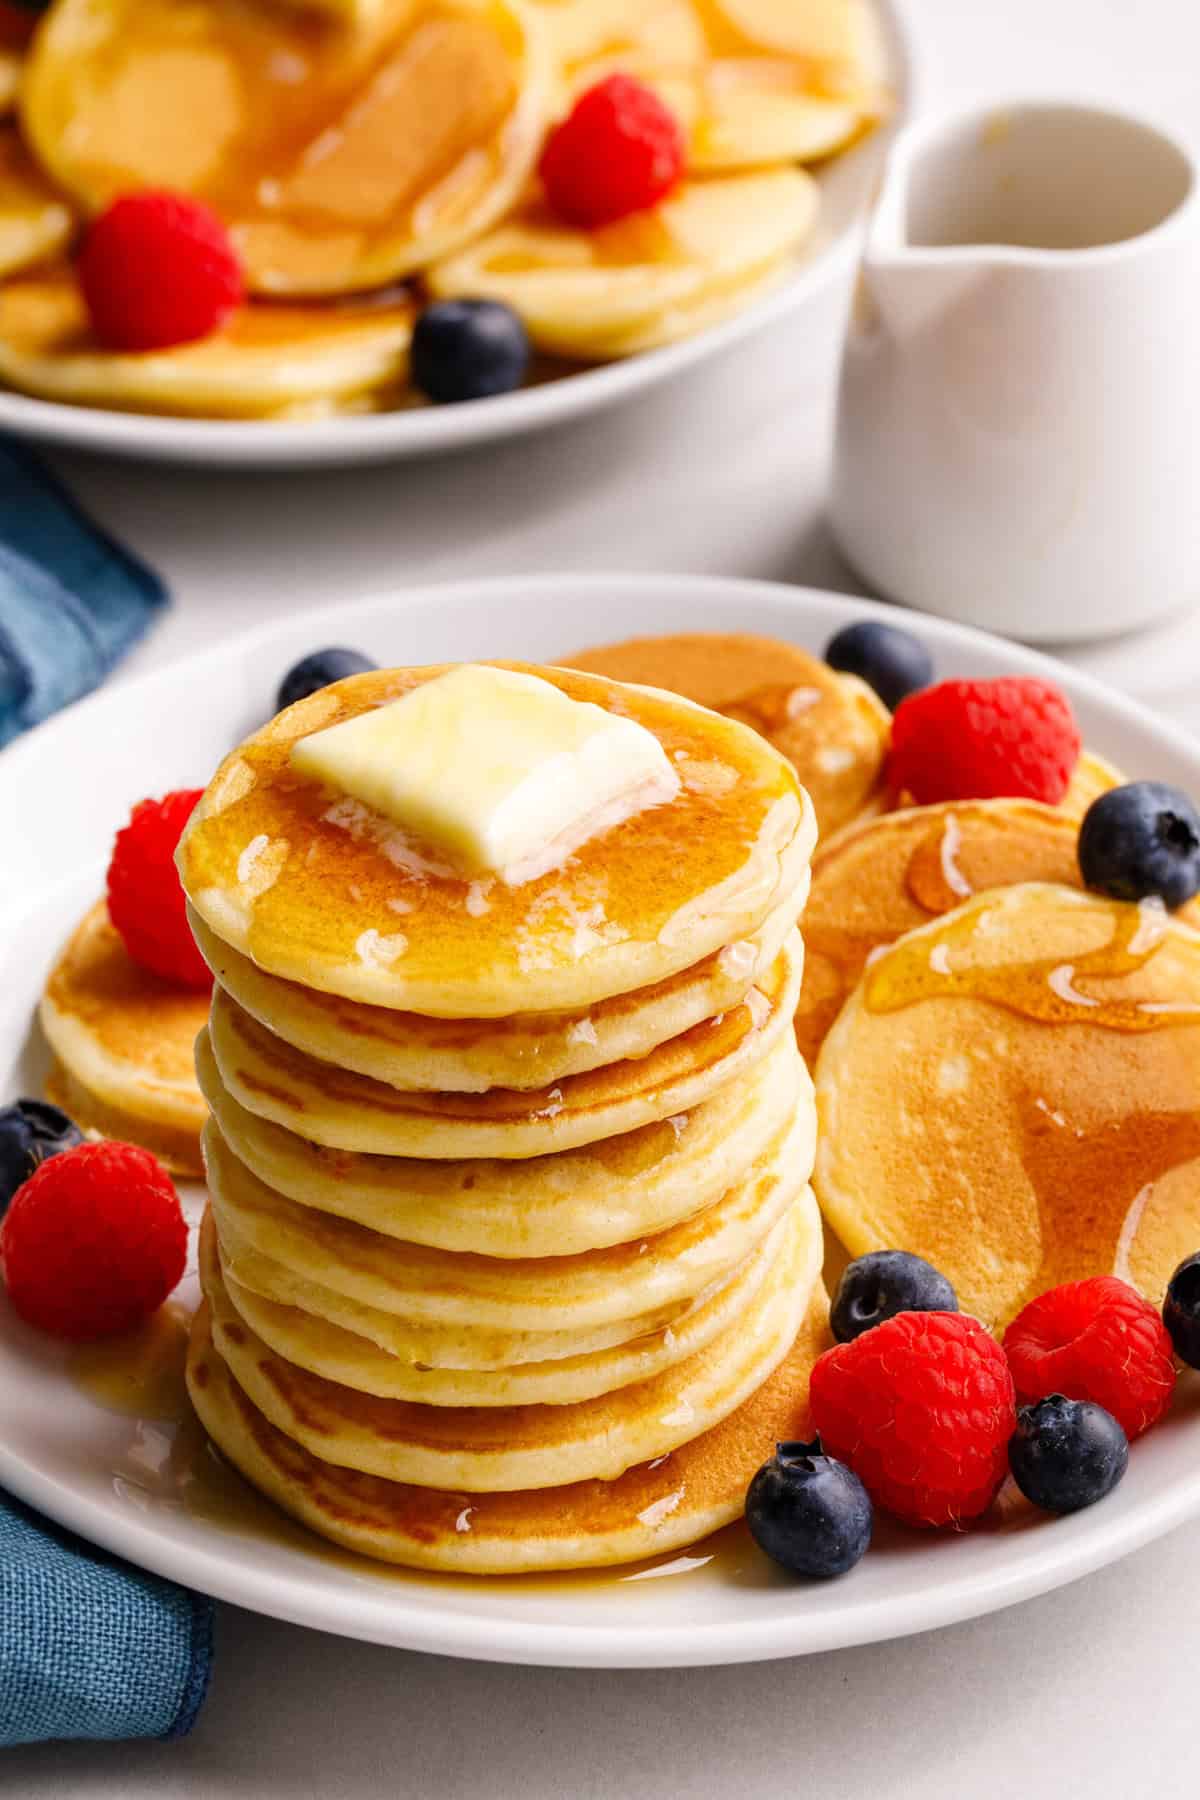
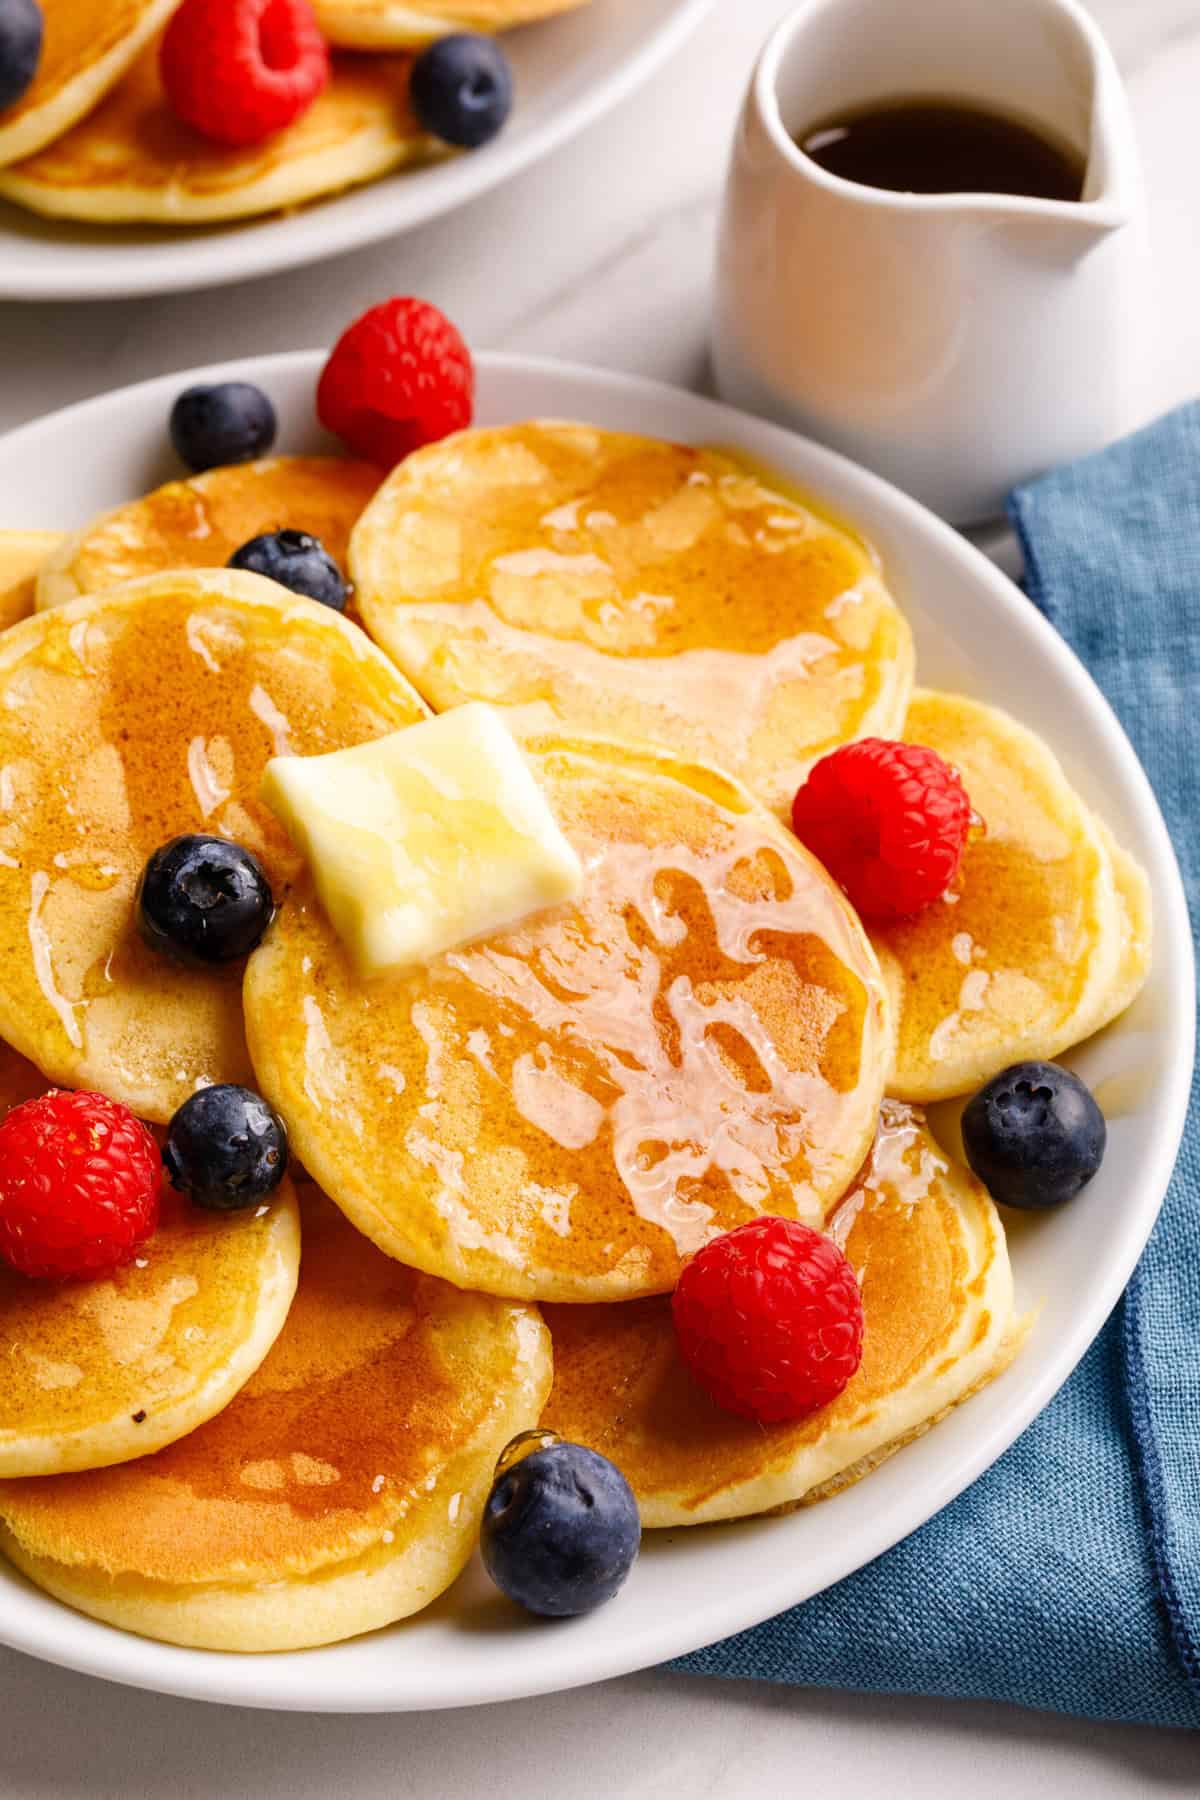
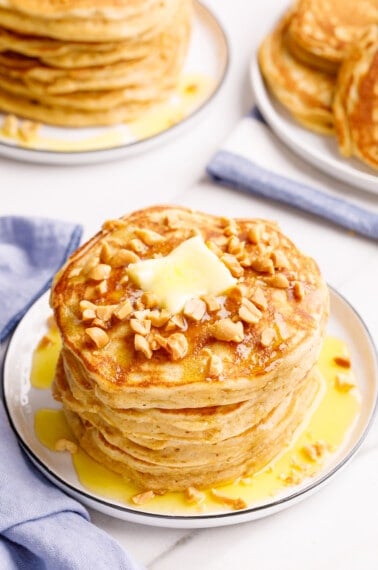
These soft and fluffy Silver Dollar Pancakes are so easy to make with simple ingredients and less than 15 minutes. Enjoy them as a delightful bite-size addition to your breakfast or brunch with your favorite toppings!
Pin this recipe now to save it for later
Pin RecipeSilver Dollar Pancakes Recipe
When you don’t have the appetite for regular-sized pancakes like Cracker Barrel Pancakes, these Silver Dollar pancakes are the perfect solution! They’re just as soft and fluffy as regular pancakes, just smaller!
Like mini pancakes, silver dollar pancakes are usually between 2-3 inches in diameter. They’re just slightly bigger than the United States pre-1979 silver dollar coins, hence the name “silver dollar pancakes”. They make a delicious and cute addition to breakfast or brunch and can be served with an endless choice of your favorite toppings!
(For an even easier way to make morning pancakes, try these tips: 7 Easy Ways to Make Boxed Pancake Mix Taste Better.)
Recipe Ingredients
To print: see recipe card below
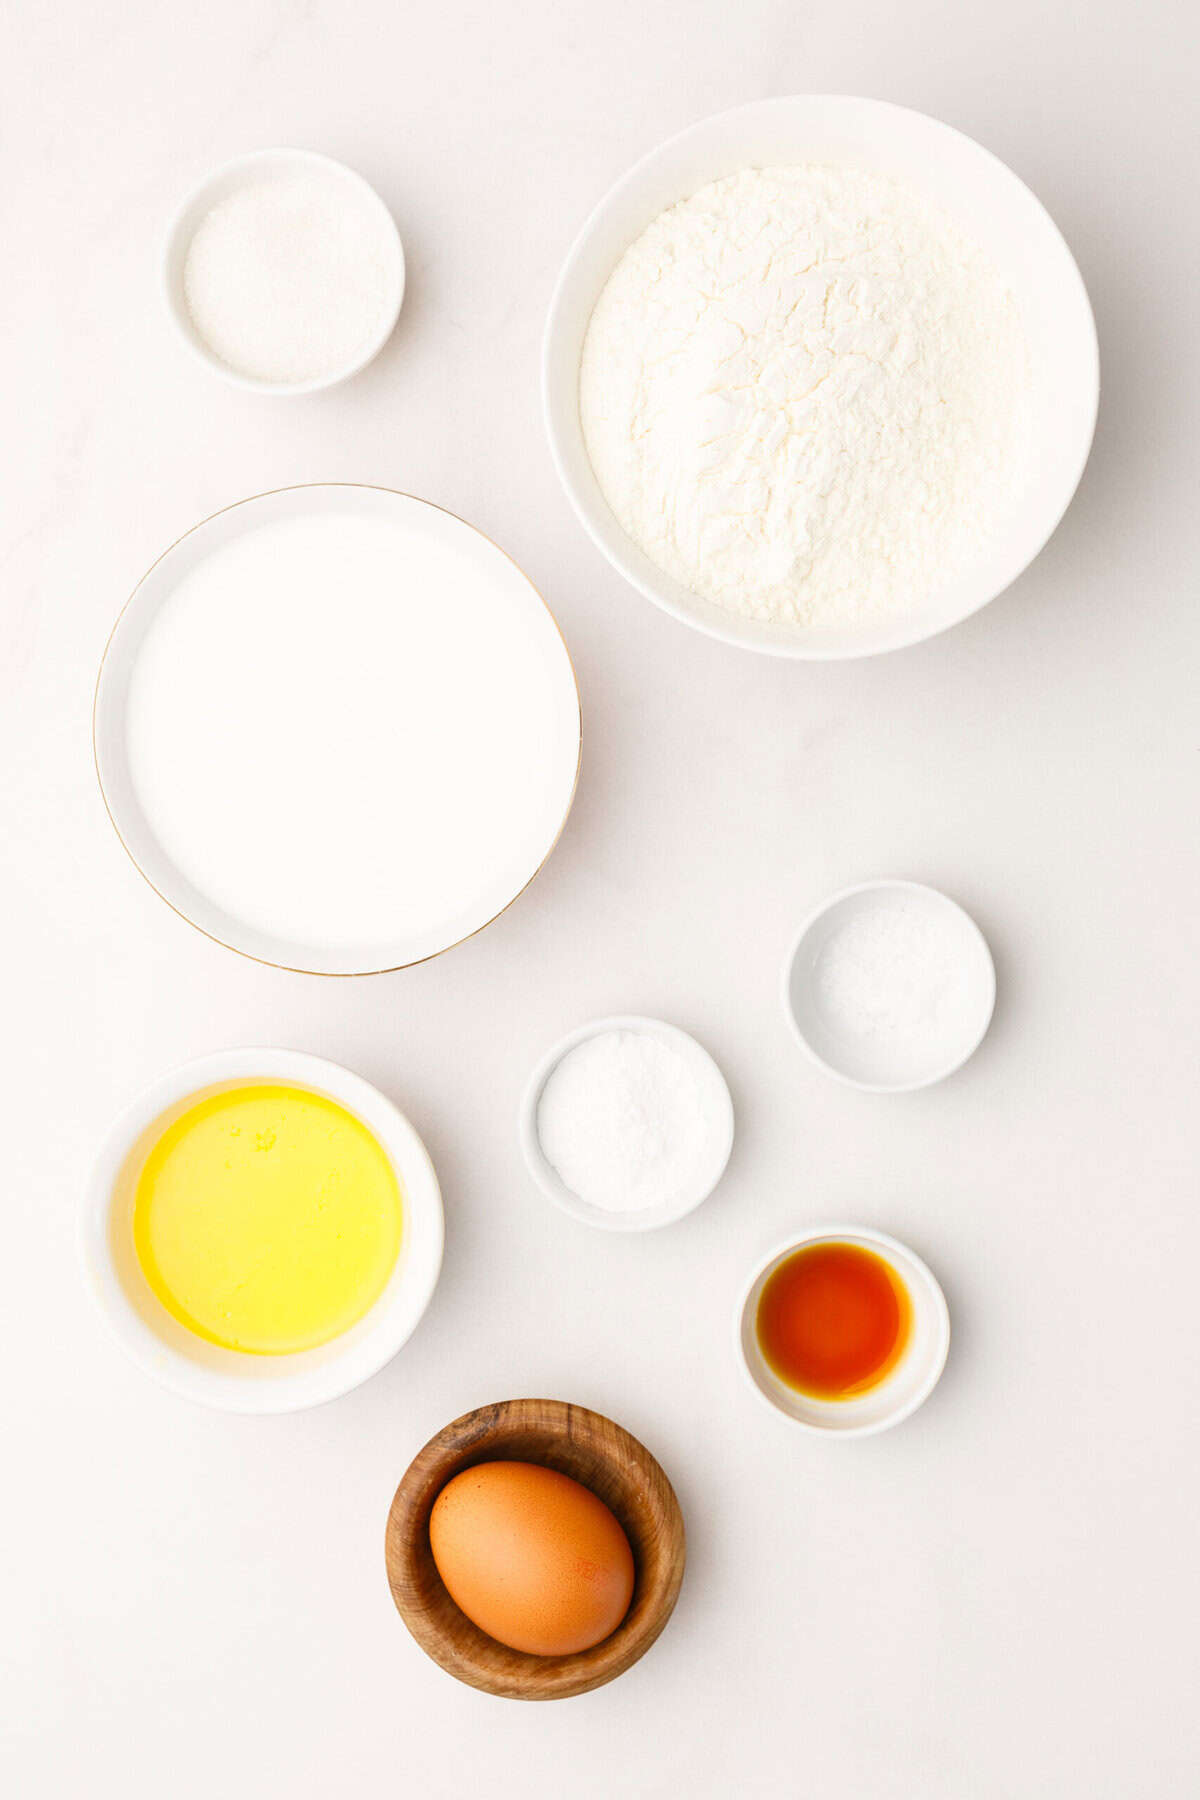
- 2 cups flour – All-purpose flour is my go-to flour for making pancakes.
- 2 Tablespoons sugar – Granulated sugar works best. However, you can also use light brown sugar, if needed.
- 1 Tablespoon baking powder – Always check the expiration date on this product to ensure a good rise in the pancakes.
- ½ teaspoon salt – Omit the salt if using salted butter.
- 1 ⅓ cup whole milk – The fat content in whole milk offers extra flavor. Reduced-fat milk is also an option. Or, you can use plant-based milk. However, keep in mind that this may alter the flavor of the pancake batter slightly.
- 1 egg – Allow the egg to reach room temperature to allow for easy mixing.
- 1 Tablespoon vanilla extract – Always use high-quality vanilla extract for the best flavor.
- 4 Tablespoons melted butter – We use this in the pancake batter and for cooking. You can use oil to cook the pancakes, but I find that the melted butter does a great job of enhancing the flavor.
Variations
- Make these silver dollar pancakes gluten-free by using a 1:1 gluten-free flour, such as Bob’s Red Mill or King Arthur. Both are convenient 1:1 substitutions.
- Feel free to make larger pancakes. However, keep in mind that the batter will yield fewer large pancakes, and you’ll likely need to adjust the cooking time.
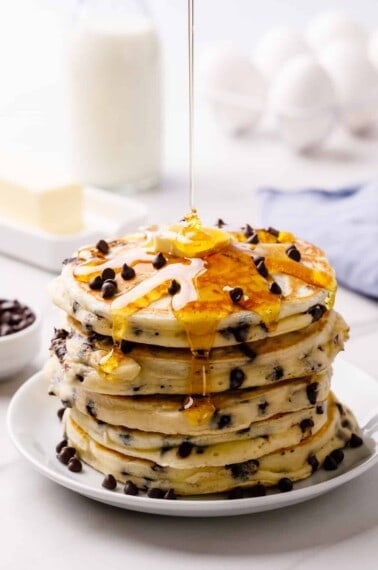
- Include your favorite add-ins, such as chocolate chips (like mini Chocolate Chip Pancakes!), chopped nuts, or blueberries.
- Use buttermilk instead of whole milk if you’d like a slightly tangy flavor and a richer taste.
Directions for How to Make Silver Dollar Pancakes
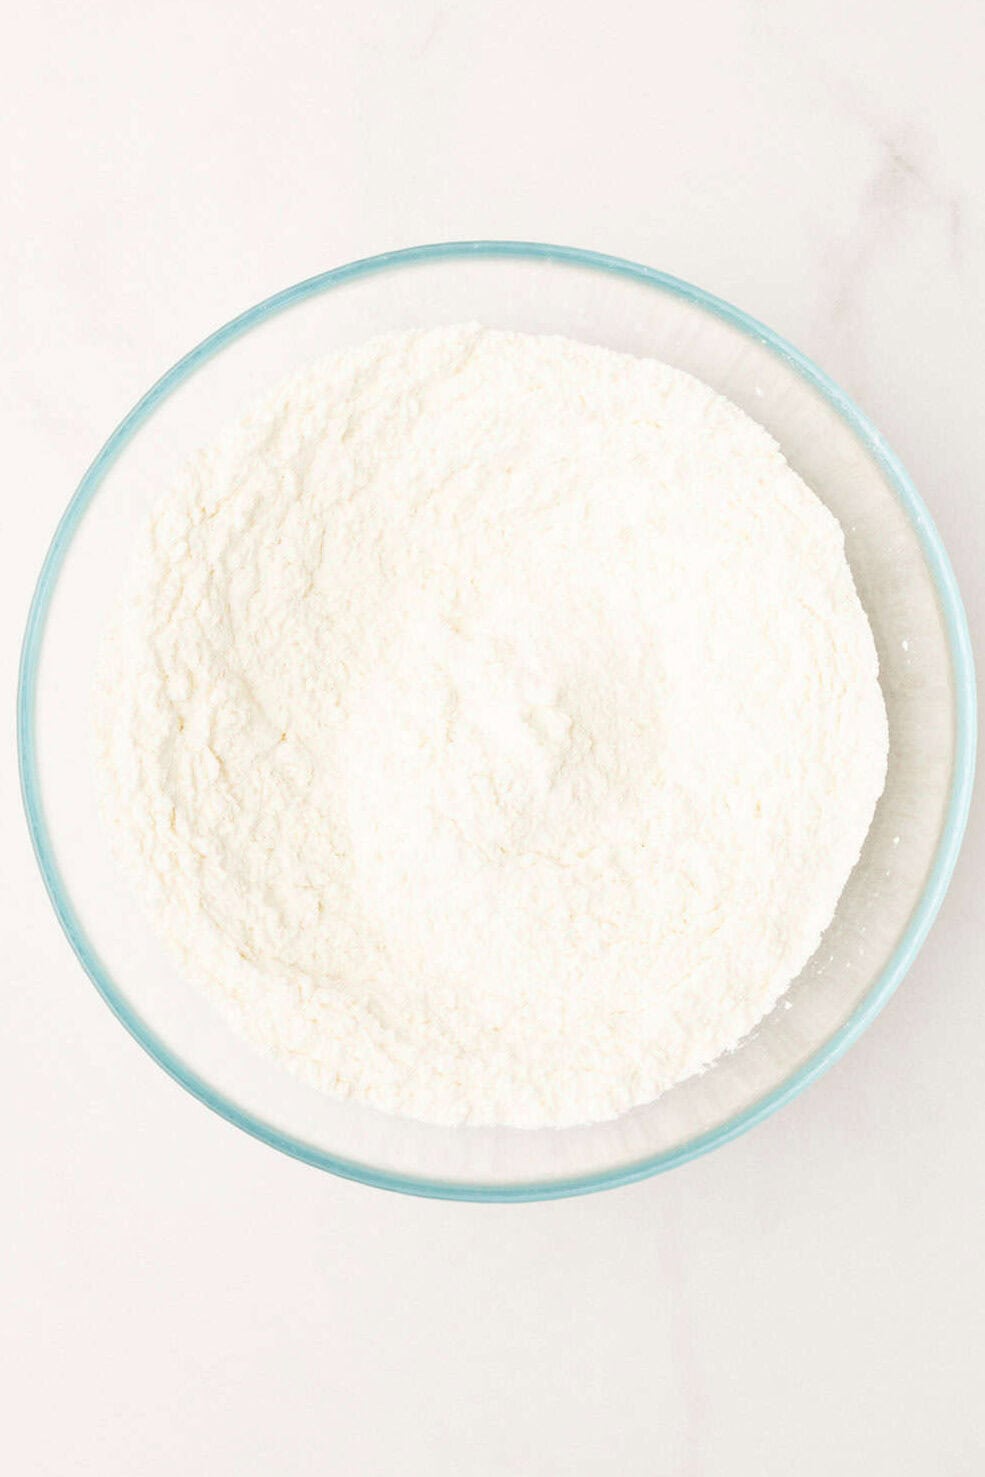
- Combine the dry ingredients: Add the flour, sugar, baking powder, and salt to a large bowl. Whisk until smooth.
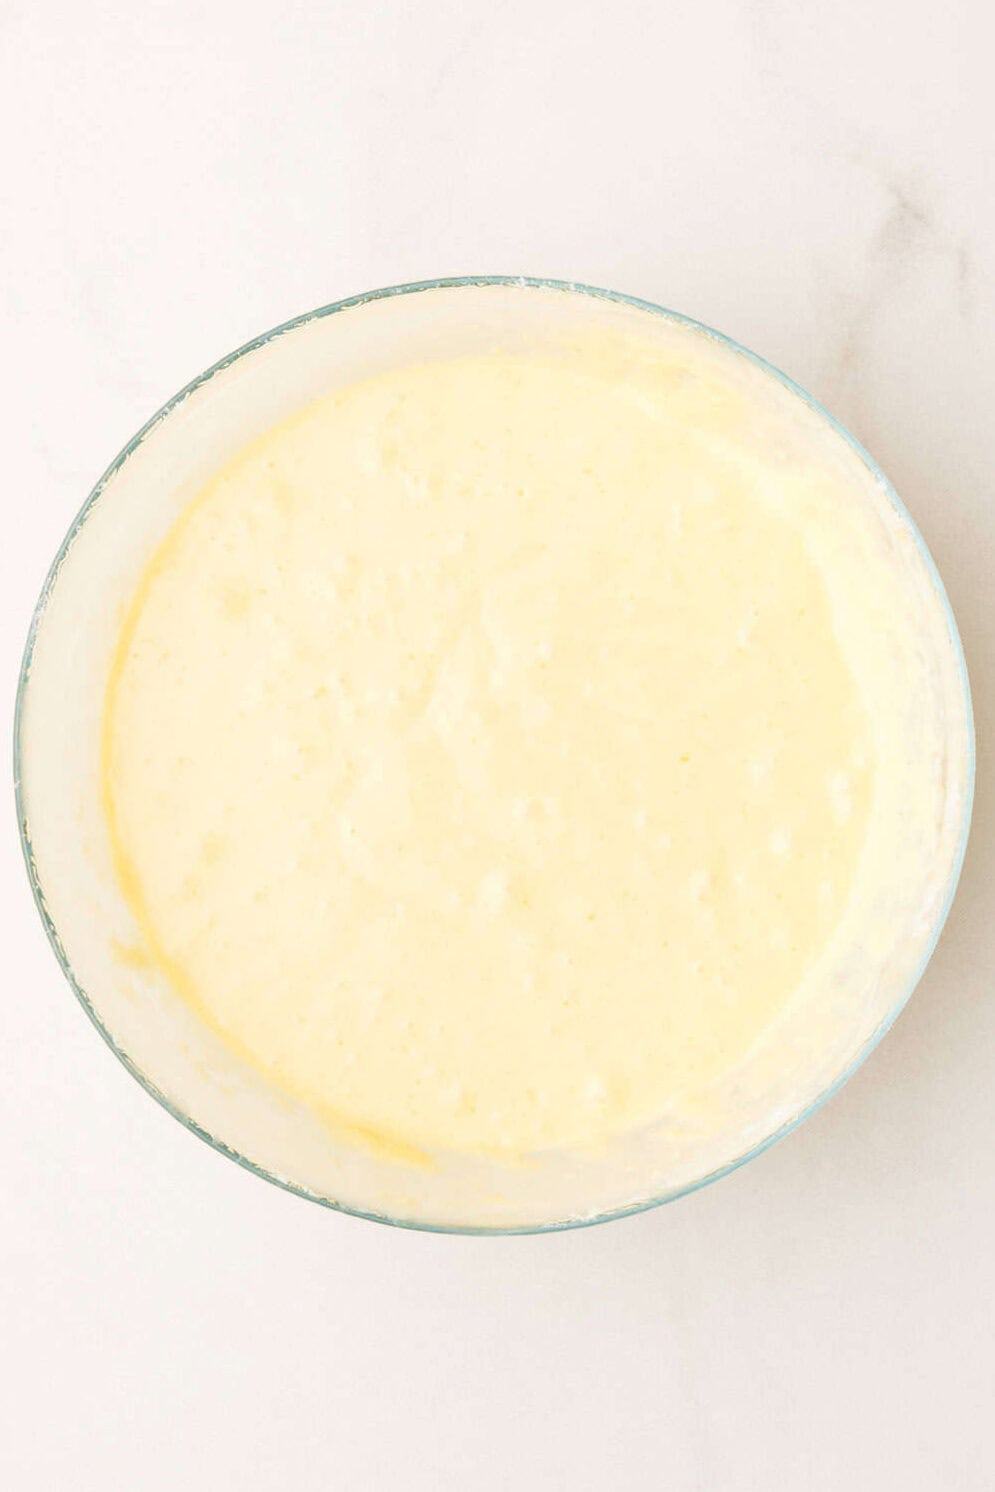
- Add the wet ingredients: Whisk the milk, egg, vanilla, and butter into the dry ingredients just until smooth. Then, let the batter rest for five minutes.
- Heat a skillet: While the batter rests, heat a large non-stick skillet over medium heat. Lightly grease the pan with butter or cooking spray.
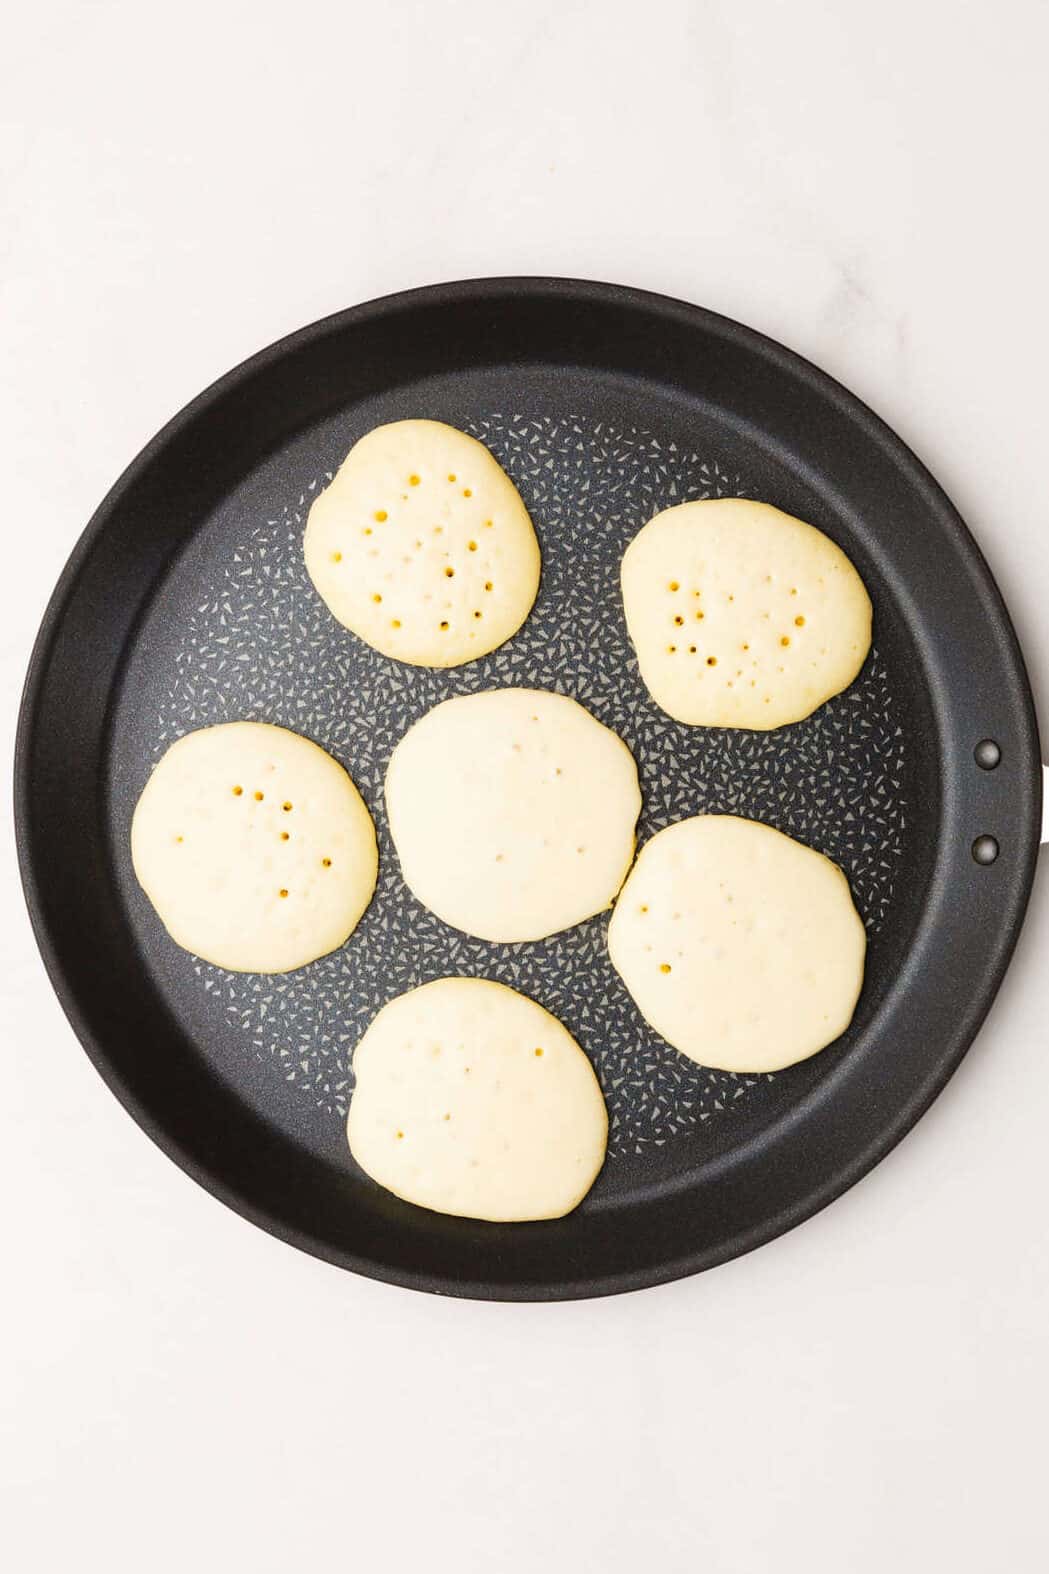
- Portion: Drop one tablespoon of batter onto the hot skillet. Dot tablespoon portions around the skillet.
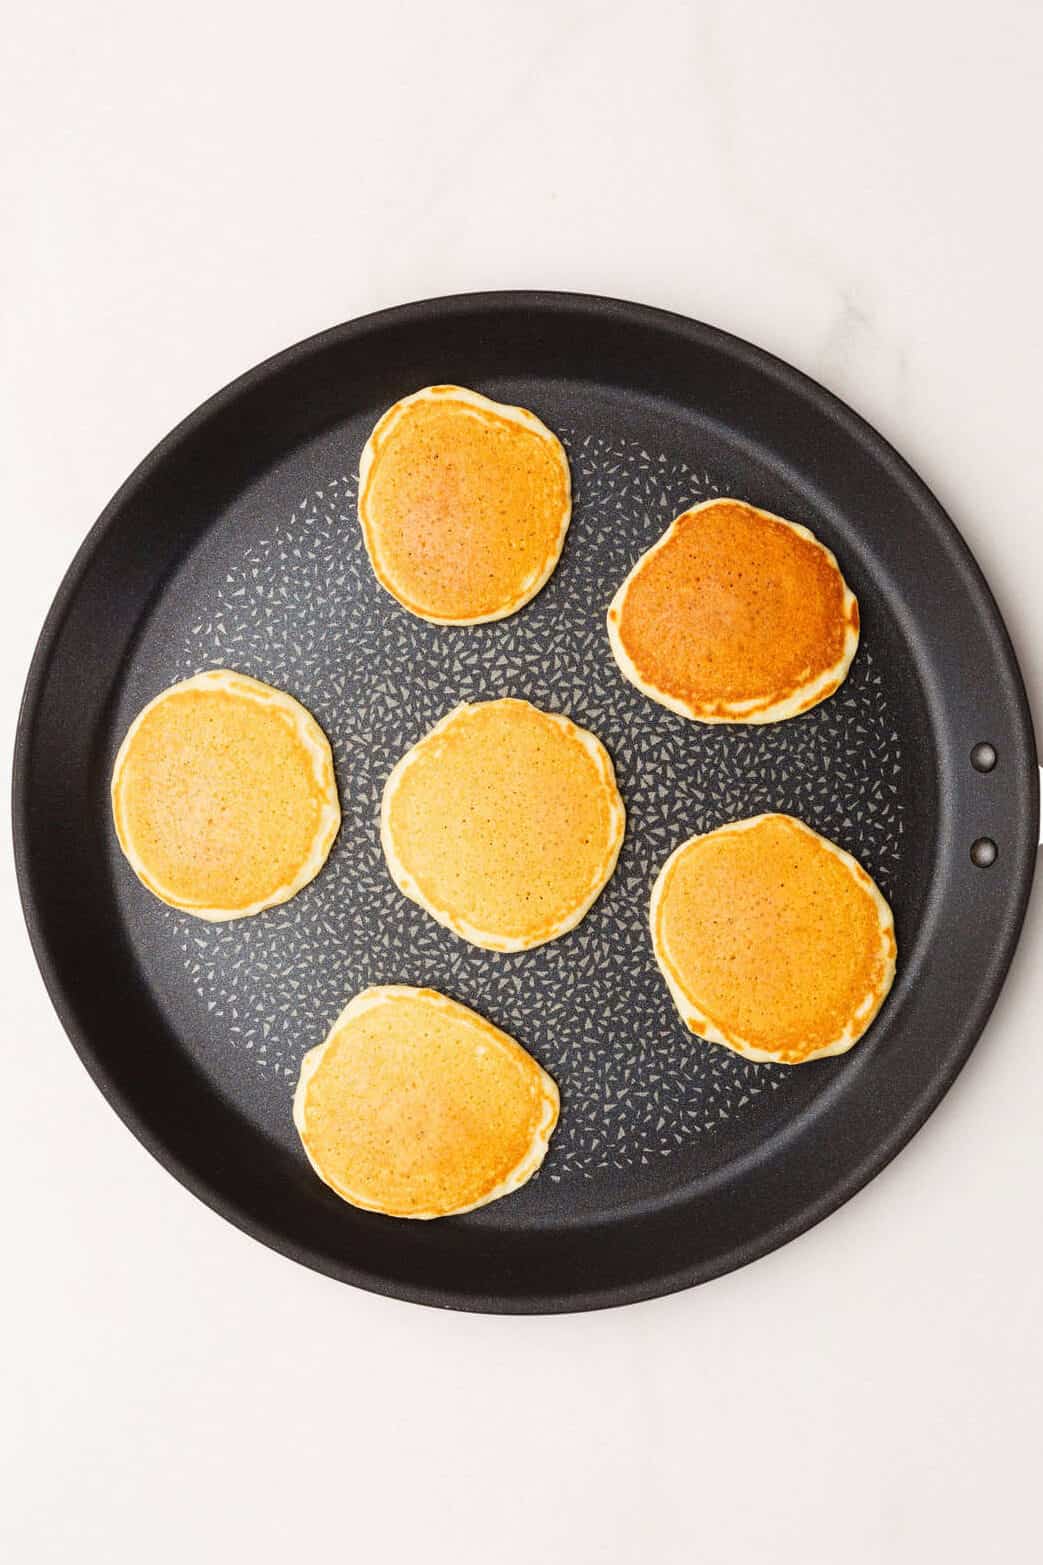
- Cook: Cook the pancakes for about two minutes or until bubbles form on the top. Once the bubbles pop, flip, and cook for another minute or until golden brown. Repeat with the remaining batter.
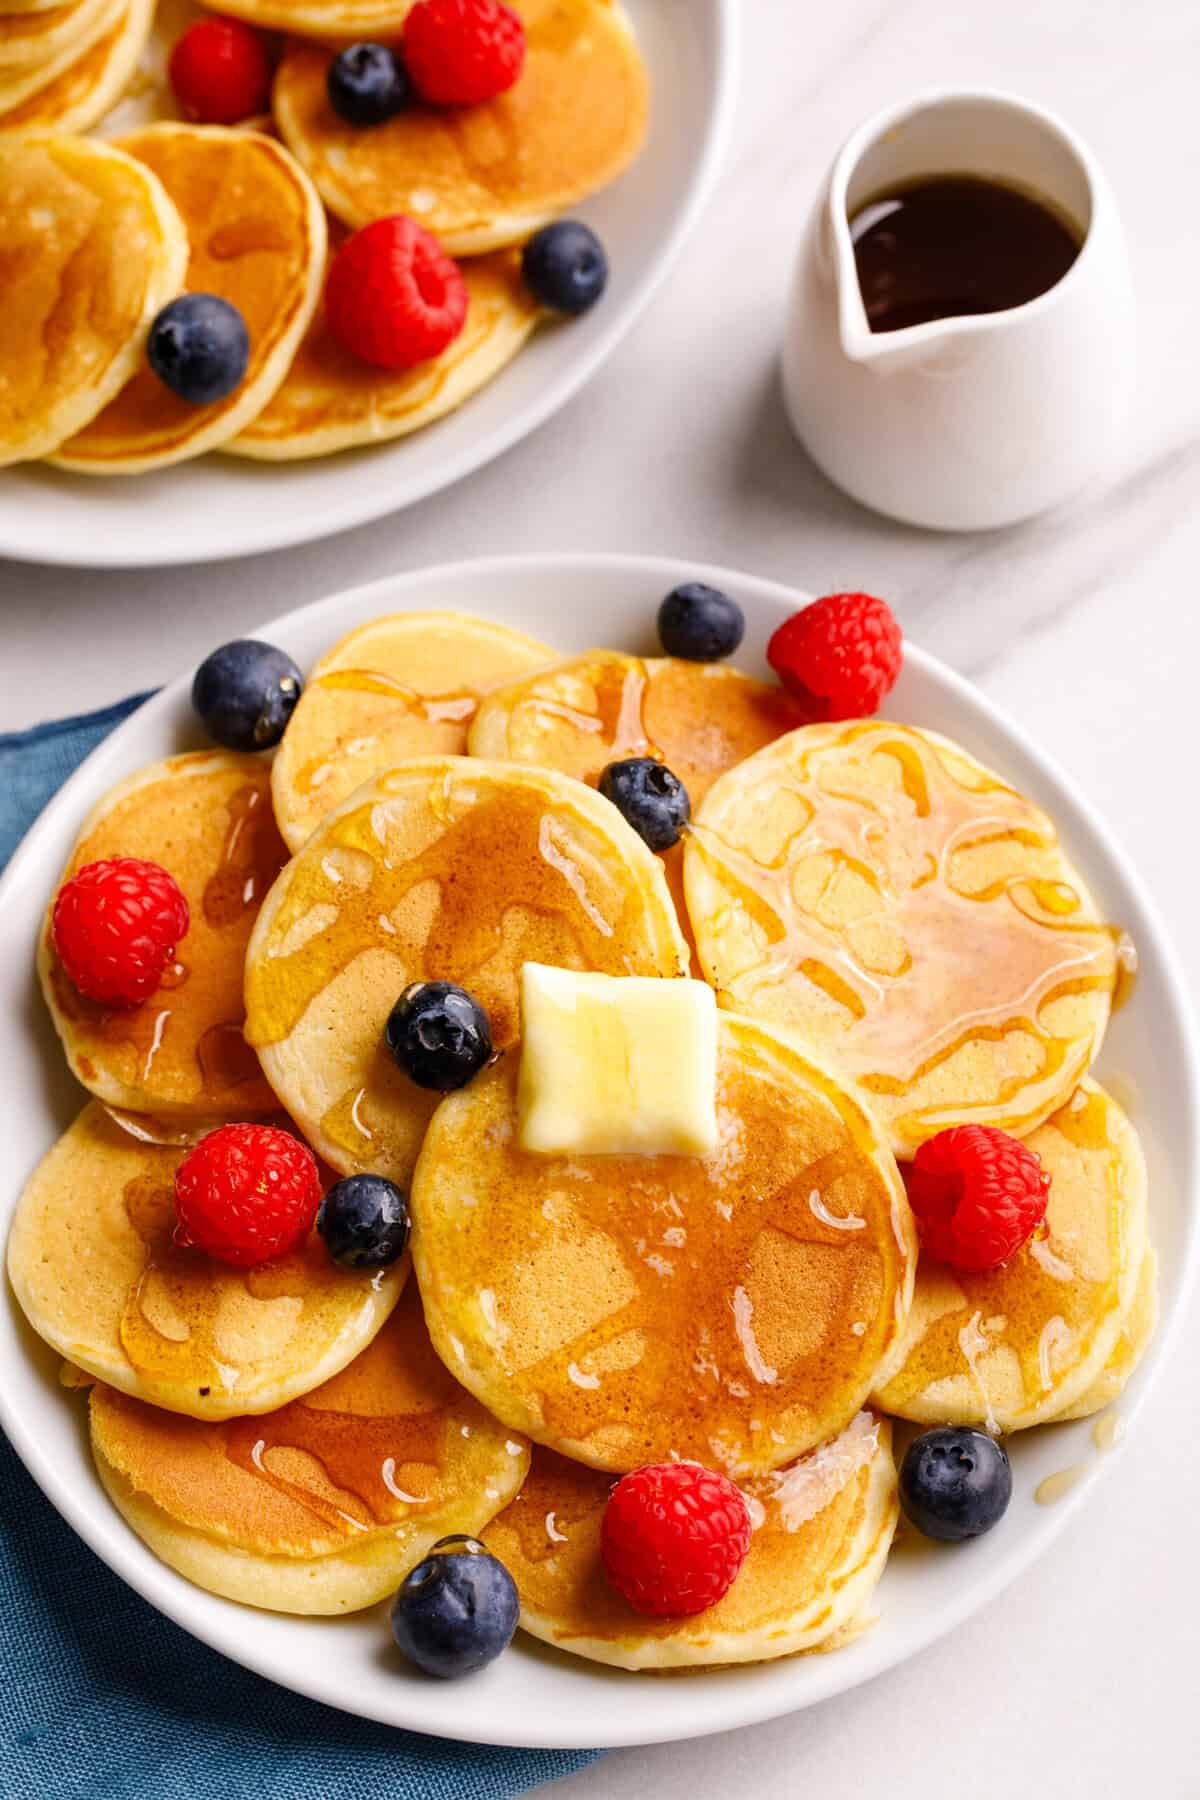
- Serve: Transfer the silver dollar pancakes to a plate, add your favorite toppings, and enjoy warm!
Serving Suggestions
Enjoy these bite-sized pancakes with an array of toppings, such as fresh fruit, whipped cream, honey or maple butter, pancake syrup, chocolate syrup, maple syrup, caramel sauce, homemade jam, and so much more!
These cute silver dollar pancakes can be stacked and skewered for a fun presentation or added to a breakfast or brunch charcuterie board. Or, enjoy them as part of a hearty breakfast alongside scrambled eggs, oven-cooked bacon, and sausage. Then, wash them down with a healthy Green Goddess Smoothie or a Blueberry Protein Smoothie.
How to Store + Freeze
- Store leftover pancakes in an airtight container in the fridge for up to four days.
- Freeze the cooked and cooled pancakes for up to three months. Place a sheet of parchment paper between each pancake to prevent them from clumping together!
- Reheat frozen or thawed pancakes in the microwave or toaster until warmed through.
Quick Tip
Since all stovetops differ, it’s a good idea to test one pancake before adding more batter to the heated skillet. Then, be sure to grease the skillet with additional butter between batches of pancakes to prevent sticking and burning!
Need help with this recipe?
Click the buttons below to summarize it, adjust for diets, swap ingredients, or ask your own questions!
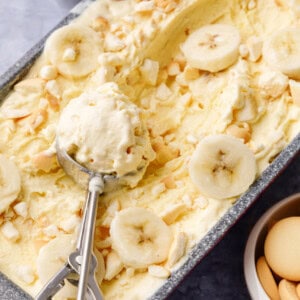
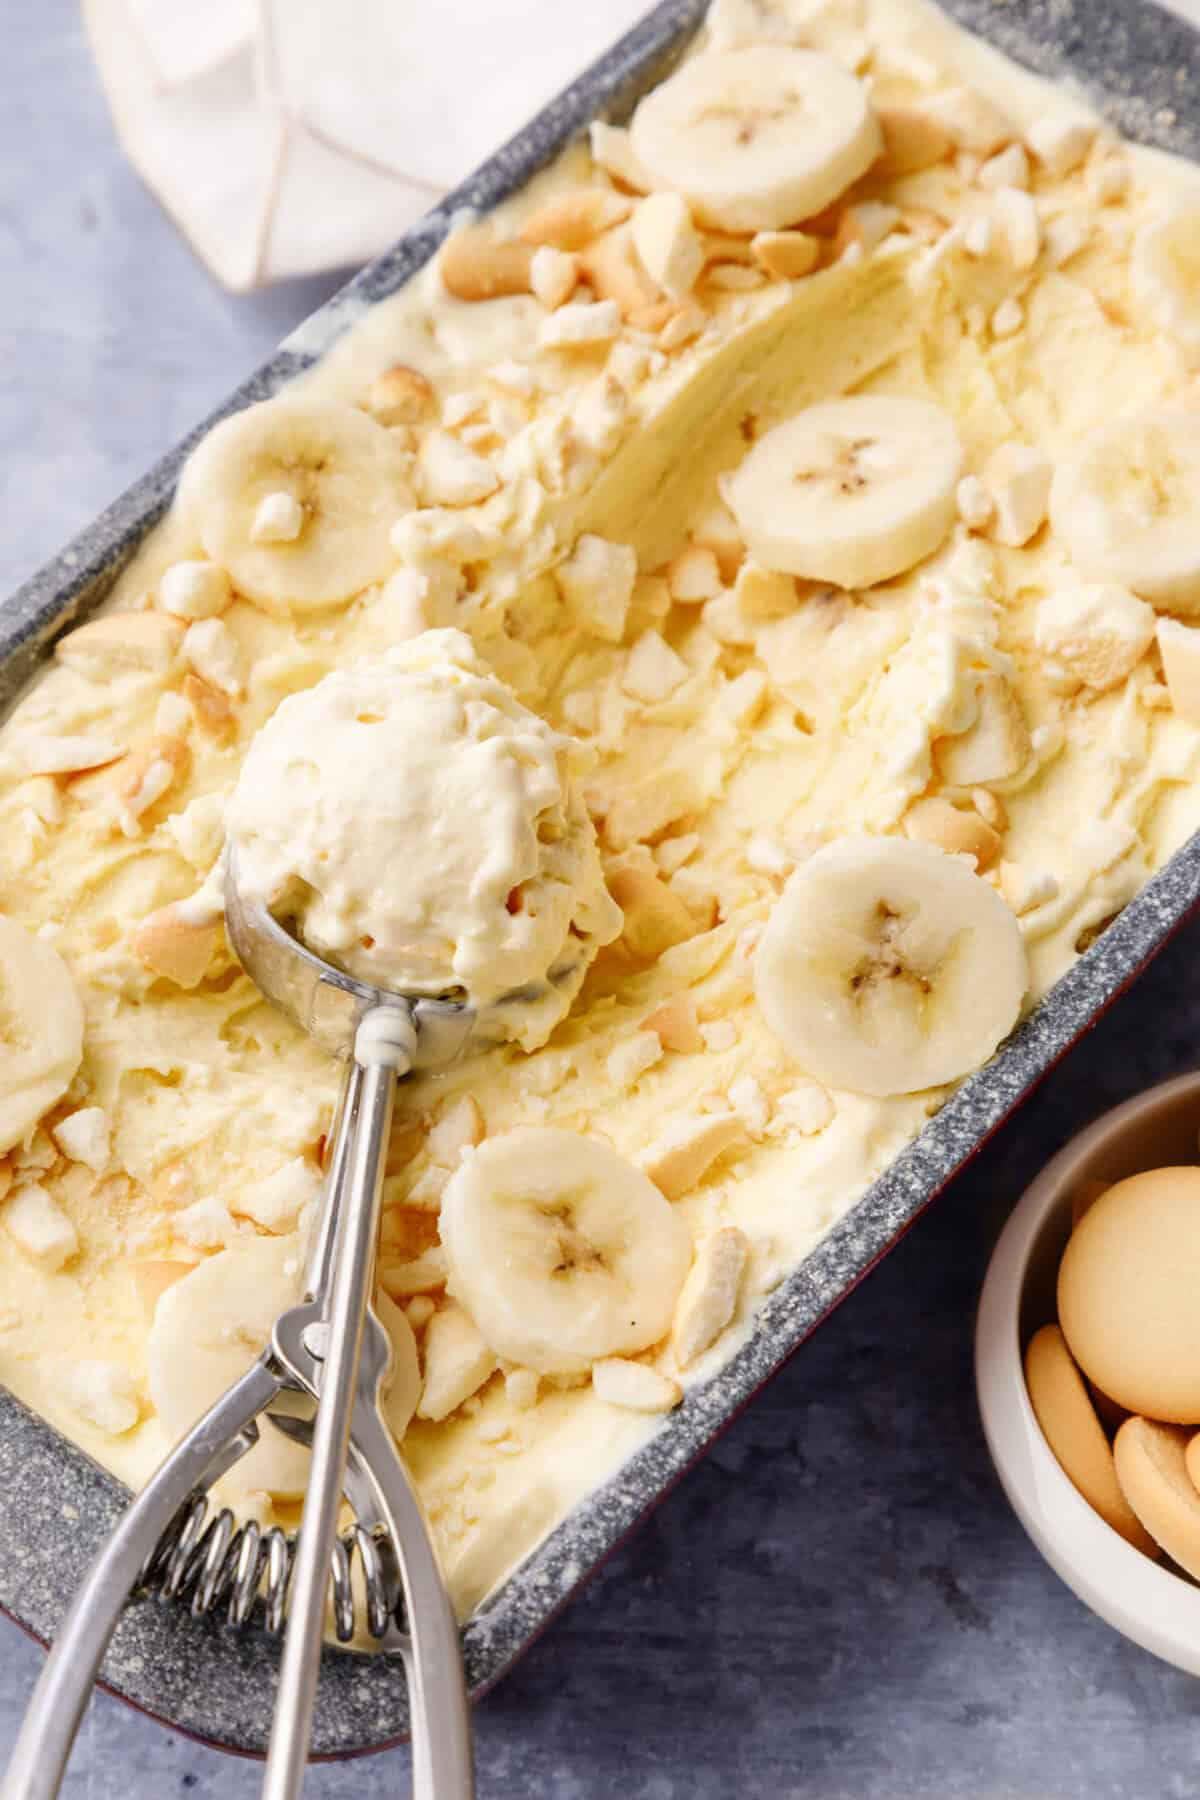
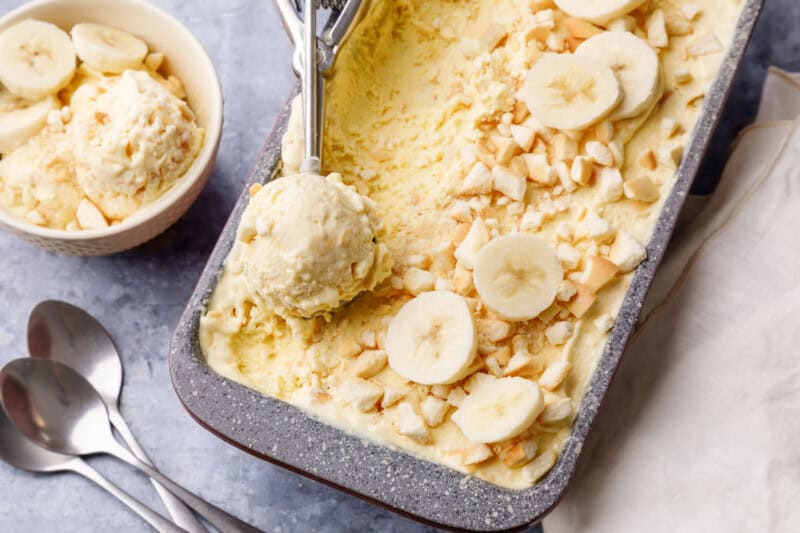
No Churn Banana Pudding Ice Cream
Equipment
- Two large mixing bowls
- Electric hand mixer
- Rubber spatula
- Airtight container
- Measuring cups and spoons
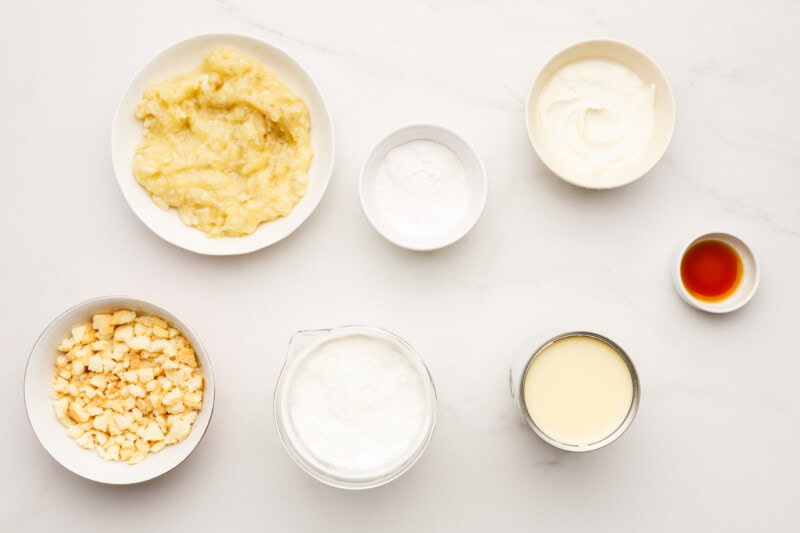
Ingredients
- ½ cup cream cheese softened
- 3.4 ounces instant banana pudding
- 14 ounces sweetened condensed milk
- 2 teaspoons vanilla extract
- 2 cups heavy cream
- ¾ cup crushed vanilla wafers
- 2 bananas mashed
Instructions
- Gather all the ingredients.

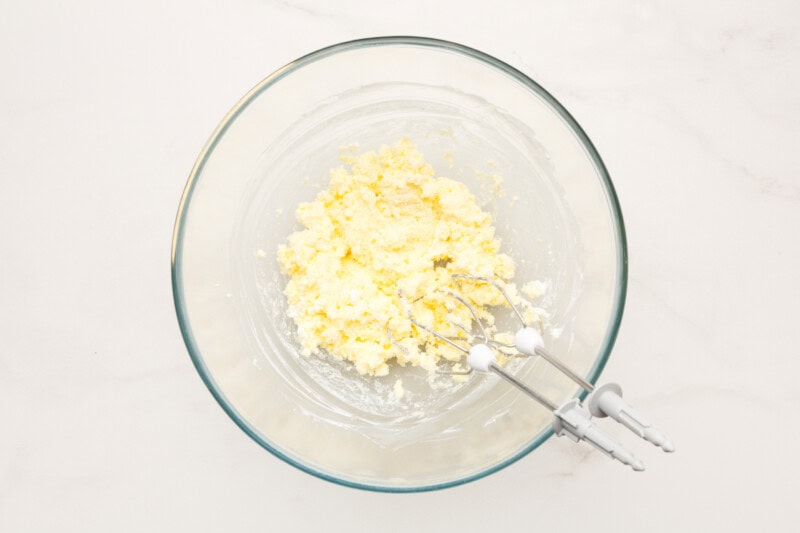
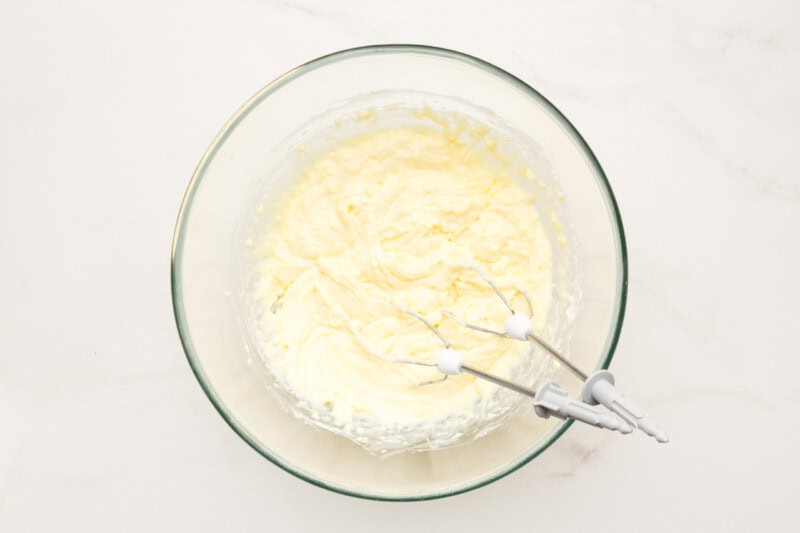
- Add the cream cheese and instant pudding to a large mixing bowl and beat until smooth using an electric mixer.½ cup cream cheese, 3.4 ounces instant banana pudding
- With the mixer on, slowly stream in the sweetened condensed milk, blending it into the cream cheese mix. Stir in the vanilla.14 ounces sweetened condensed milk, 2 teaspoons vanilla extract
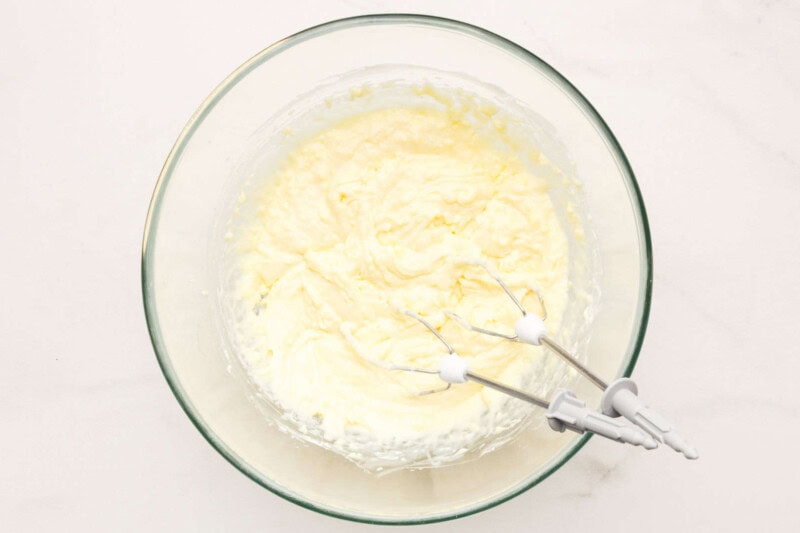
- In a separate bowl, beat the heavy cream until stiff peaks form using an electric mixer.2 cups heavy cream
- Gently fold the whipped cream into the cream cheese mix, folding carefully so the whipped cream stays fluffy.
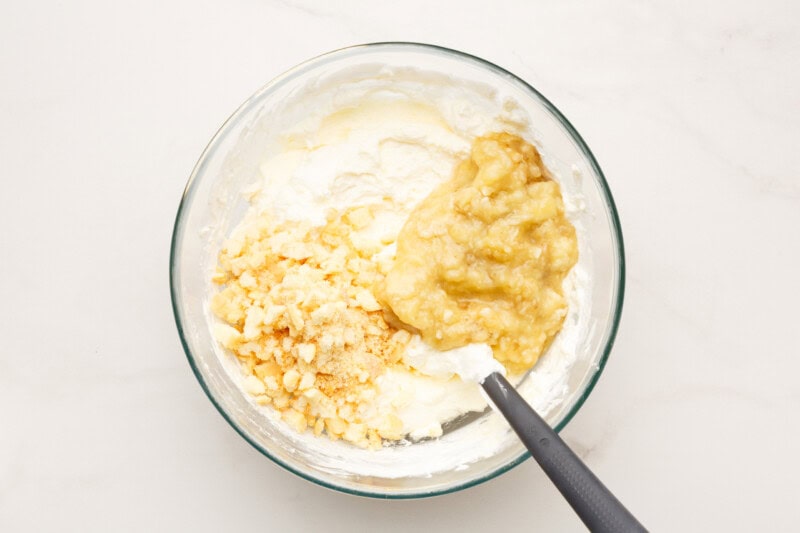
- Gently stir in the mashed bananas and vanilla wafers.¾ cup crushed vanilla wafers, 2 bananas
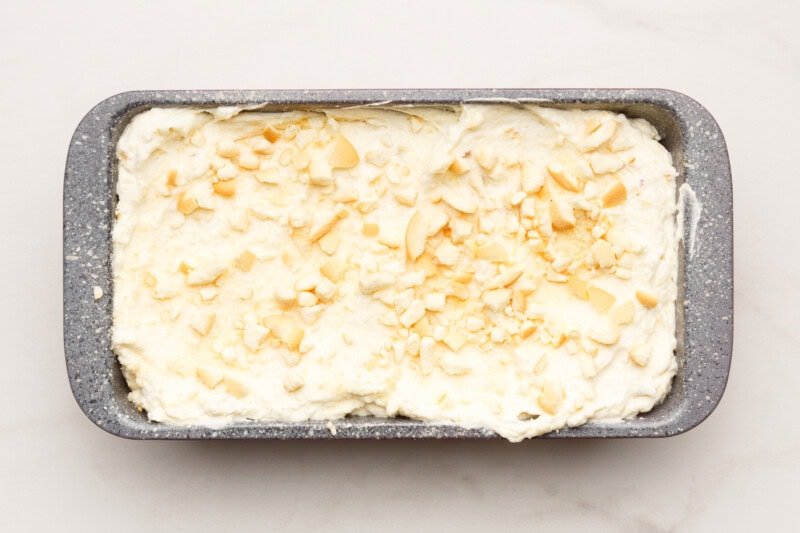
- Scoop the mix into a freezer-safe container with a lid, cover, and freeze for at least 4 hours.
- Scoop the ice cream out of the container and serve cold!
Nutrition
Did you make this Silver Dollar Pancakes Recipe? Be sure to let us know how it turned out and leave a rating and comment.
More Scrumptious Pancake Recipes
Breakfast
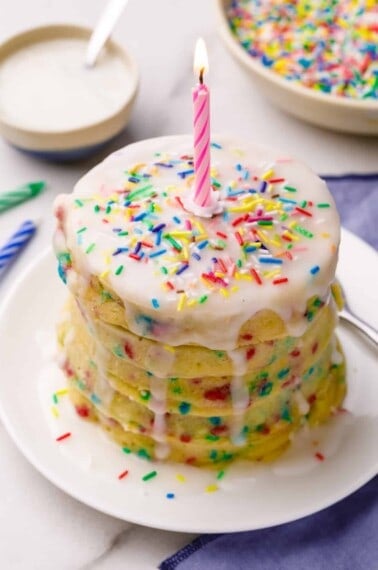
Birthday Cake Pancakes
Breakfast
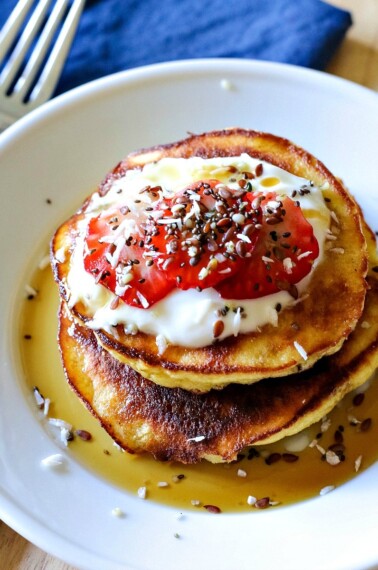
Coconut Flour Pancakes
Breakfast
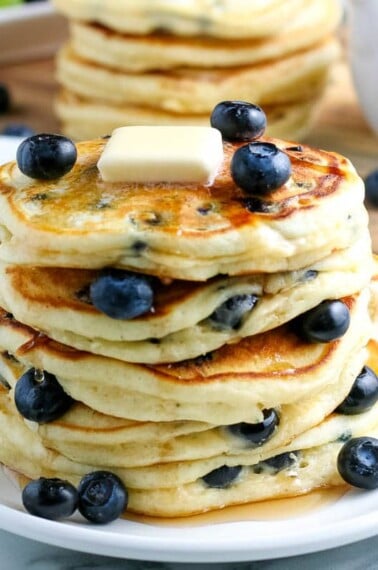
The Best Blueberry Pancakes
Breakfast
Easy Chocolate Chip Pancakes
Pancakes
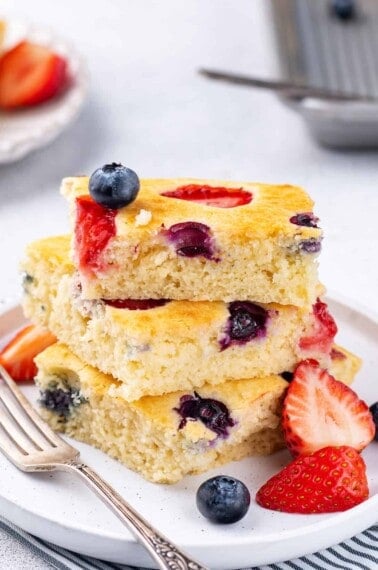
Sheet Pan Pancakes
Breakfast