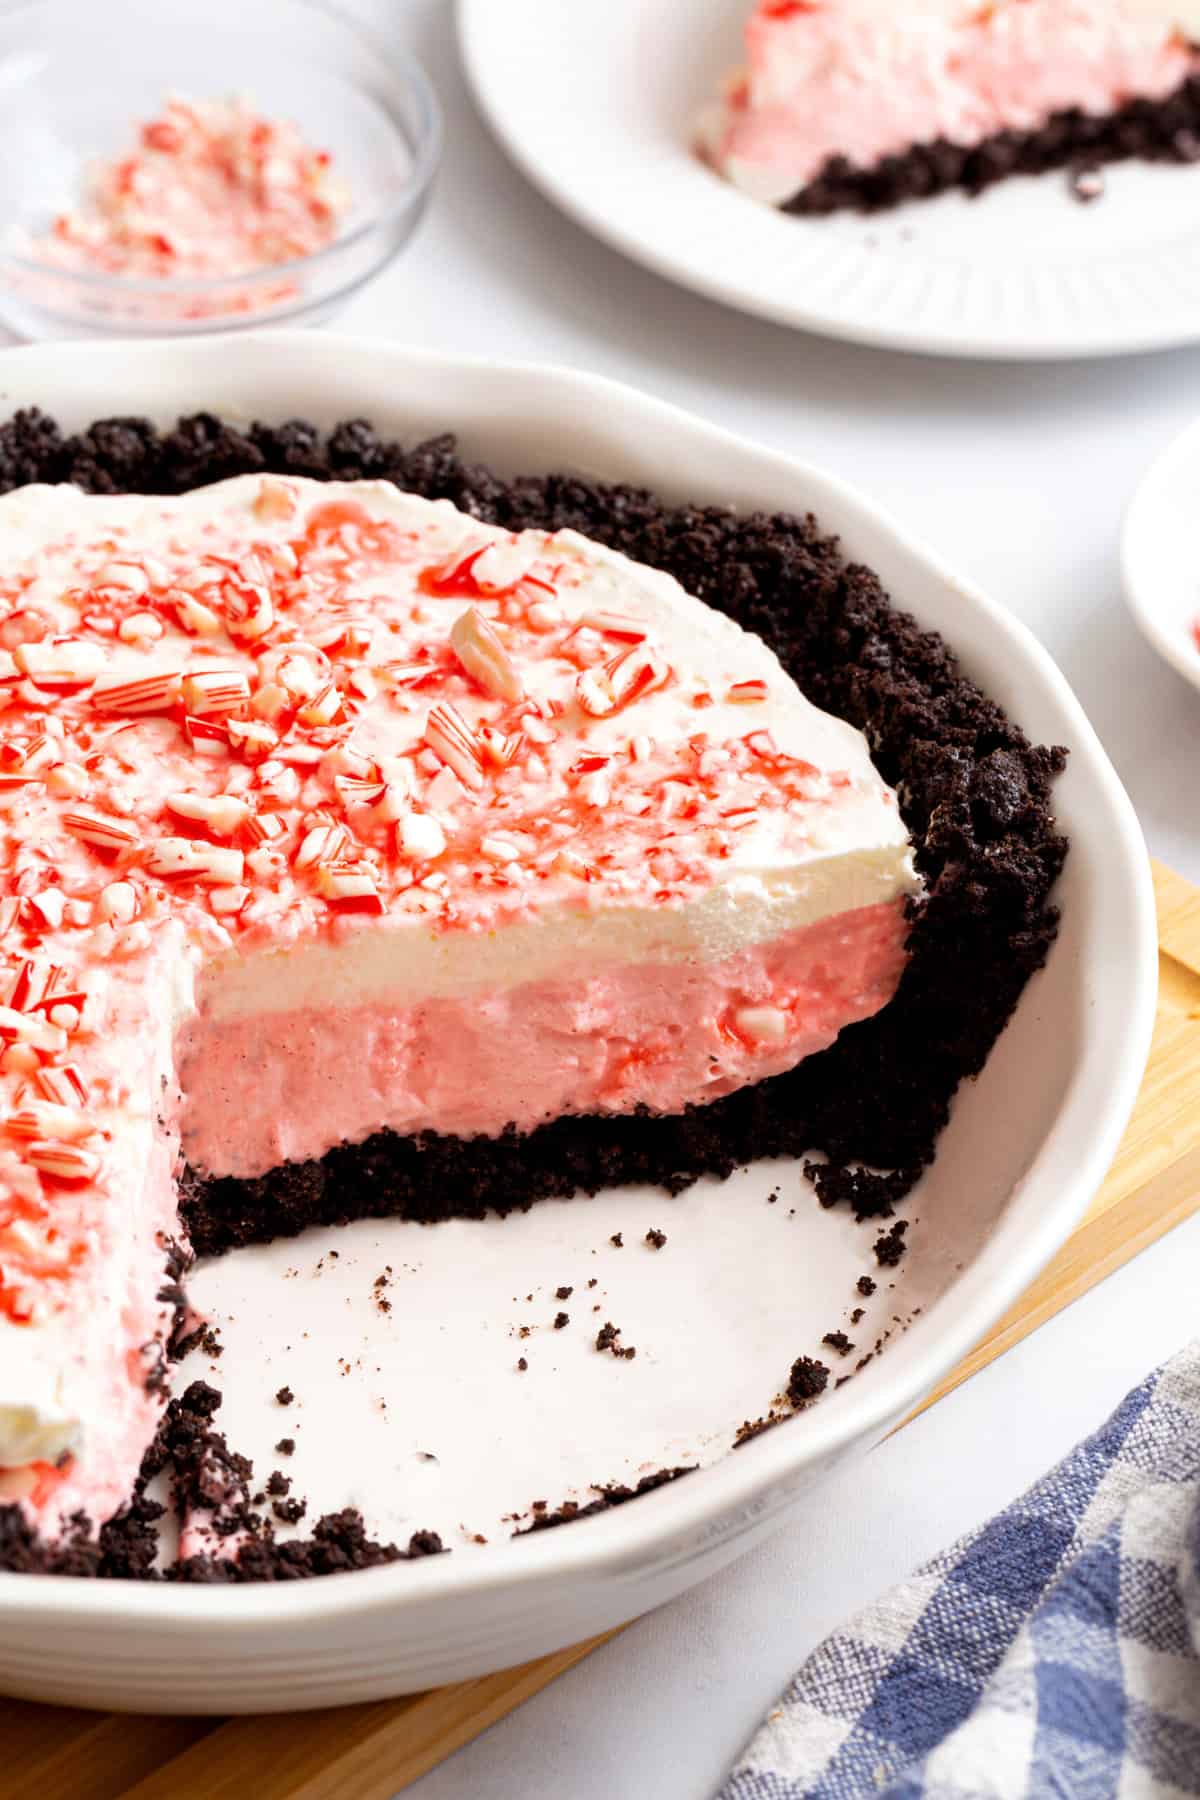
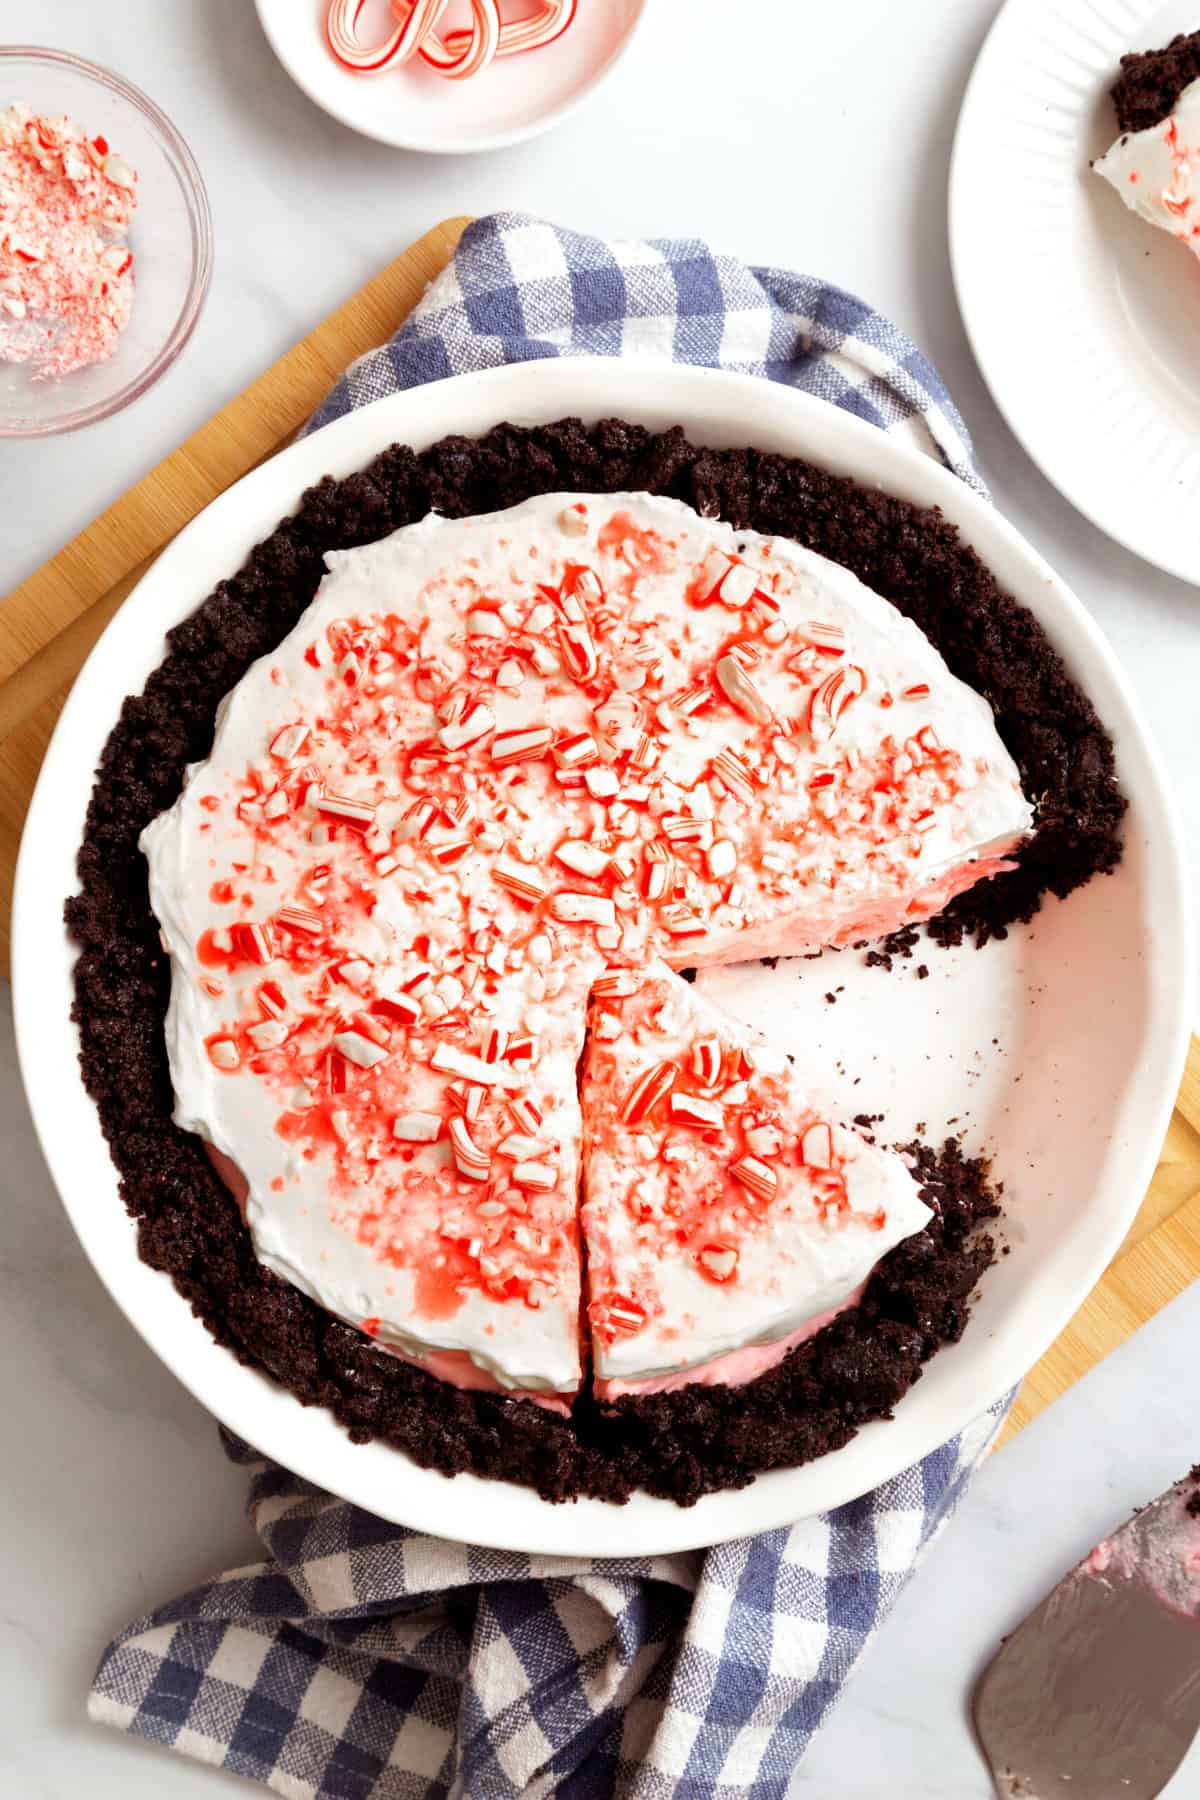
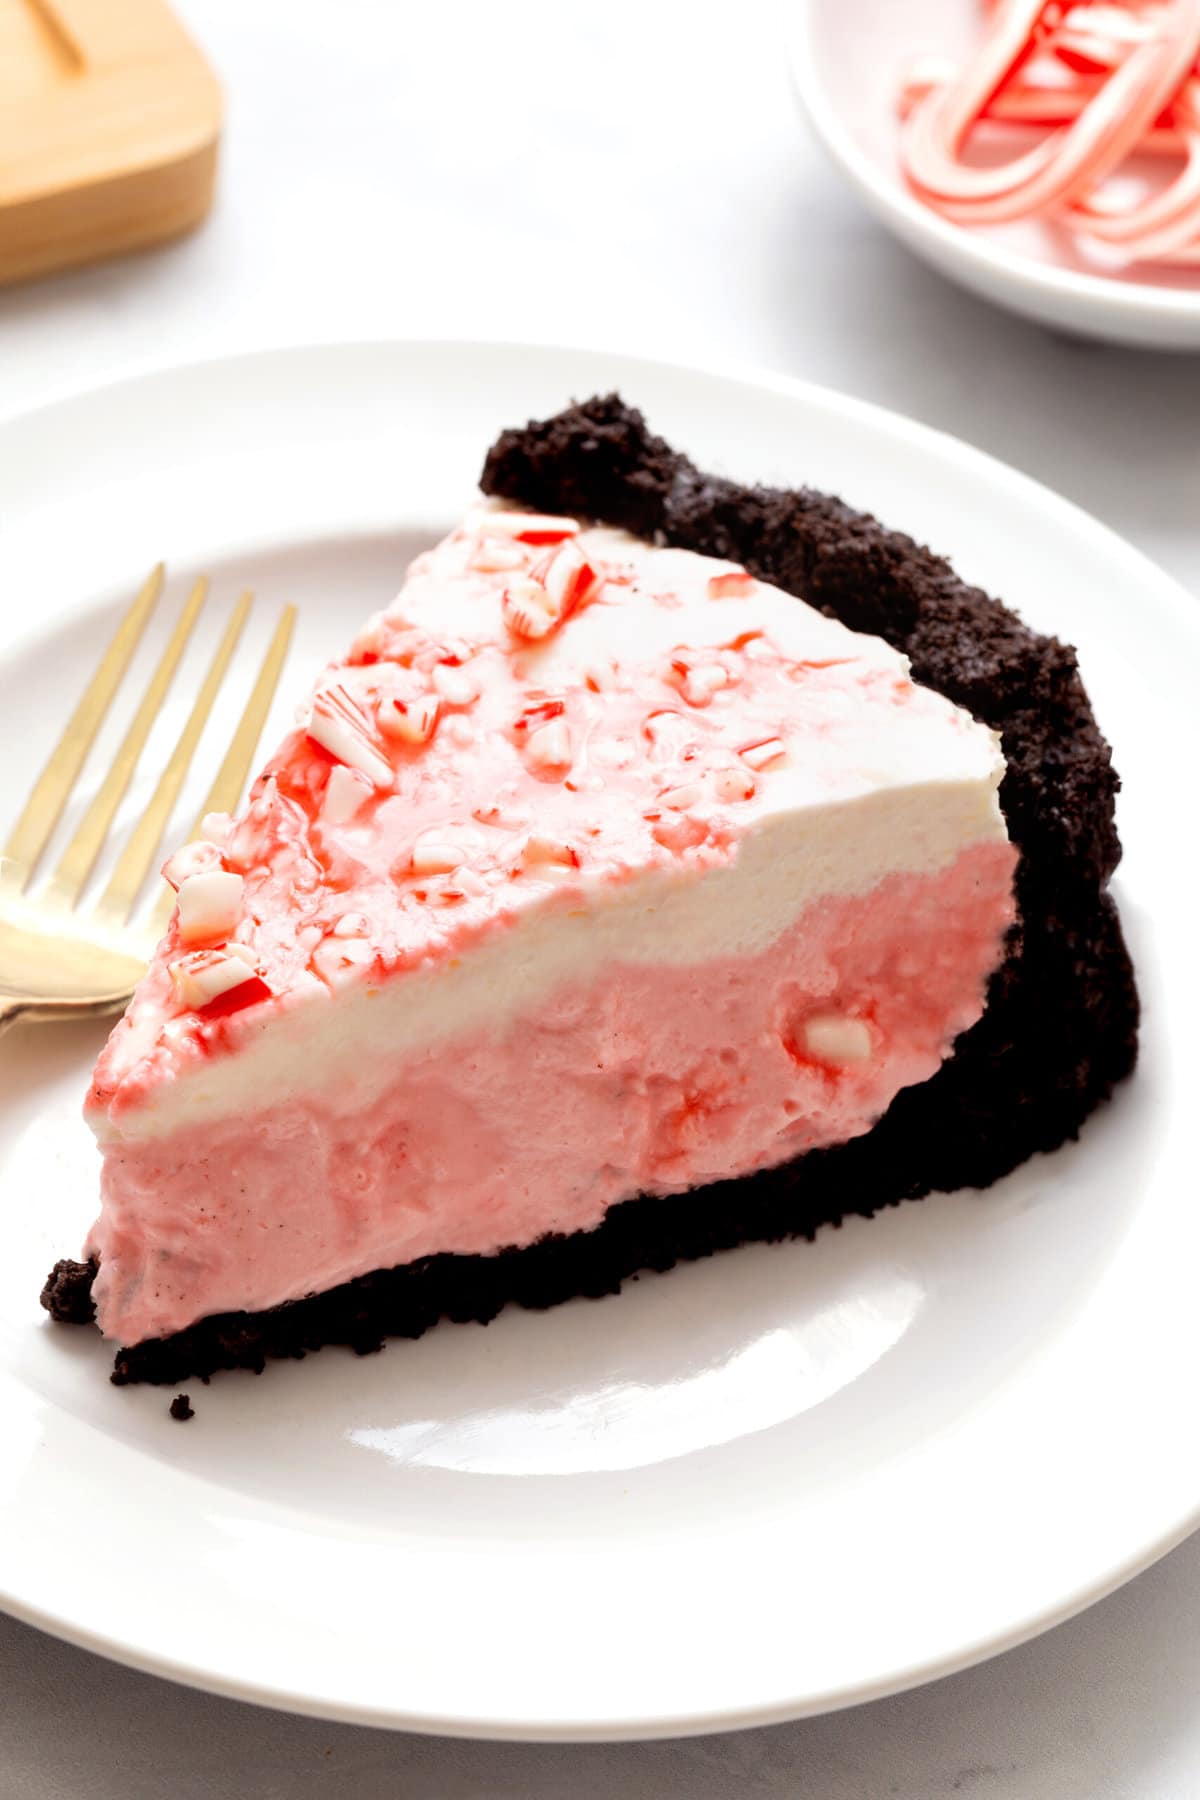
Candy Cane Pie features a buttery crushed Oreo pie crust, a peppermint-flavored cream cheese filling, and a topping of Cool Whip and crushed candy canes. Sweet and festive, it’s sure to impress your family and friends this holiday season!
Pin this recipe now to save it for later
Pin RecipeEasy no-bake Candy Cane Pie is a must-try for holiday gatherings, parties, and potlucks. This creamy peppermint pie comes together in just 20 minutes with a handful of pantry-staple ingredients. It’s the perfect no-bake dessert for when you’re rushing around putting the finishing touches on the holiday ham and mashed potatoes!
Made with minimal prep time and absolutely no cooking time, this sweet, refreshing pie is great to make ahead of time and pull out for dessert on Christmas day. One bite and it’s sure to become a staple in your lineup of Christmas dessert recipes right next to the No Bake Egg Nog Pie!
Candy Cane Pie Recipe
What are the holidays without the use of candy canes in recipes?! In case you hadn’t noticed, I’m quite a fan of peppermint-flavored desserts and the use of candy canes in recipes and dessert platters during the Christmas season. Just have a look at these Peppermint Bark Brownies, Chocolate Candy Cane Cupcakes, and Christmas Dessert Charcuterie Board!
Today, I’m excited to showcase my decadent Candy Cane Pie recipe! It’s an easy no-bake holiday-inspired dessert combining a rich chocolate Oreo crust with a fluffy cream cheese center. Flavored with peppermint extract,this peppermint pie is given a boost of festive flair with a few drops of red gel food coloring.
Then, Cool Whip is gently folded into the filling for extra volume and fluff, and crushed candy canes are scattered across the top for additional texture, flavor, and a picture-worthy appearance!
Grab My Favorite Tools
Click on the products below to see my favorite tools for making this recipe!
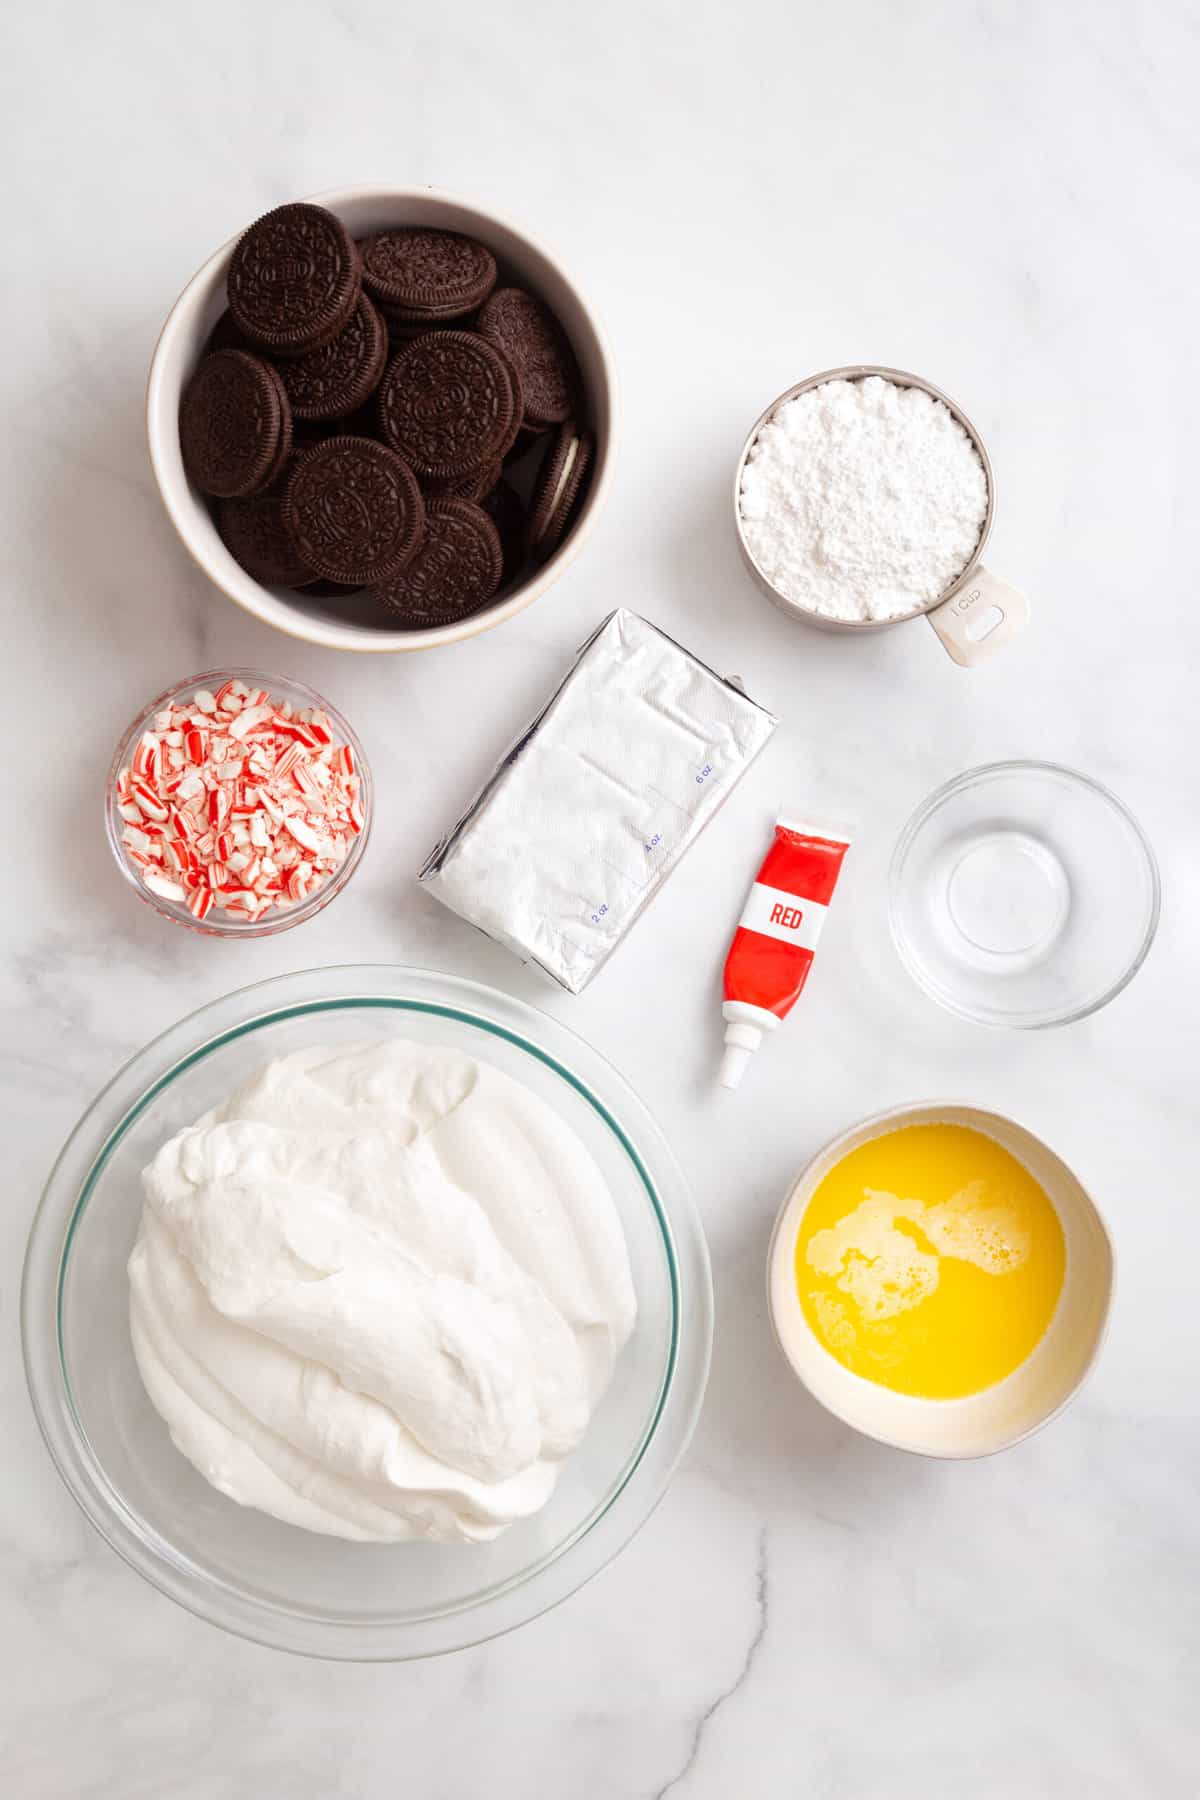
Ingredients for Candy Cane Pie
See recipe card below this post for ingredient quantities and full instructions.
- Oreo cookies – I recommend using traditional chocolate Oreos, but you can also opt for fun flavored varieties.
- Butter – Melted. You can use salted or unsalted butter.
- Cream cheese – Softened at room temperature for easy mixing into the filling ingredients.
- Powdered sugar – To sweeten the filling. Sift it before adding it to the rest of the ingredients to remove any lumps!
- Red gel food coloring – Use a quality brand. Feel free to use liquid food coloring instead. Just keep in mind that you’ll need more of the product to achieve the same color intensity.
- Peppermint extract – Find this in the baking or spice sections of your local grocery store.
- Cool Whip – Slightly thawed for it to fold easily into the cream cheese mixture.
- Candy canes – Avoid any mess by adding the candy canes to a sealable bag and crushing them with a rolling pin on a flat kitchen board or countertop.
Variations
- Create a deeper pink color by adding more drops of red food coloring to the pie filling. Alternatively, use less food coloring for a softer pink hue.
- Swap out the Oreos for chocolate graham crackers or any other variety of crisp chocolate cookies. Or, save time, and use a pre-made Oreo pie crust from the store.
- Make mini no-bake candy cane pies using mini disposable aluminum pie pans.
- If you need more than one pie, you can easily double the recipe, and use either two 9” pie pans or one larger pan. Keep in mind that you may need to increase the chill time if you double the pie ingredients for one larger dessert.
How to Make Candy Cane Pie
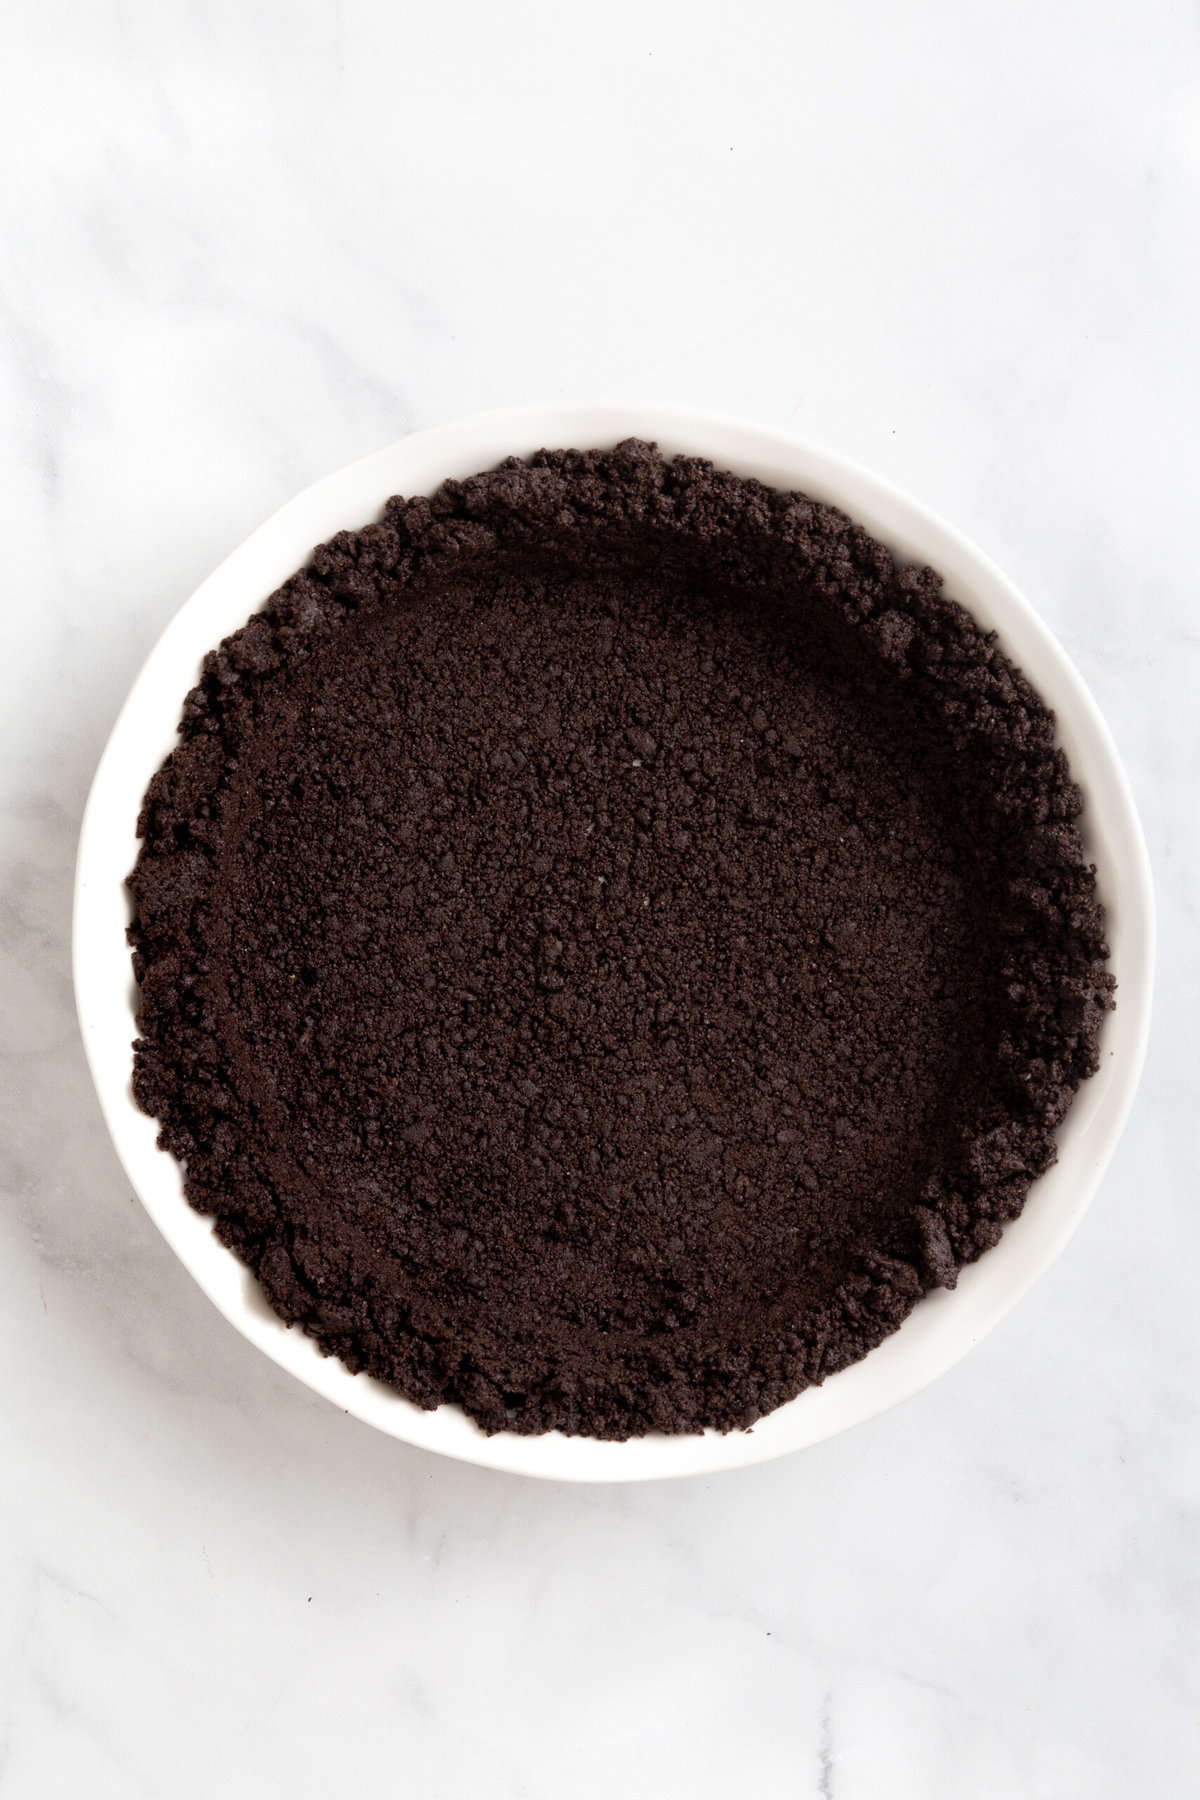
- Make the pie crust: Combine processed Oreo cookies with melted butter until a wet sand-like consistency is achieved. Press the mixture into a 9” pie pan, covering the bottom and sides. Smooth the mixture out with the flat surface of a spatula or measuring cup. Chill the crust in the fridge while making the filling.
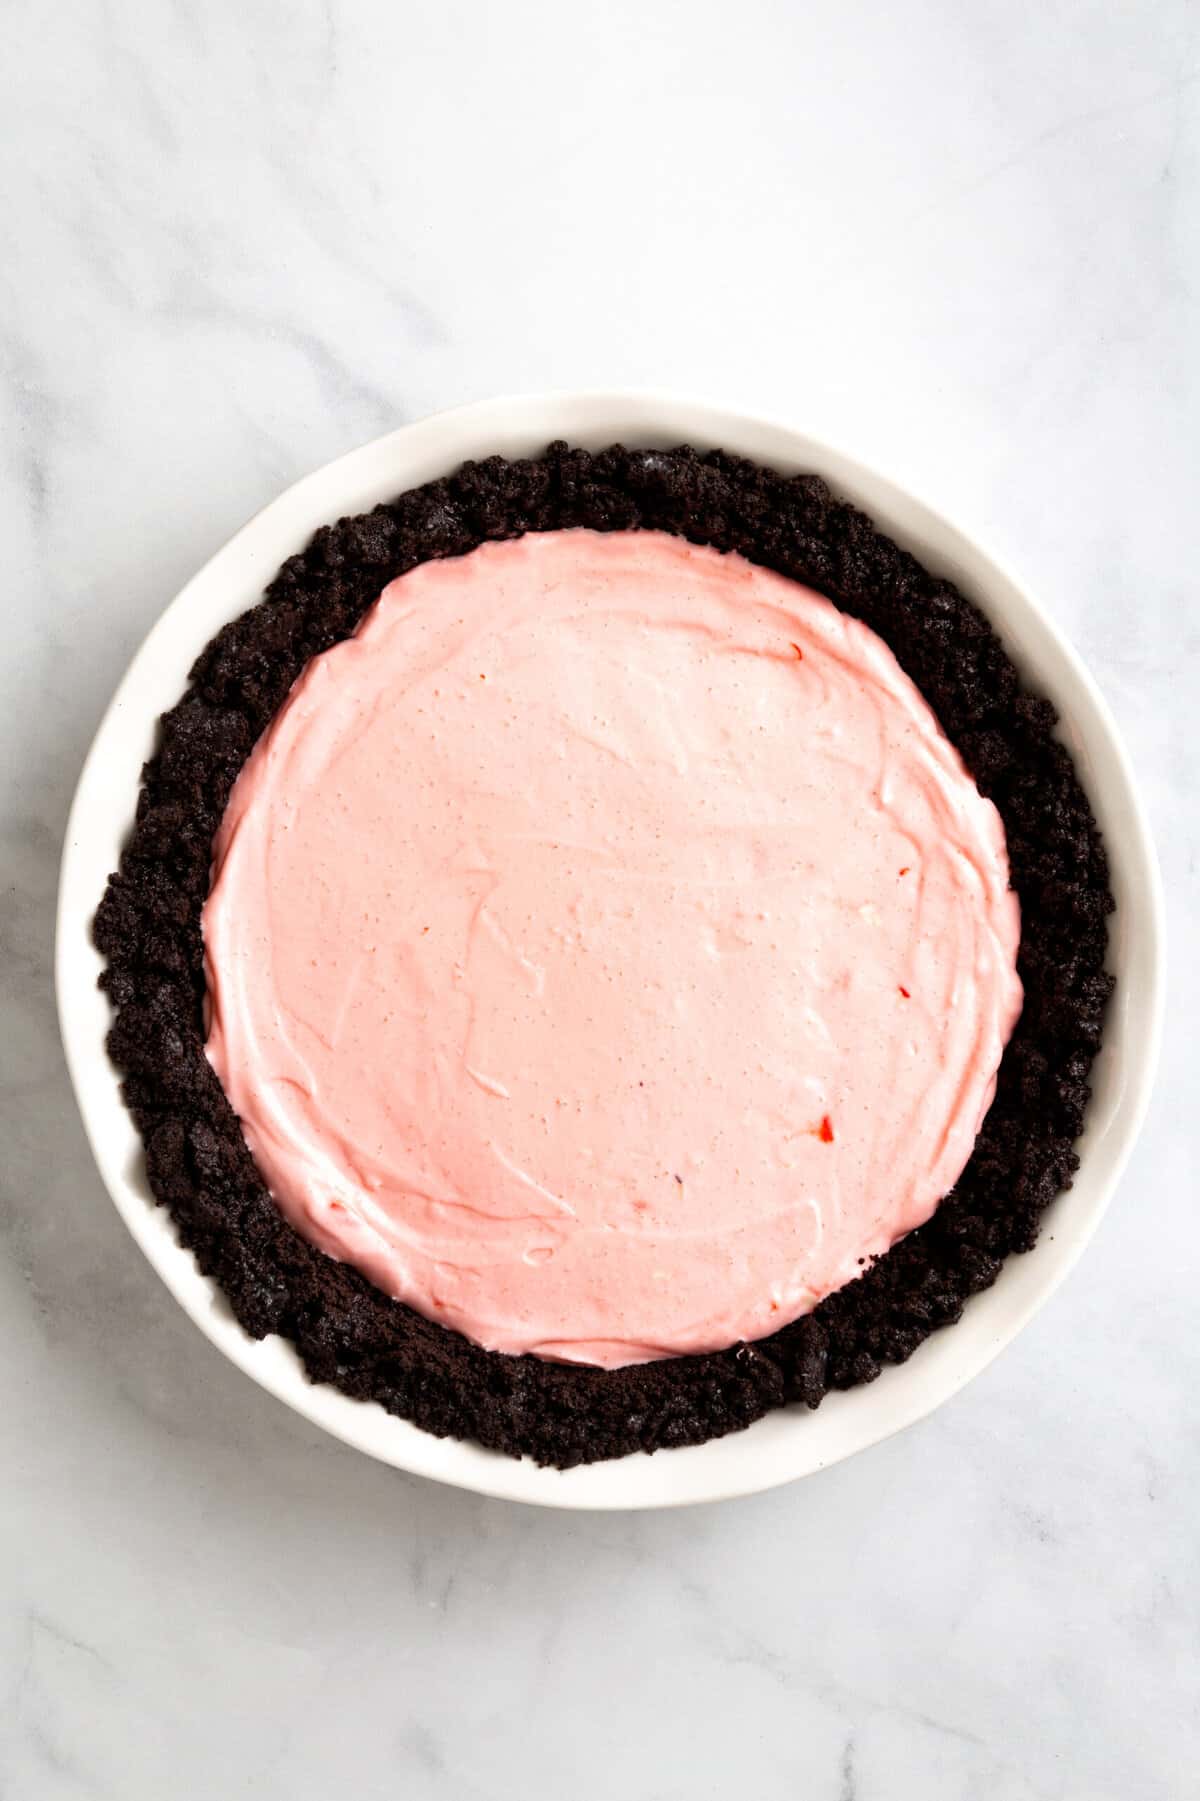
- Make the pie filling: Combine the cream cheese and powdered sugar into a smooth mixture. Add the red food coloring and peppermint extract. Gently fold in half of the Cool Whip and half of the crushed candy canes.
- Assemble the candy cane pie: Scoop the pie filling into the pie crust, and gently smooth it out.
- Refrigerate: Chill the pie in the fridge for 1 hour.
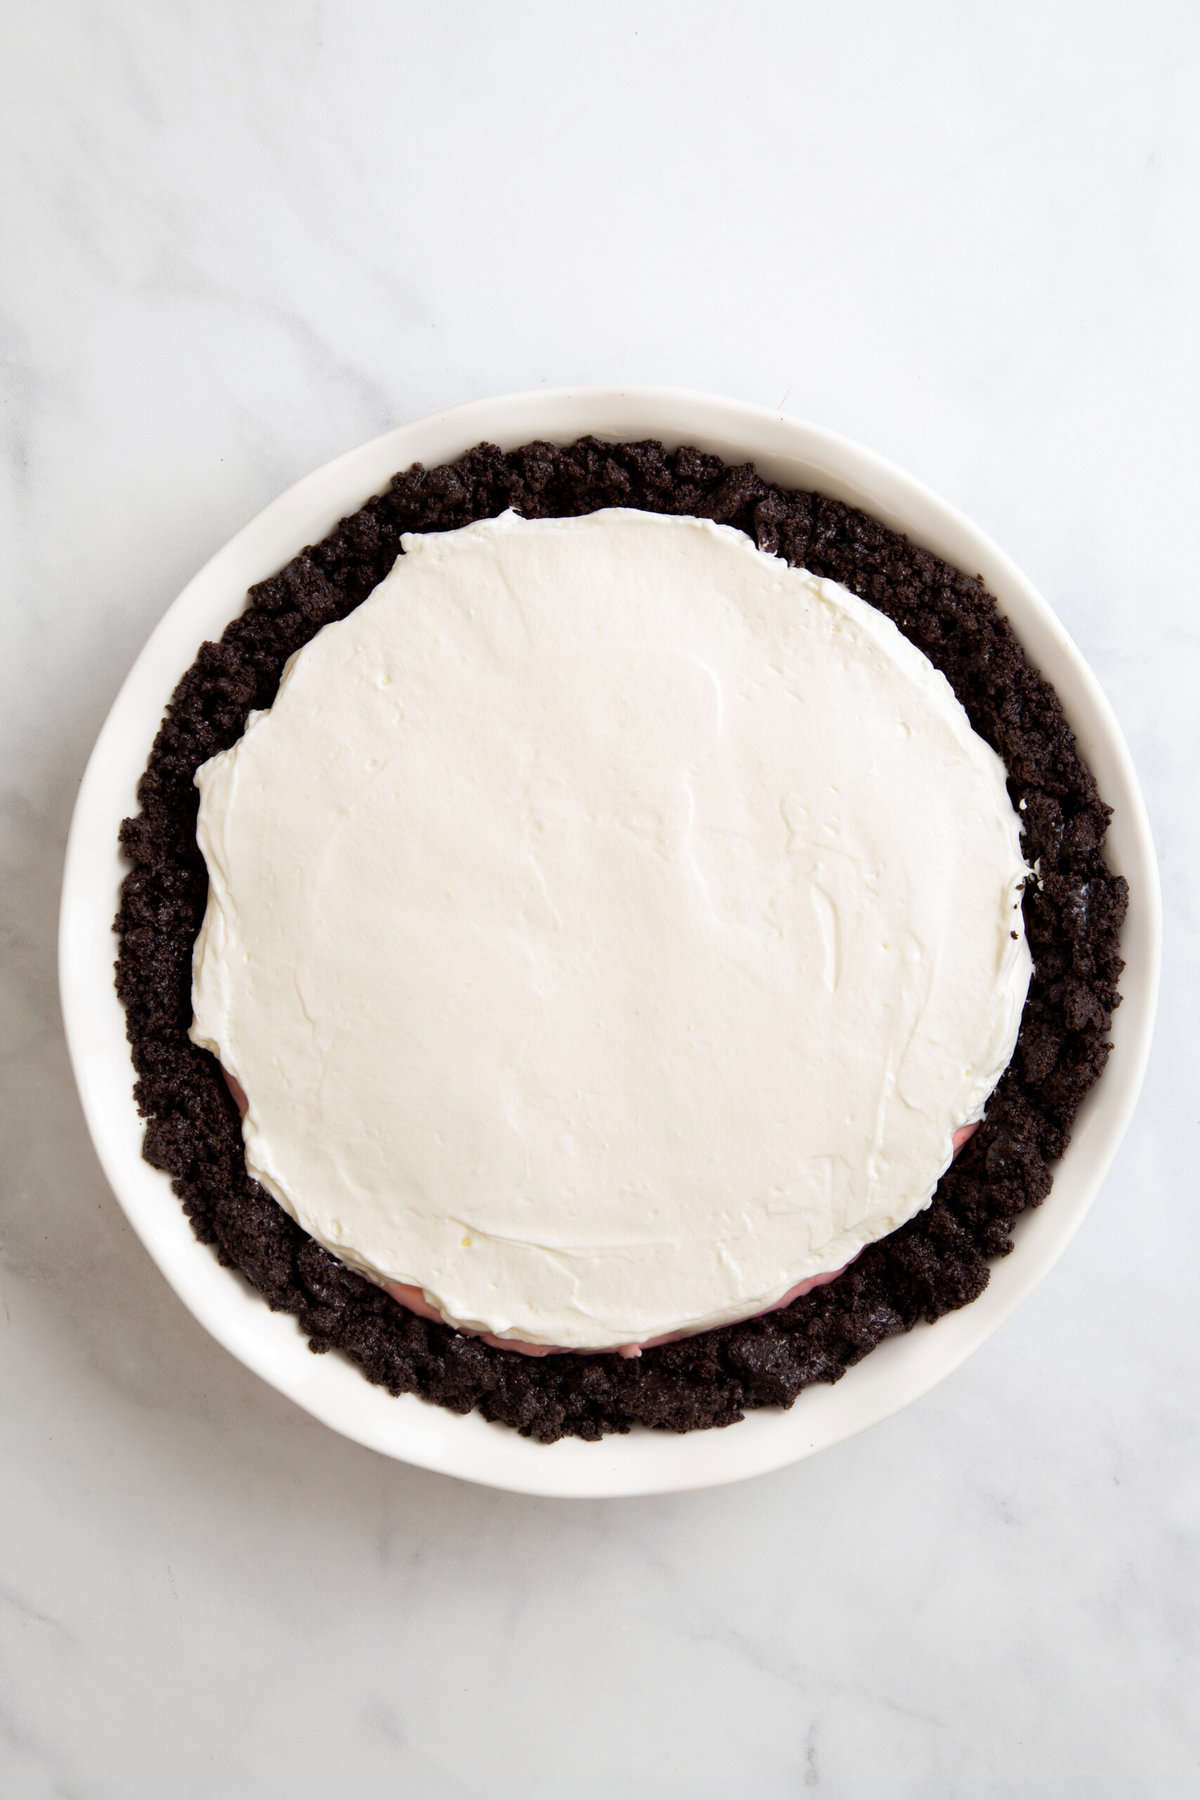
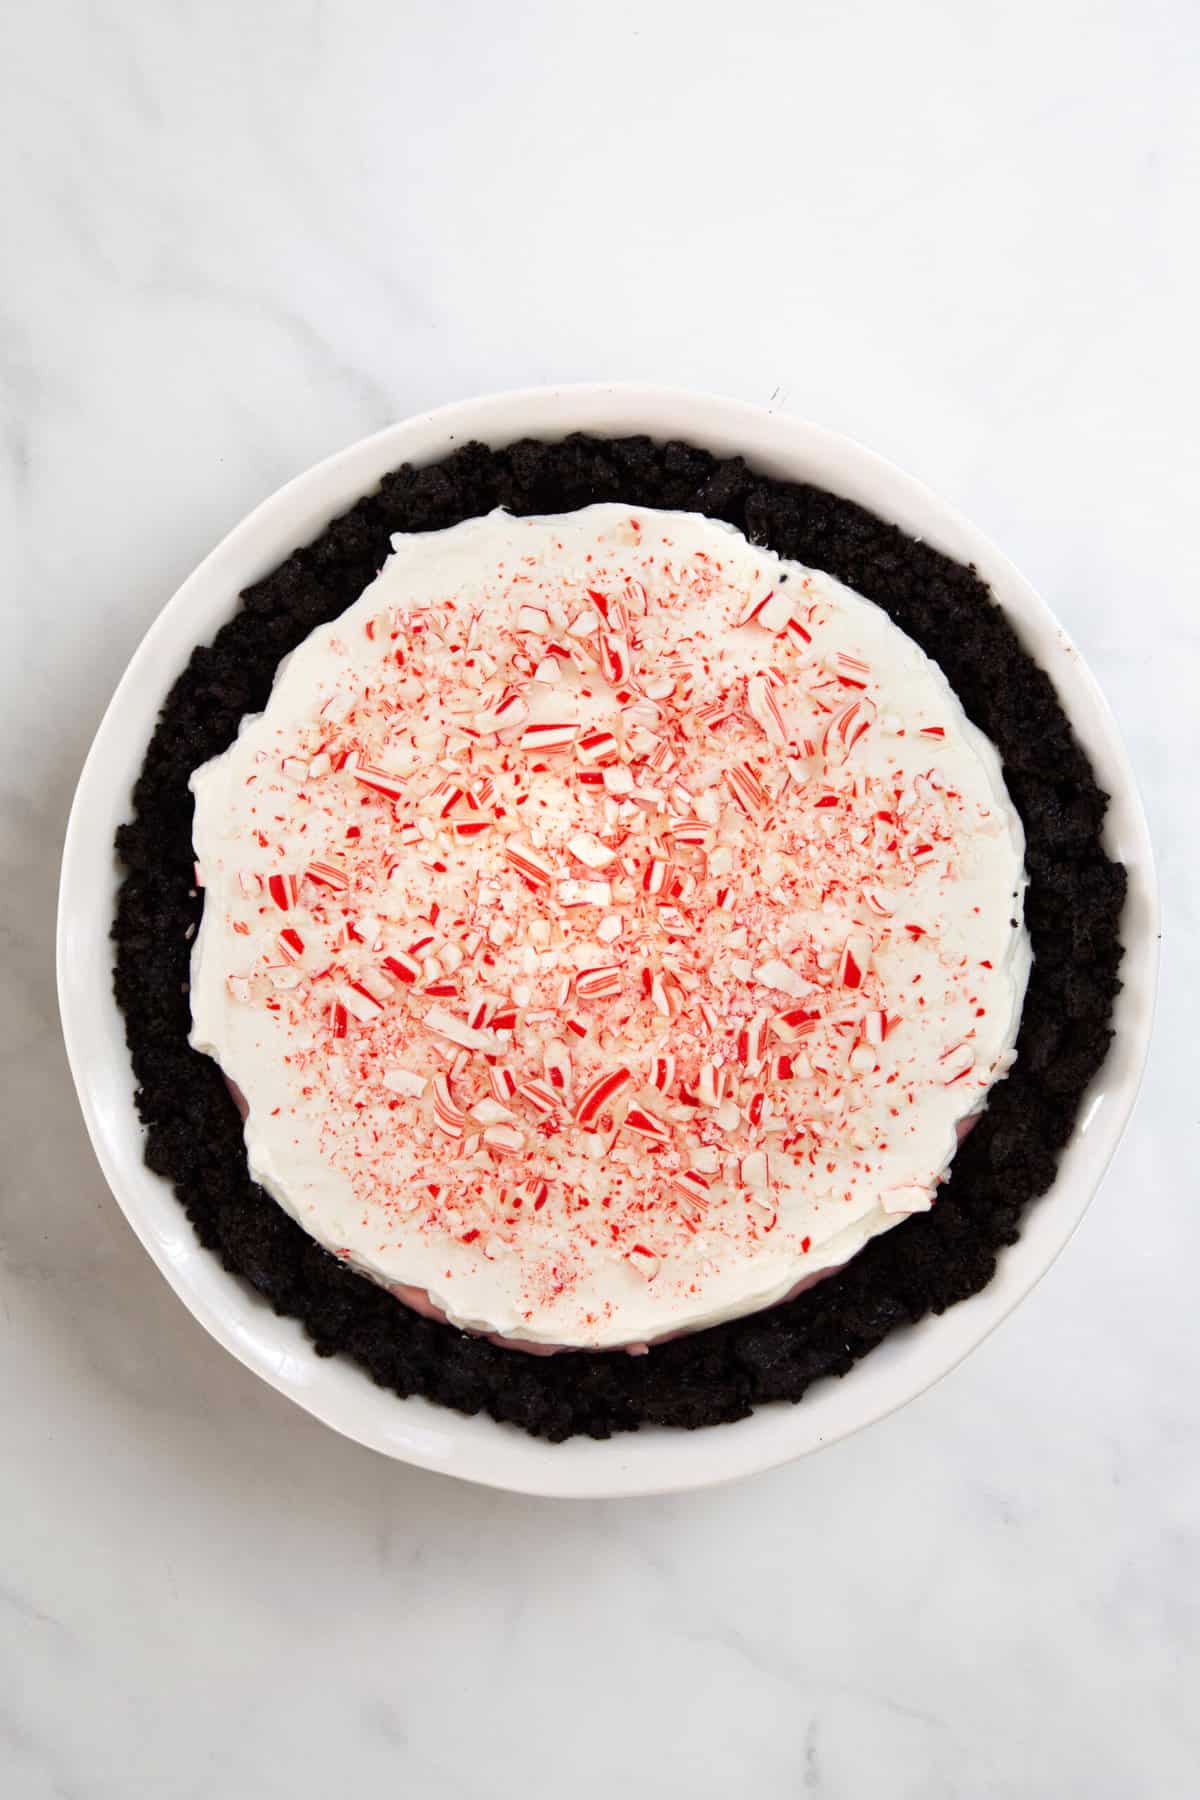
- Garnish and chill again: Once chilled, remove the pie from the fridge, and top it with the remaining Cool Whip, smoothing it out gently. Garnish the pie with the remaining crushed candy canes, and return it to the fridge for another hour.
- Serve: Slice, and serve cold!
Quick Tip
Don’t over-stir the Cool Whip in the pie filling as this will reduce the air in the mixture and affect the fluffy texture!
How to Store Candy Cane Pie
Store leftover candy cane pie in the refrigerator in an airtight container or wrapped with plastic wrap for up to 3-4 days.
Serving Suggestions
Candy cane pie is best enjoyed chilled. It’s decadent enough to be served alone, but you can add a scoop of vanilla ice cream to each serving if you wish.
FAQs
Yes, chilling this pie for 1 hour will help the cream cheese filling to set and for the flavors to meld together. Once the Cool Whip topping and crushed candy cane garnish has been added, it’s best to chill this no bake pie for another hour.
Make sure the pie is chilled before attempting to slice it. Use a large, sharp knife and make cuts across the pie. It’s also a good idea to clean your knife in between cuts for the prettiest slices.
I haven’t tested it and can’t guarantee the results but do not recommend freezing this pie as it is not likely to thaw well.
Candy canes have a peppermint flavoring which is one of the flavors fondly associated with Christmas and the holiday season. They are typically red and white striped and can be found in most local stores.
More Christmas Desserts You’ll Love
Christmas
Christmas Tree Brownies
Cookies
Christmas M&M Cookies
All Recipes
Peppermint Oreo Balls
Cookies
Chocolate Crinkle Cookies
Quick & Easy Desserts
Chocolate Candy Cane Cupcakes
Christmas
Homemade Peppermint Bark

Candy Cane Pie
Equipment
- Large mixing bowl
- Electric hand mixer or stand mixer with paddle attachment
- Rubber spatula
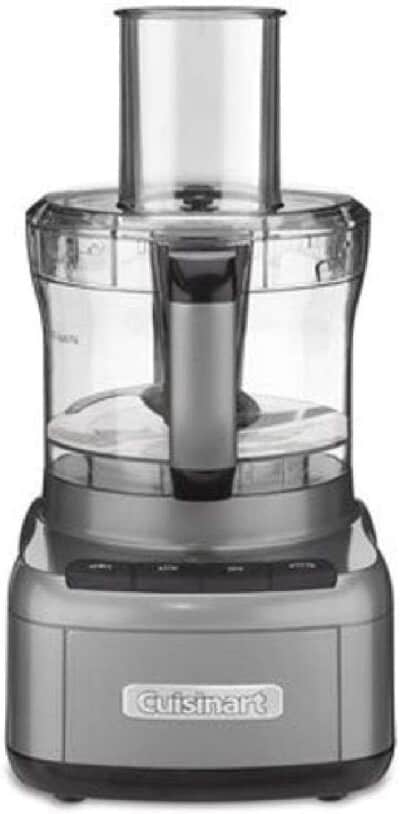
- food processor
- Measuring cup
- measuring spoons
Ingredients
- 25 Oreo cookies
- 5 Tablespoon butter melted
- 8 ounces cream cheese softened
- 1 cup powdered sugar
- 6 drops red gel food coloring
- 1 ½ teaspoon peppermint extract
- 16 ounces Cool Whip slightly thawed
- 5 candy canes crushed
Instructions
- Start by making the Oreo crust. Add the Oreo cookies to a food processor and pulse until the cookies are fine crumbles.25 Oreo cookies
- Add the butter to the food processor and pulse again to make a mix that looks like wet sand.5 Tablespoon butter
- Pour the Oreo mix into a 9” pie pan and press it into the bottom and up the sides of the pan. Use the flat bottom of a cup or a measuring cup to make the bottom crust flat and compact.
- Place the crust in the fridge while you make the pie filling.
- Add the cream cheese and powdered sugar for the pie filling to a large mixing bowl and beat until the mix is nice and smooth, Scrape down the sides of the bowl and mix again to ensure there are no lumps.8 ounces cream cheese, 1 cup powdered sugar
- Add the red food coloring and peppermint extract to the bowl and mix again until the dye is blended evenly. Add a drop or two more to get the perfect peppermint pink color you are looking for.6 drops red gel food coloring, 1 ½ teaspoon peppermint extract
- Fold about 8 ounces of Cool Whip into the cream cheese mix using a rubber spatula.16 ounces Cool Whip
- Fold in about half of the crushed candy canes.
- Remove the Oreo crust from the fridge and spread the pink pie filling into the crust. Smooth the top of the pie and place in the fridge for one hour.
- Remove the pie after one hour and gently spread the remaining Cool Whip over the top of the pie, making a perfectly white top layer. Sprinkle with the remaining candy canes and return the pie to the fridge for another hour.5 candy canes
- Slice and serve the pie cold!
Notes
- Gel food coloring works best but you can also use liquid food coloring. You will need more of the liquid food coloring to get the nice candy-cane color.
