This post may contain affiliate links. Please read our disclosure policy.
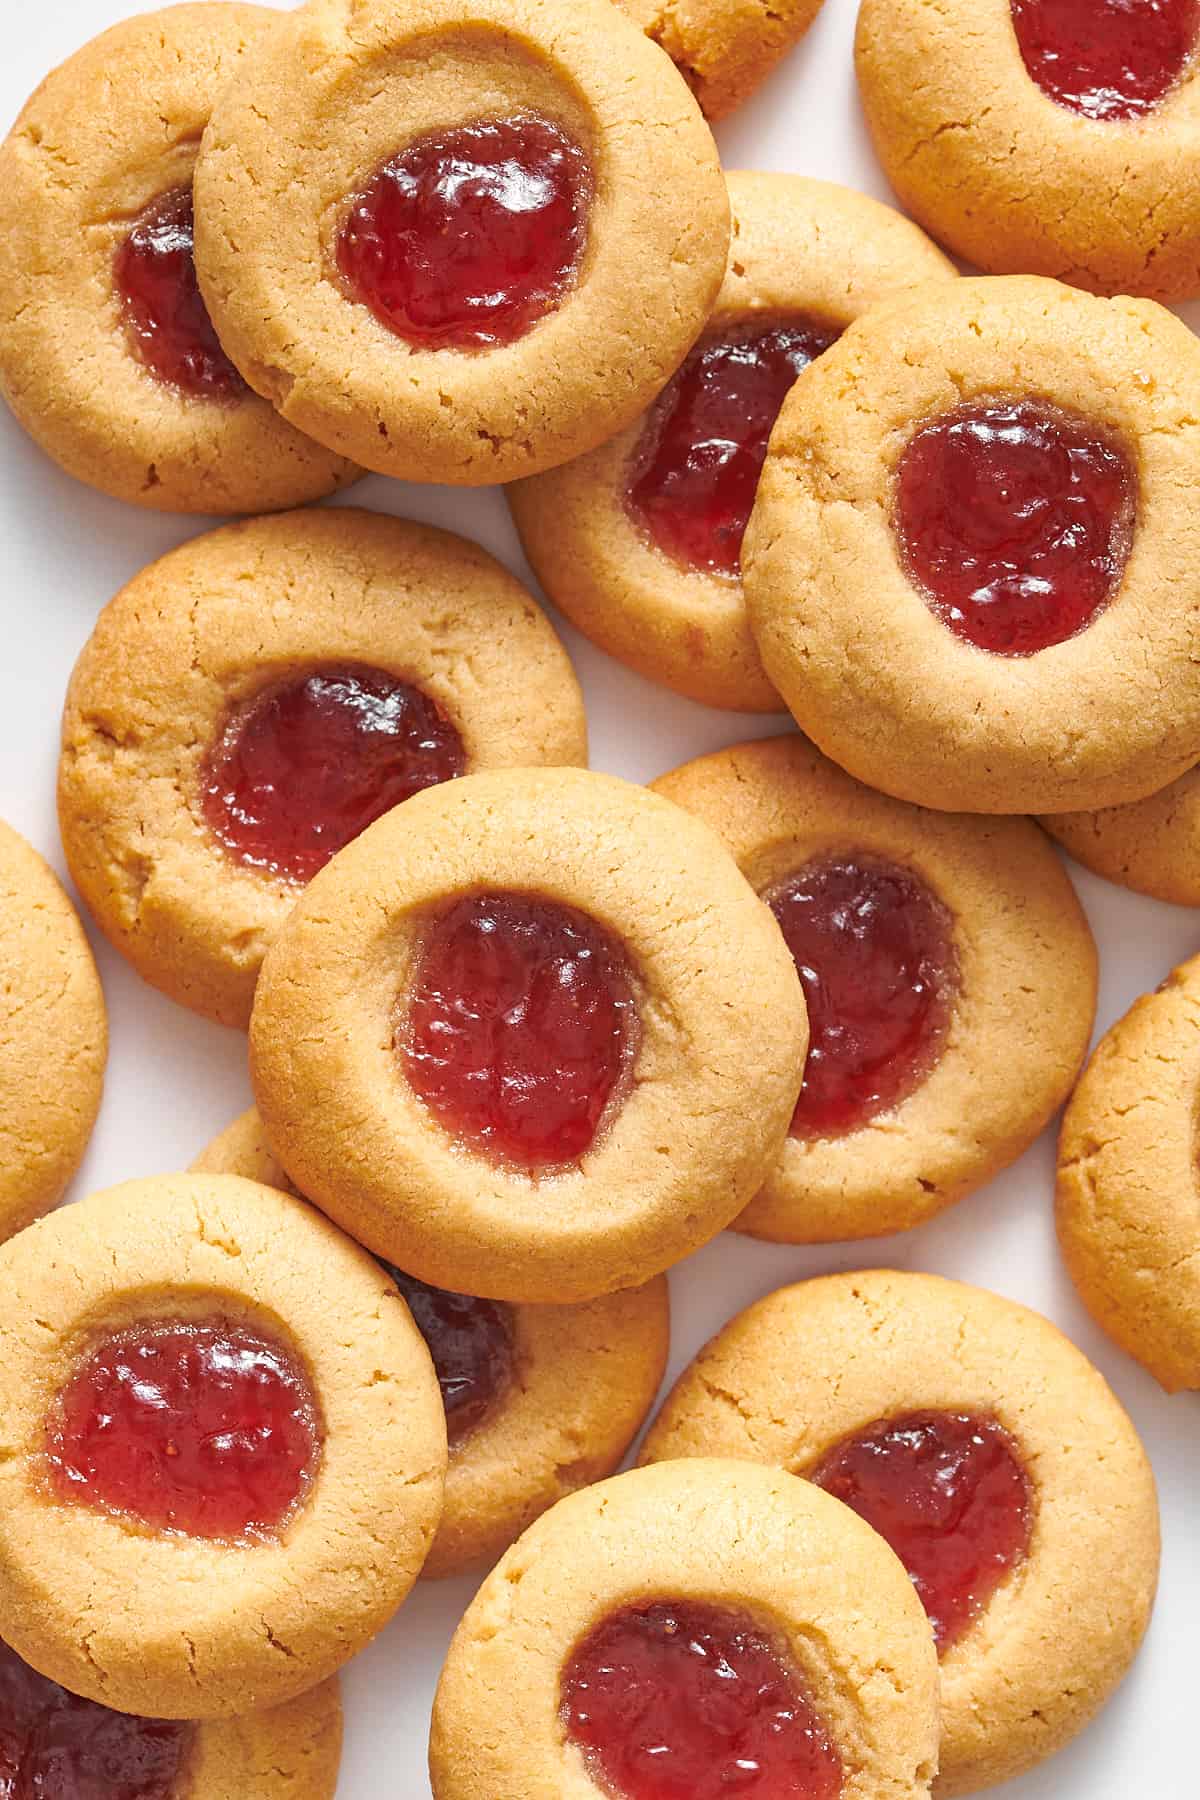
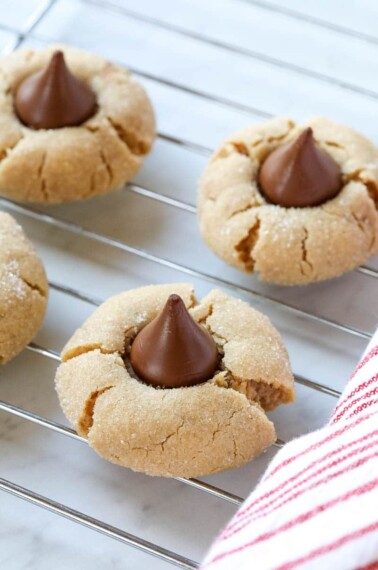
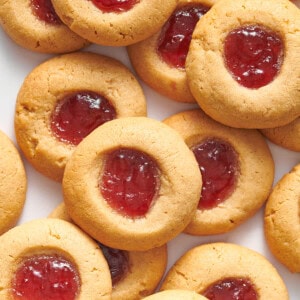
These Peanut Butter Thumbprint Cookies are soft and chewy with sweet jam-filled centers, offering the classic flavors of PB&J sandwiches in cookie form! They’re quick and easy to make in less than 30 minutes for a satisfying baked treat!
Pin this recipe now to save it for later
Pin RecipeThe name “thumbprint” cookie provides a clear picture of how these cookies are made. Once the cookie dough balls have been assembled on the baking trays, an indent is created in the center of each cookie using a thumb! At least that’s how it was done originally.
These cookies have been around since the 1800s, and are also referred to as jam drops, among other names, depending on the region. Today, these thumbprint cookies offer a variety of flavors and fillings, including chocolate ganache and caramel filling.
This recipe combines the best of classic peanut butter cookies and thumbprint cookies for a PBJ sandwich experience in a sweet cookie form!
Peanut Butter Thumbprint Cookies Recipe
These thumbprint cookies are incredibly quick and easy to make with a handful of pantry staple ingredients and less than 30 minutes from start to finish.
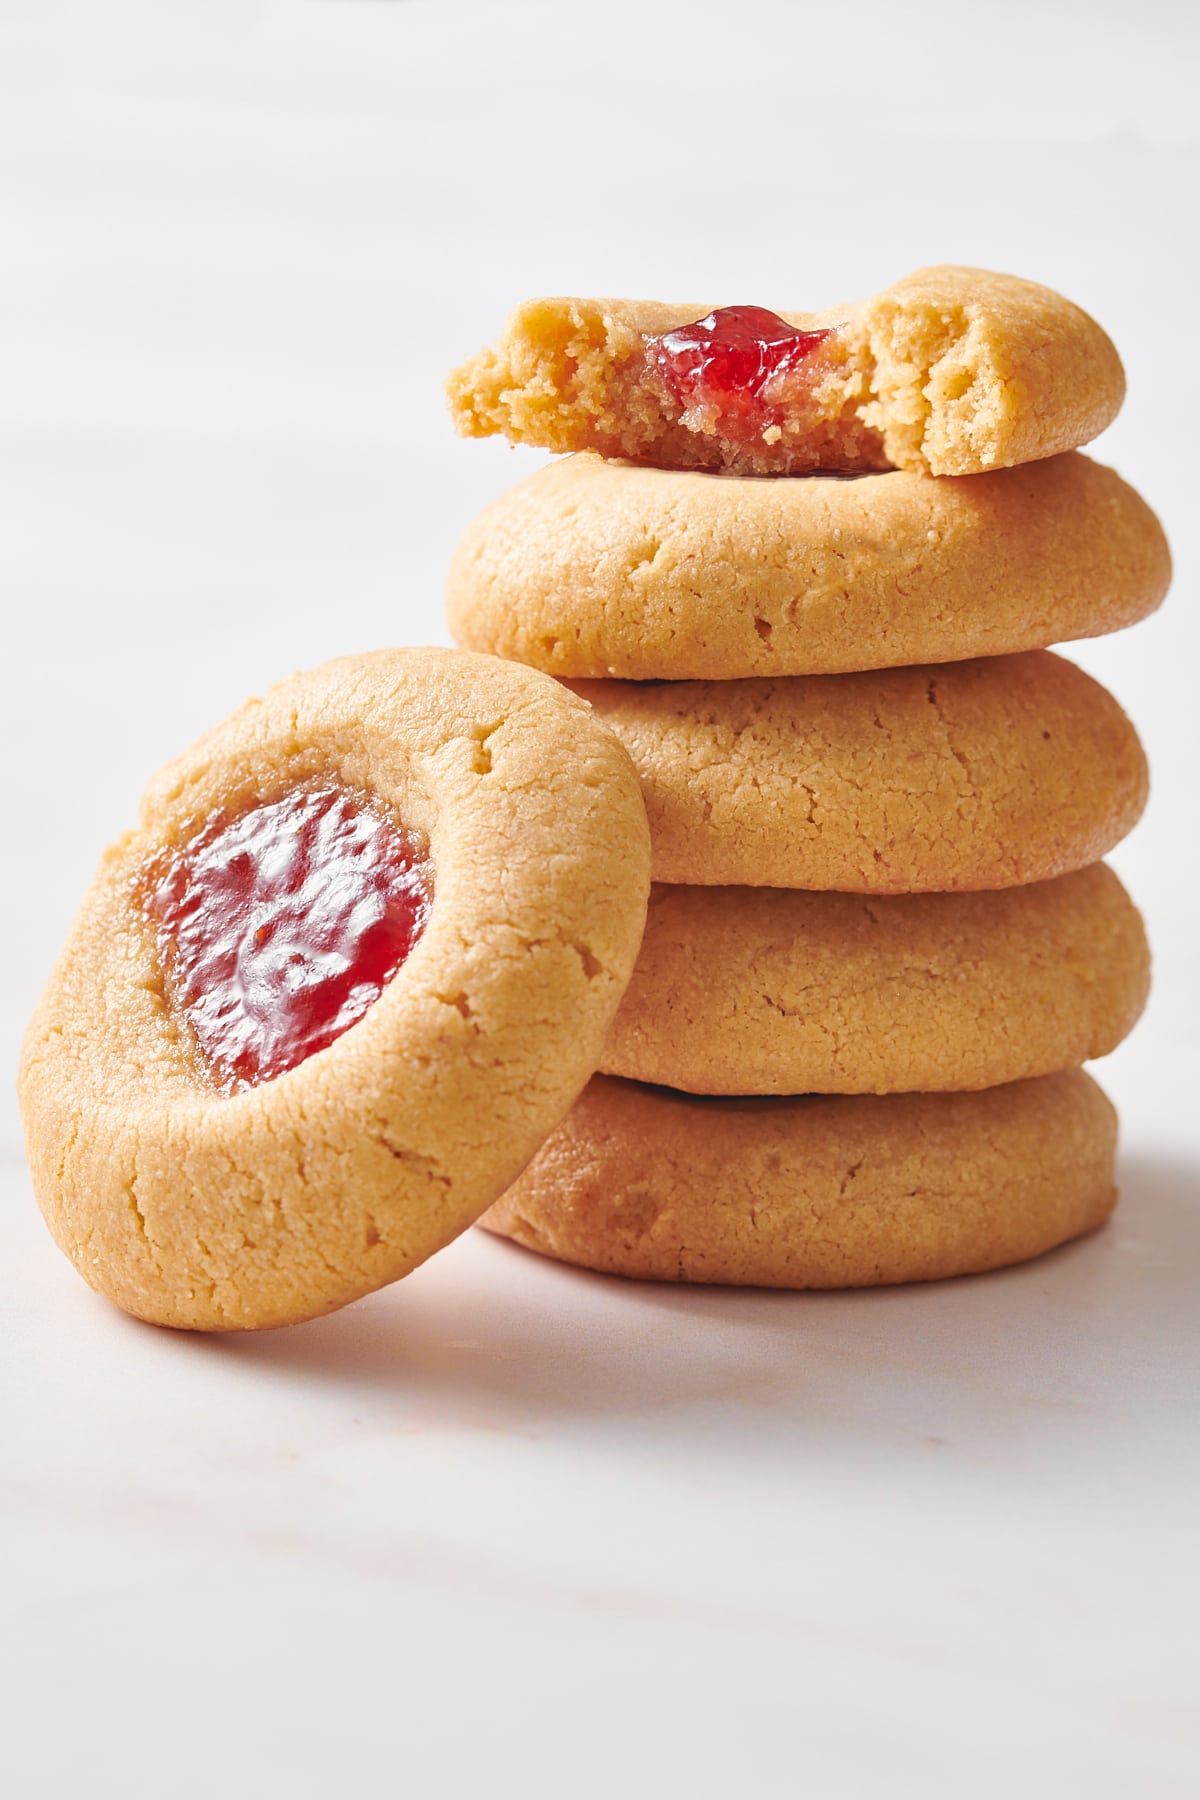
Like these Peanut Butter Kiss Cookies and Hot Chocolate Blossom Cookies, it’s important to bake these thumbprint cookies until they form browned edges. A sturdy peanut butter cookie is less likely to fall apart under the weight of the jam-filled centers.
Use your favorite store-bought jam or make your own with these Strawberry Rhubarb Jam and Crockpot Strawberry Raspberry Jam recipes.
Grab My Favorite Tools
Click on the products below to see my favorite tools for making this recipe!

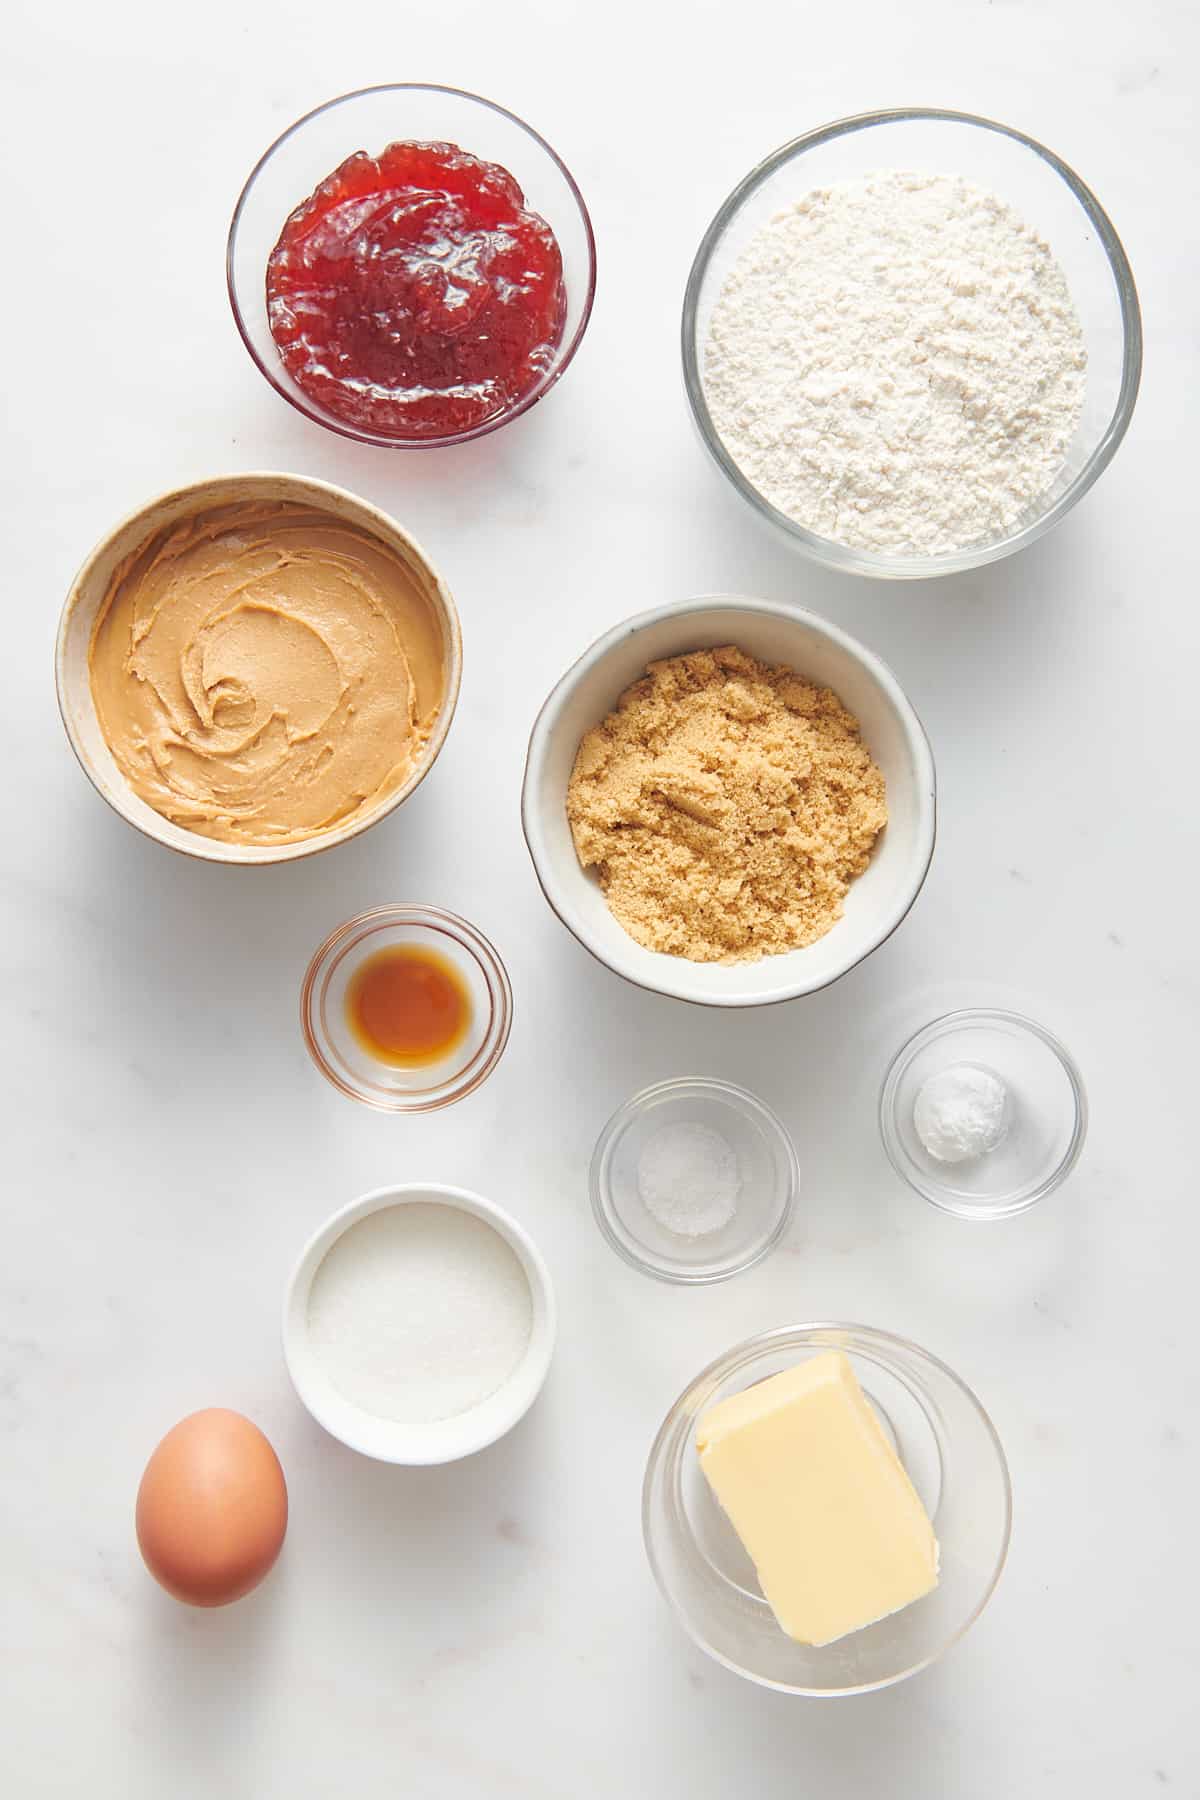
Ingredients for Peanut Butter Thumbprint Cookies
See recipe card below this post for ingredient quantities and full instructions.
- Butter – Softened at room temperature for easy mixing.
- Sugar – This recipe calls for both white and brown sugar. I don’t recommend using only one type as the combination creates soft and chewy centers with a crispy outer edge.
- Peanut butter – Smooth peanut butter is best for these cookies. Natural peanut butter can be used, but you will need to give the bottle a good stir to incorporate the separated oil back into the peanut butter before adding this to the other ingredients.
- Egg – Allow the egg to reach room temperature.
- Vanilla extract
- Flour – All-purpose flour is commonly used for these thumbprint cookies. Use a gluten-free flour, such as Bob’s Red Mill for gluten sensitivities.
- Baking soda
- Salt – Omit if using salted butter.
- Seedless jam – Store-bought or homemade.
Variations
- Make these Peanut Butter Thumbprint Cookies gluten-free by using a 1:1 all-purpose gluten-free flour such as Bob’s Red Mill.
- Swap out the peanut butter with any other nut or seed butter such as almond butter or cashew butter.
- Fill the thumbprint cookie indents with chocolate ganache or caramel instead of jam. You could also add Hershey’s Kiss candies once the cookies have baked as an alternative.
- Drizzle melted white chocolate or vanilla icing over the assembled peanut butter thumbprint cookies for extra indulgence.
- Use one type of jam for all thumbprint cookies, or use a variety. Raspberry, strawberry, blueberry, and grape jam are all great options!
How to Make Peanut Butter Thumbprint Cookies
- Prepare: Preheat the oven, and line two baking sheets with parchment paper.
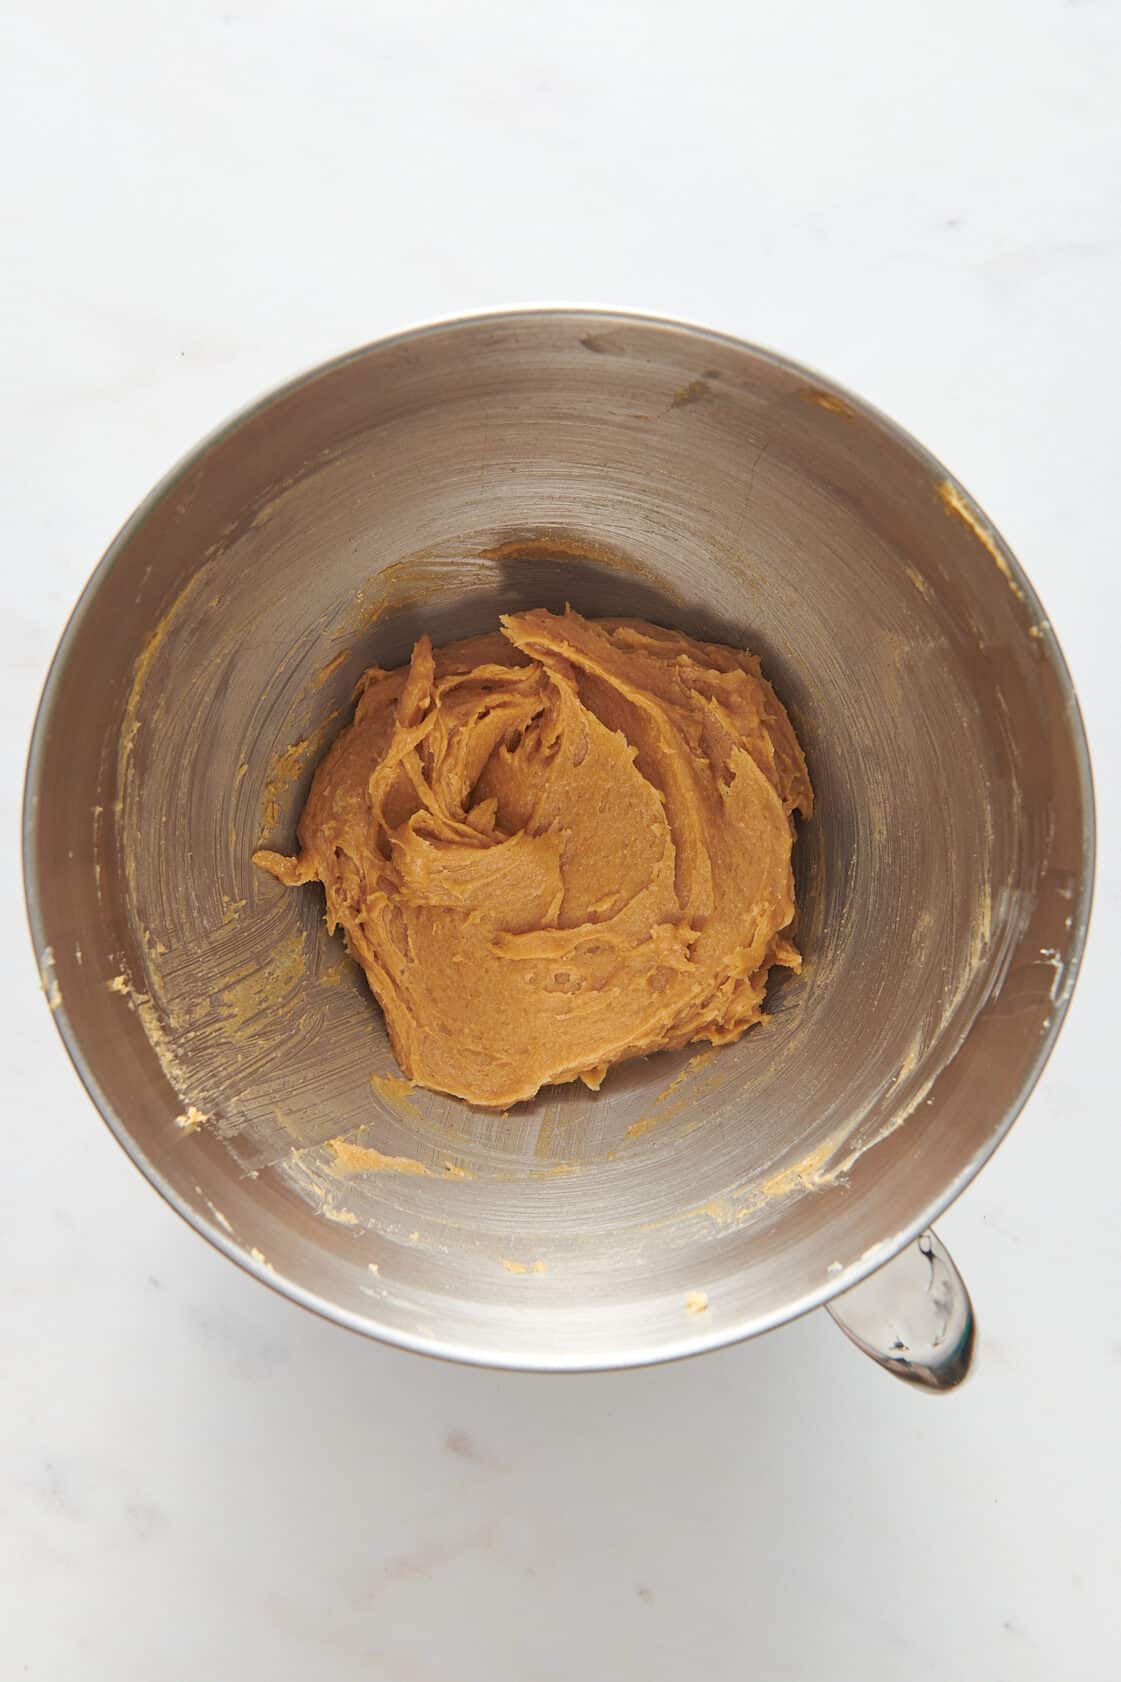
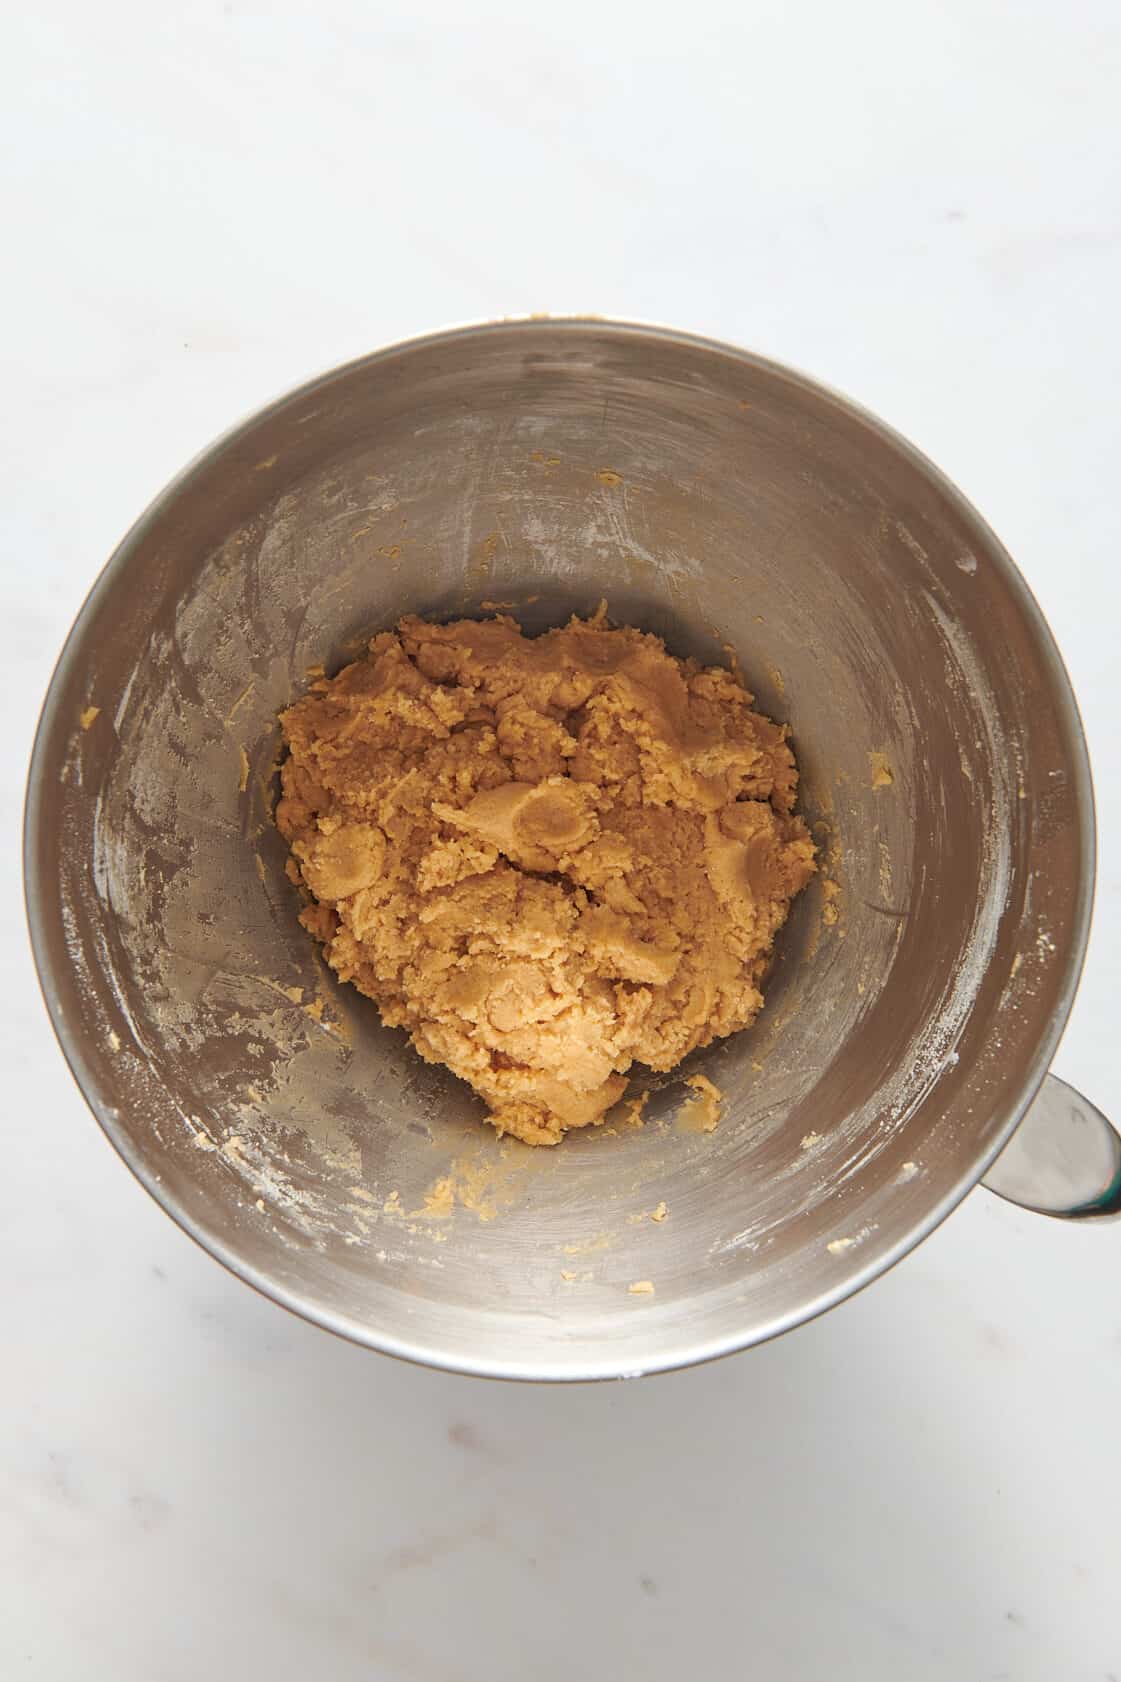
- Make the cookie dough: Beat the butter and sugar until light and fluffy. Beat the peanut butter into the mixture, followed by the vanilla and egg. Add the flour, baking soda, and salt slowly, continuing to mix just until blended.
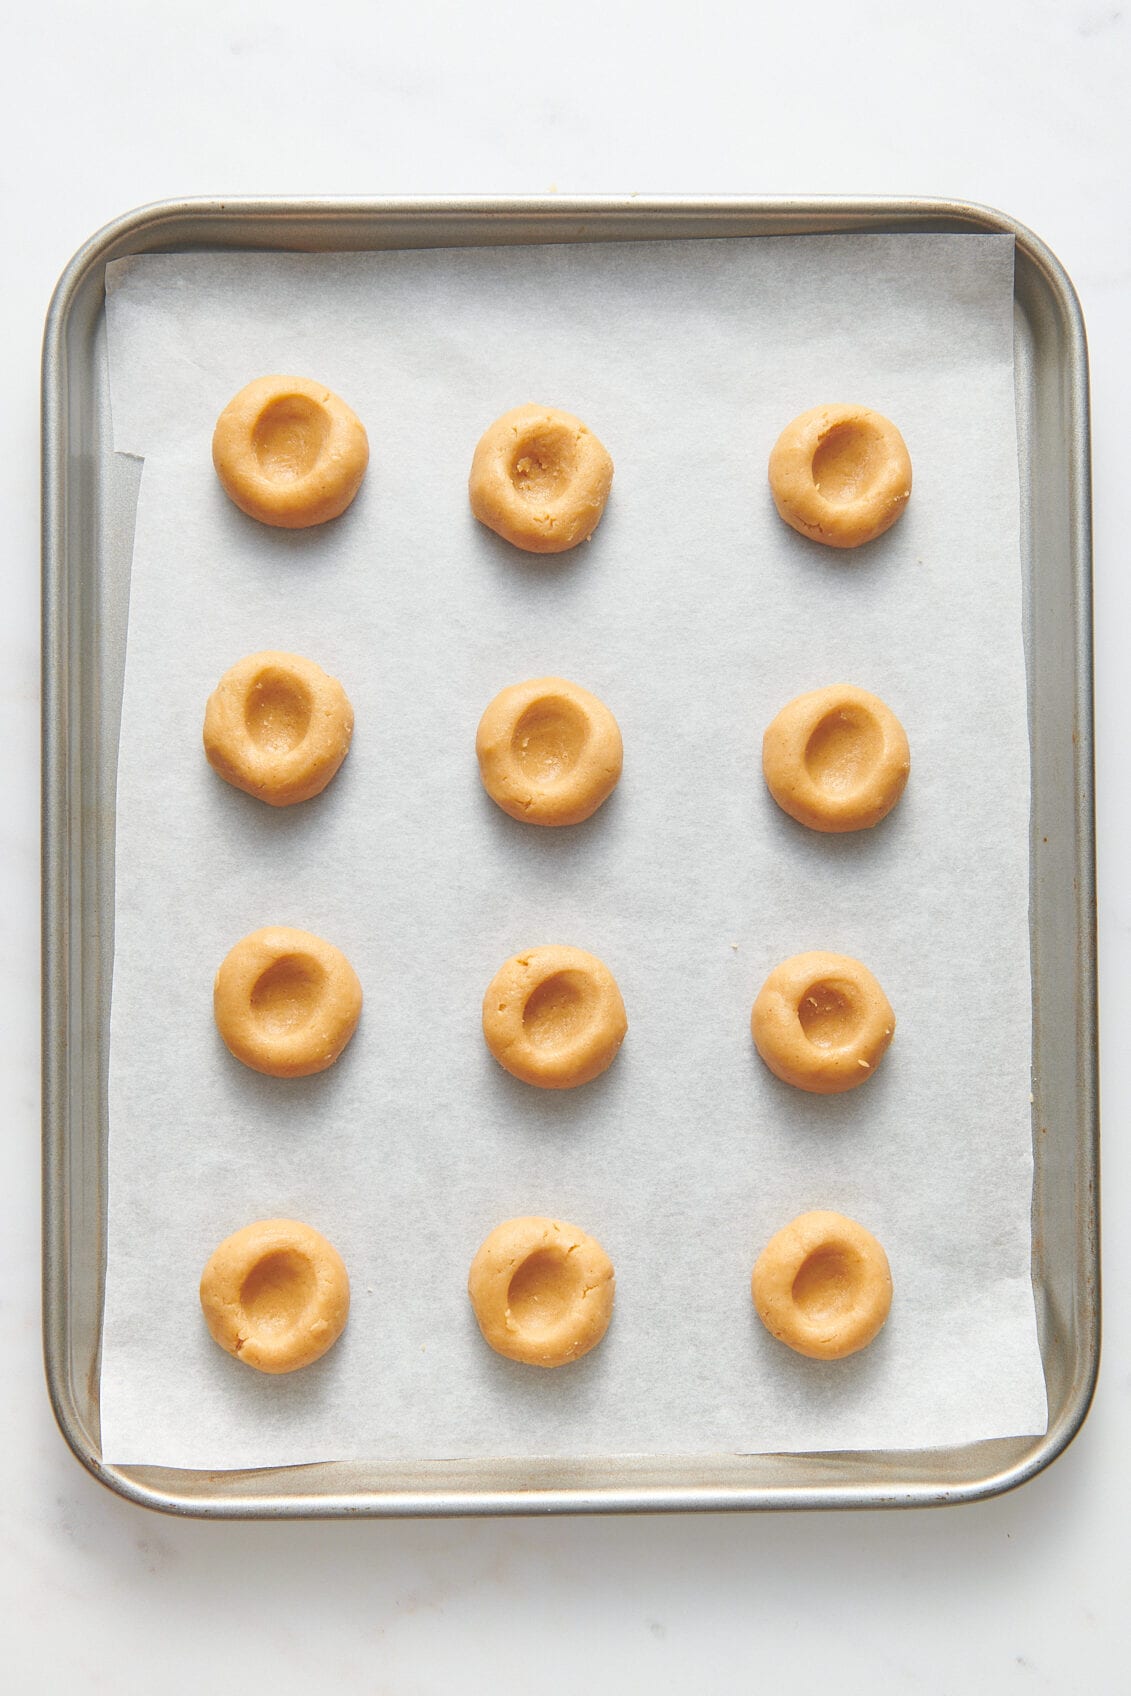
- Assemble the cookie balls: Use a cookie scoop to scoop balls of cookie dough onto the prepared baking sheets, leaving 1 1/2 inches of space between each ball of dough. Flatten the cookies slightly with the palm of your hand, and create an indent in the center of each cookie with your thumb or the back of a measuring spoon. The indent should only go halfway down the total thickness of the cookie.
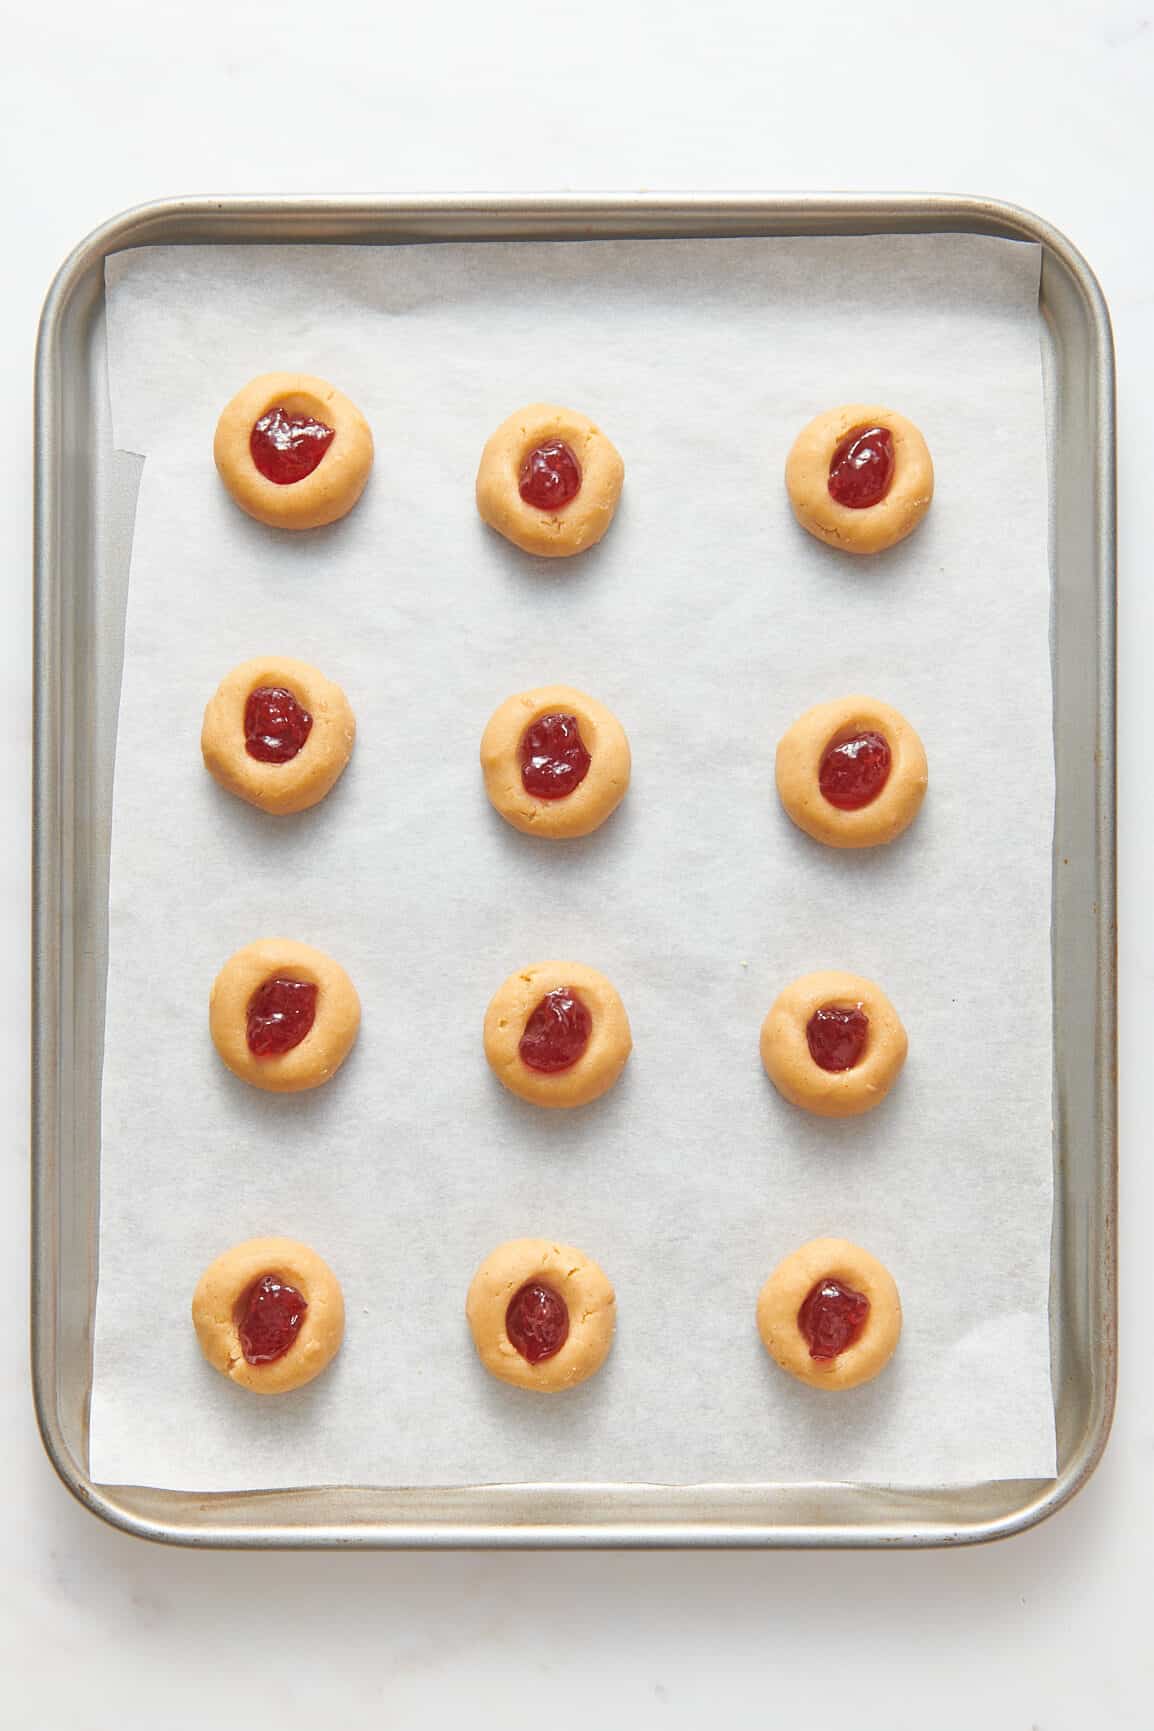
- Fill with jam: Fill a piping bag with jam, and fill each indent with jam or use a spoon.
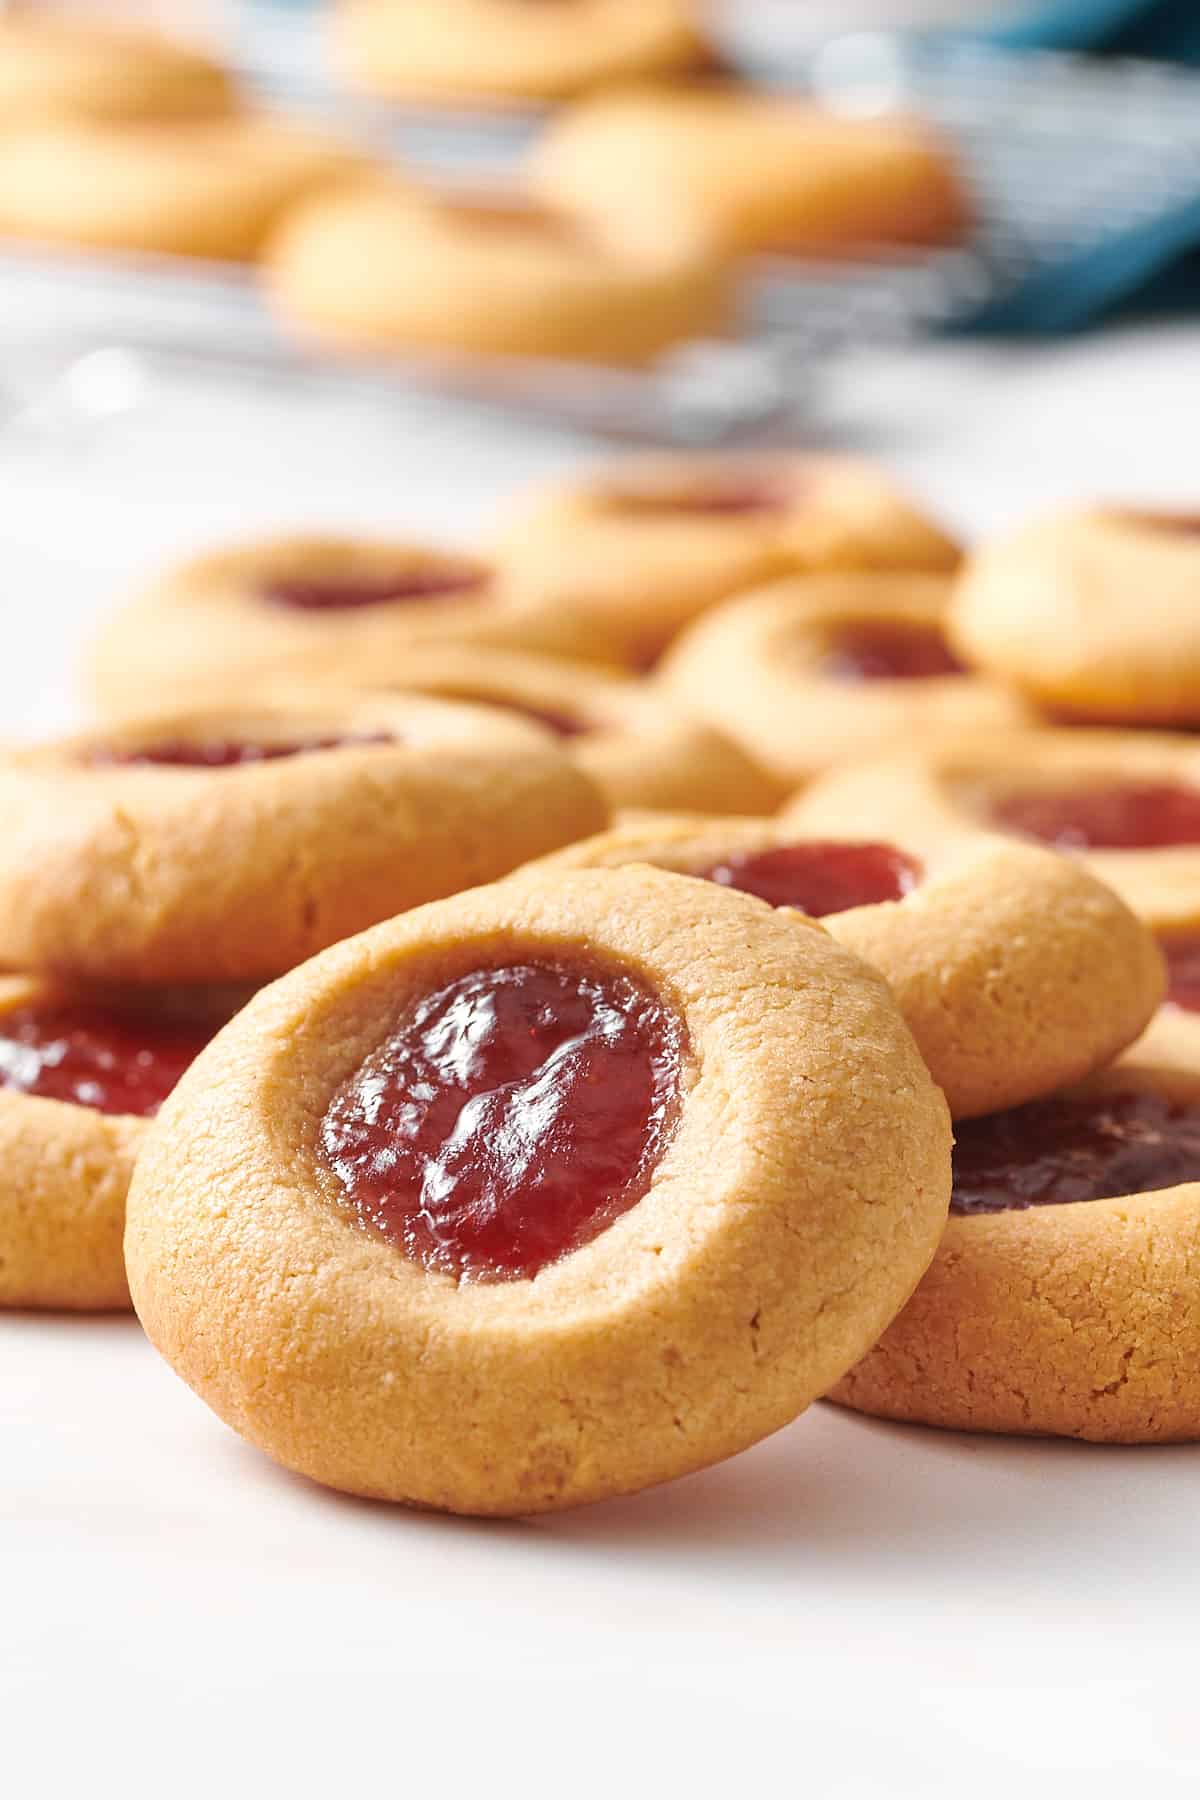
- Bake: Bake the cookies just until the edges brown. If they are underbaked they risk falling apart under the weight of the jam.
- Cool and serve: Allow the cookies to cool slightly on the pan, and enjoy! serve!
Quick Tip
Don’t overmix the cookie dough, or you will create tough cookies. The dough must be blended just enough so that the streaks of flour are gone.
How to Store Peanut Butter Thumbprint Cookies
Store these peanut butter thumbprint cookies in an airtight container at room temperature for up to 5 days or in the fridge for a week.
If you want to freeze these cookies, I recommend doing so before baking. Form the cookies as usual. Then, instead of adding the jam, transfer the baking sheets to the freezer for a few hours or until the cookies are solid.
Transfer the cookies to a sealable bag or freezer-safe container, and keep them frozen for up to 1 month. To serve, let the cookies come to room temperature while the oven preheats, add the jam, and bake as normal, adding a few minutes as needed until the edges are golden.
Serving Suggestions
Enjoy these scrumptious peanut butter thumbprint cookies with your favorite hot beverage such as hot chocolate, or a glass of creamy milk or eggnog. For extra decadence, consider drizzling melted white chocolate or vanilla icing over the tops of the cookies.
FAQs
These cookies can fall apart under the weight of the jam filling if they are underbaked. Make sure that the cookies are browned on the edges, and allow the cookies to cool for 10 minutes on the baking tray before serving.
Most cookies spread while baking due to the fat (butter) melting under the heat of the oven. Too much spreading could be a result of not measuring the butter accurately and adding too much to the cookie dough mixture. Or, it could be due to greasing the baking trays with butter instead of non-stick cooking spray or parchment paper.
No. This recipe doesn’t require the chilling of the cookie dough. However, you are welcome to chill the dough as a way to make part of these cookies ahead of time.
Depending on where you live, you may also know these cookies as tea cookies, butterballs, jam drops, and bird’s nest cookies.
These cookies get their name from creating the indent in the cookie by pressing down with your thumb.
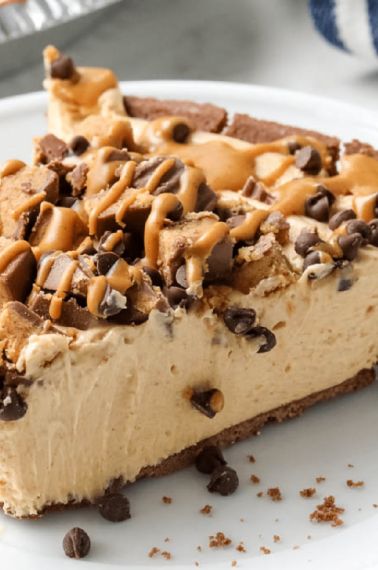
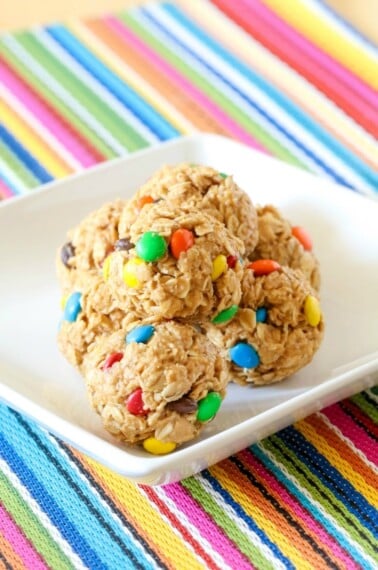
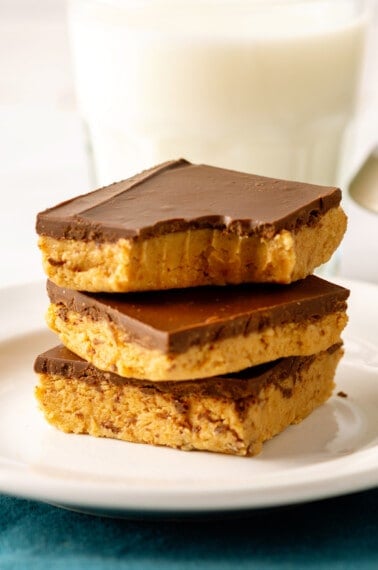
More Peanut Butter Treats
Quick & Easy Desserts
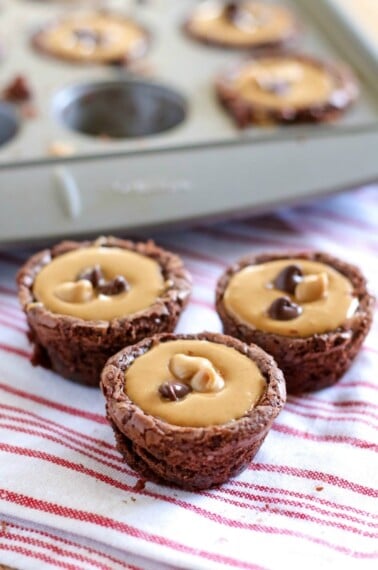
Peanut Butter Cup Brownies
Cookies
Peanut Butter Kiss Cookies
Appetizers & Snacks
No-Bake Peanut Butter Energy Bites
No Bake Desserts
No-Bake Peanut Butter Bars

Breakfast
Peanut Butter Banana Muffins
Need help with this recipe?
Click the buttons below to summarize it, adjust for diets, swap ingredients, or ask your own questions!
Peanut Butter Thumbprint Cookies
Equipment
- Large mixing bowl
- Electric mixer or stand mixer with a paddle attachment
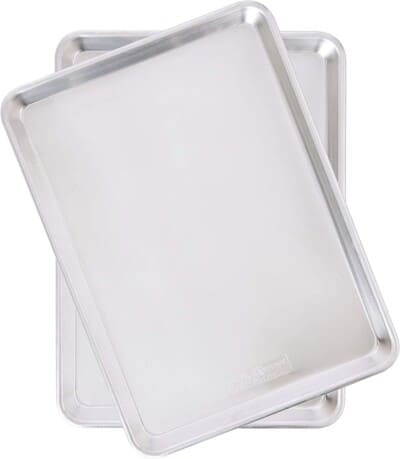
- Two baking trays
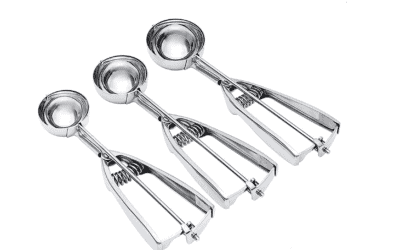
- Cookie scoop
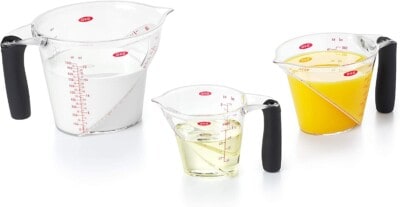
- Measuring cup
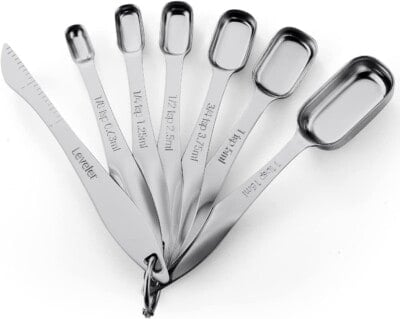
- Measuring spoon
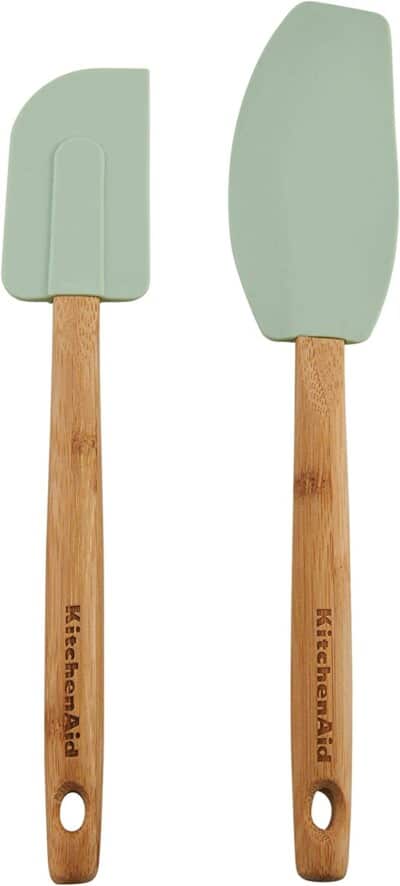
- Rubber spatula
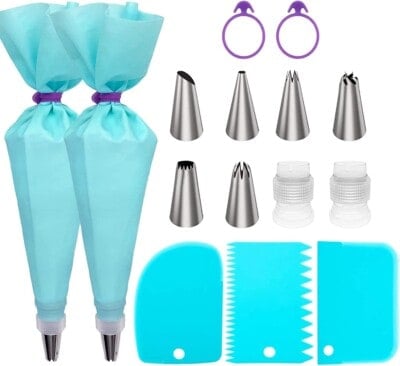
- Piping bag
Ingredients
- ½ cup butter
- ½ cup sugar
- ½ cup brown sugar
- 1 cup smooth peanut butter
- 1 ½ teaspoons vanilla extract
- 1 egg
- 1 ½ cups flour
- 1 teaspoon baking soda
- ¼ teaspoon salt
- ½ cup seedless jam
Instructions
- Preheat your oven to 350ºF and line two baking sheet trays with parchment paper. Set the trays aside.
- Beat the butter and sugar together until light and fluffy, scraping down the sides of the bowl to ensure all the butter is well blended.½ cup butter, ½ cup sugar, ½ cup brown sugar
- Add the peanut butter and beat until combined.1 cup smooth peanut butter
- Add the vanilla and egg and blend again until smooth.1 ½ teaspoons vanilla extract, 1 egg
- Add The flour, baking soda, and salt and stir together slowly until all of the ingredients are blended together. Do not over mix or the cookies will be tough. Stop mixing once you see no flour streaks and the dough is nice and thick.1 ½ cups flour, 1 teaspoon baking soda, ¼ teaspoon salt
- Use a cookie scoop or a tablespoon to make cookie dough balls that are about 1 ½ inches in size. Place the cookies on the prepared sheet tray with about 1 ½ inches between each one.
- Use your palm to flatten the cookies slightly then use your thumb or the back of a measuring spoon to press a circular indent into the center of the cookie. Only indent the cookie about halfway down, do not press all the way through to the tray.
- Add the jam to a piping bag and cut a small hole in the tip of the bag. Fill the indent of each cookie with about ½ teaspoon of the jam. You can also simply spoon the jam into the center of each cookie but I find the piping bag works well.½ cup seedless jam
- Bake the cookies for about 12-14 minutes. The edges of the cookies will be very slightly browned. You do not want to underbake these cookies or they will fall apart from the weight of the jam. Those edges need to be browned!
- Let the cookies cool on the pan for 10 minutes then enjoy!
Video
Notes
- Any flavor of jam will work! Raspberry jam, grape jam, blueberry jam, and strawberry are all delicious!


That PB&J combo in cookie form is genius. Love that they’re quick to make too!
I tried these and they were so good. Soft, chewy, and the jam in the centre made them taste just like PB&J.
such a fun and easy treat to whip up. Perfect for any sweet craving!
These sound absolutely delicious! Soft, chewy, and filled with that perfect PB&J sweetness
One of my favorites!