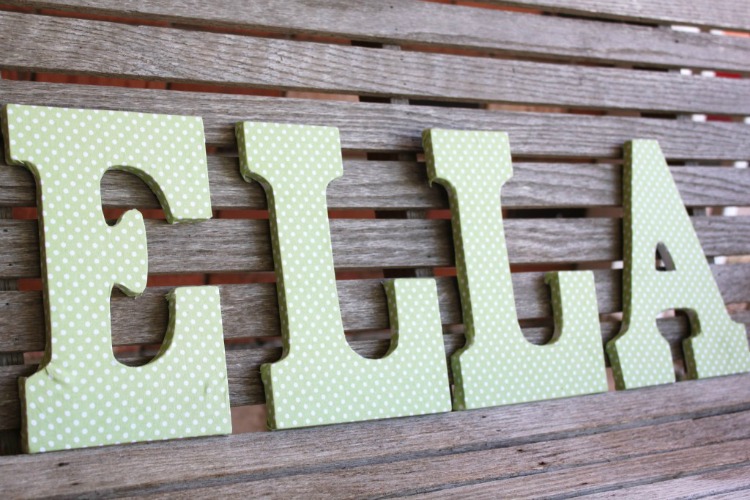
We’ve started the process of turning my 9 year old daughter’s room from a little girl room to a big girl room. We’ve painted, moved around furniture and started decorating a bit. I am a HUGE Pottery Barn Kids fan, but I’m not a huge fan of their prices. If you’ll remember, I was able to makeover our playroom to look a lot like a Pottery Barn room for a fraction of the cost. (and I mean a very SMALL fraction!) And now, I’m recreating their awesome fabric covered letters with this How To Make Pottery Barn Knock Off Fabric Covered Letters tutorial!
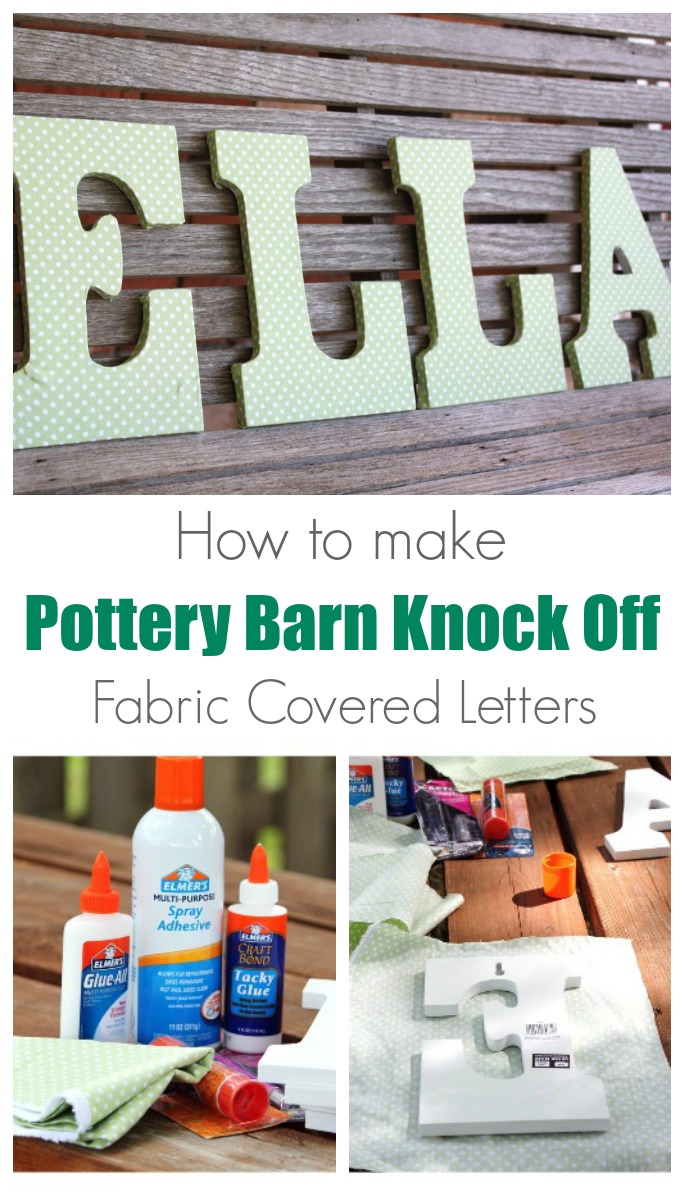
When checking out design ideas for Ella’s room, I came across these awesome fabric covered letters in the Brianna Bedroom in my latest Pottery Barn Kids catalog. BUT, I didn’t want to pay the price it would take to get them. So, I decided to create my own!
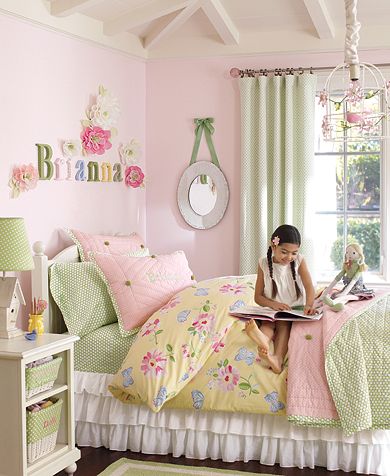
Here’s what you need:
- Wooden Letters for name
- Material to covered letters
- CraftBond Tacky Glue
- Elmer’s Multipurpose Spray Adhesive
- X-ACTO Gripster Knife
I headed to Michael’s to pick up some letters that were regularly $3.49 each – but with my store coupons, added up to only $2.09 a piece! (Gotta love those coupons and sales!) I also picked up some fabric (on SALE!) at JoAnn’s and was on my way to custom, fabric covered letters to perk up Ella’s walls for close to nothing!
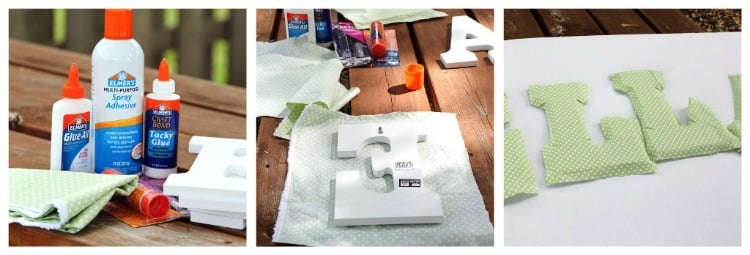
First, I cut out squares roughly the size of each letter and covered the letter with Elmer’s Multipurpose Spray Adhesive, and attached the fabric to the letter. When they were completely dried, I used my X-ACTO Gripster Knife and cut out the shape of each letter and slits where there were rounded edges so that the material would lay flat. Next, I sprayed more of the adhesive to the letter edges and smoothed and pulled the material around the letter. I also used a dab of CraftBond Tacky Glue here and there on the spots that needed some extra coaxing to lay down. That was it! Simple, really!
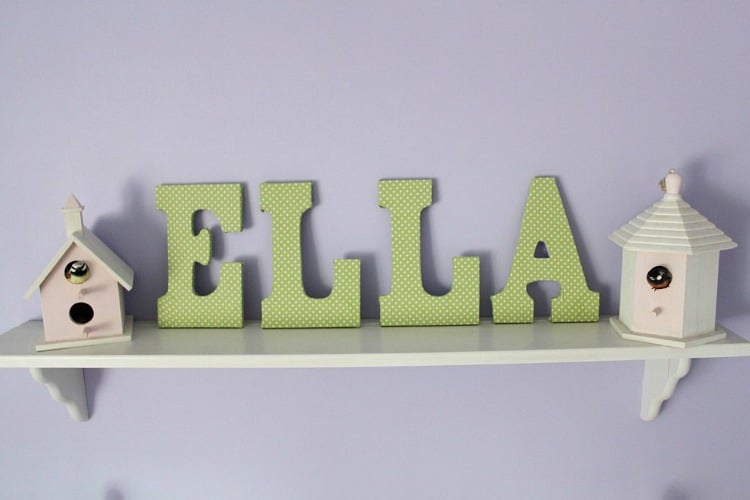
I’m really happy with the way that they turned out! I’m not a huge “crafty” person, but I would say I’m kinda creative so I have a bunch of projects planed for Ella’s room makeover and will be sharing them with you along the way! For now, here’s a sneak peek…
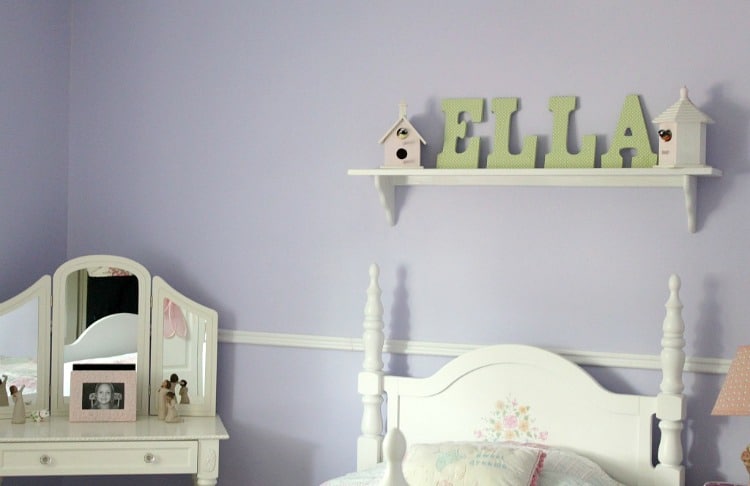
Not bad, huh?!
I’m always looking for budget-friendly ideas to decorate around my home! Check out my Pinterest DIY board for more great ideas and tips!





this is perfect my new granddughter born 16 of june is named ELLA .this will be great for her door.
I want to decorate the corners of my kitchen cabinets with thin wooden flowers rather than paint stencils
Scrapbooking would be the first on the list.
I would love to have some large cut out flowers & cover them with colorful fabric . They would look great on any wall in any room of your home ! Love,love love, these products !
Lori Moore