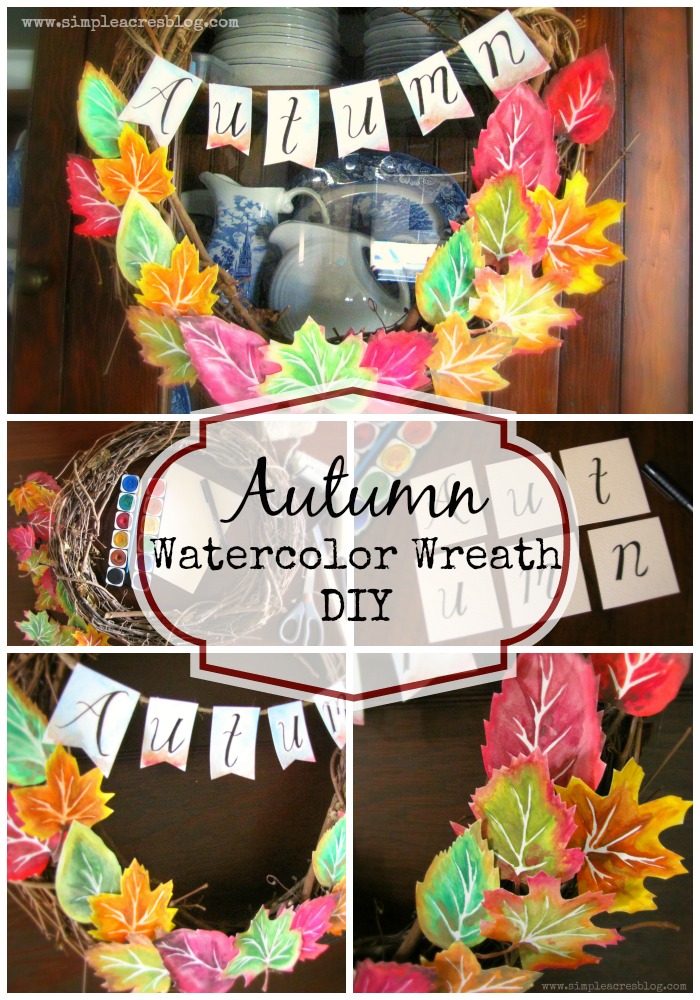
Make your own DIY Fall Watercolor Wreath!
Check out this fall wreath DIY is simple, affordable and fun you are sure to have fun making!
Fall is my love and obsession these days! Join me as I share my passion for Fall, home décor and creativity with this Fall Wreath with DIY Watercolor Leaves!
How To Make A Fall Wreath
From the crisp fresh air to the vibrant colors of the season…it all makes life, well, just that much better! I enjoy decorating for Autumn by bringing in some of the beauty nature offers indoors!
This fall wreath DIY is simple, affordable and fun! For a tutorial on how to create the watercolor leaves for this project click check it out on my site, Simple Acres blog!
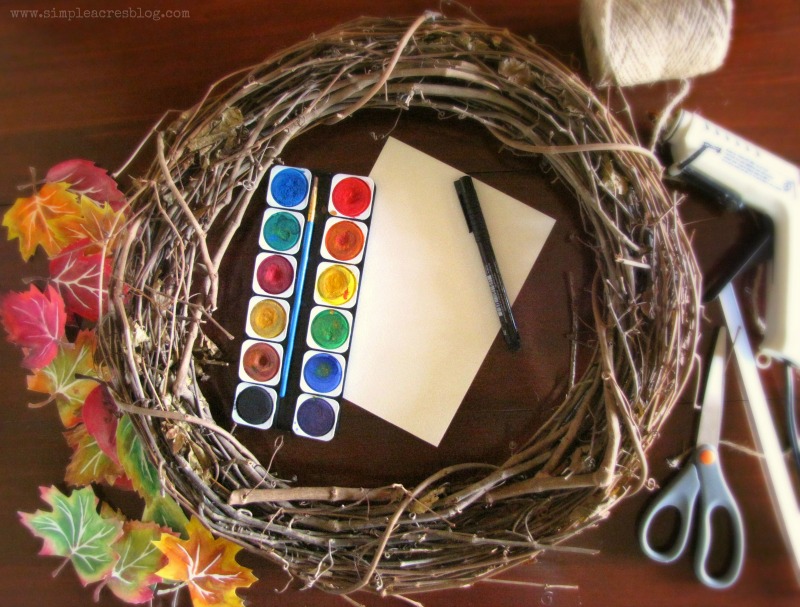
Here’s an easy DIY tutorial for How to Make a Fall Wreath!
You’ll need:
Materials:
grapevine wreath
16 pre-made watercolor leaves
watercolor paper
watercolor paint and black ink pen
twine
glue gun and hot glue
scissors
Then it’s time to get started!
Directions:
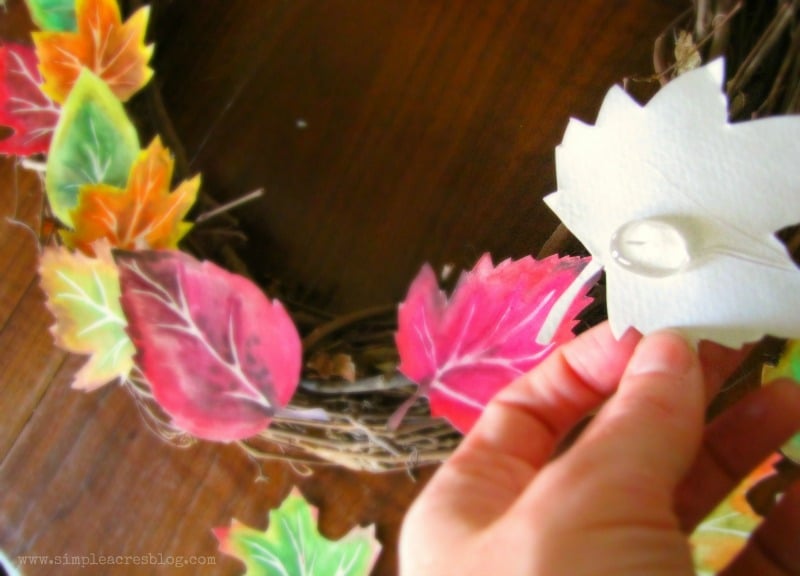
I started this fall wreath by layering the leaves on by placing hot glue on the backs and pressing them on firmly. Start from the bottom center working your way up each side.
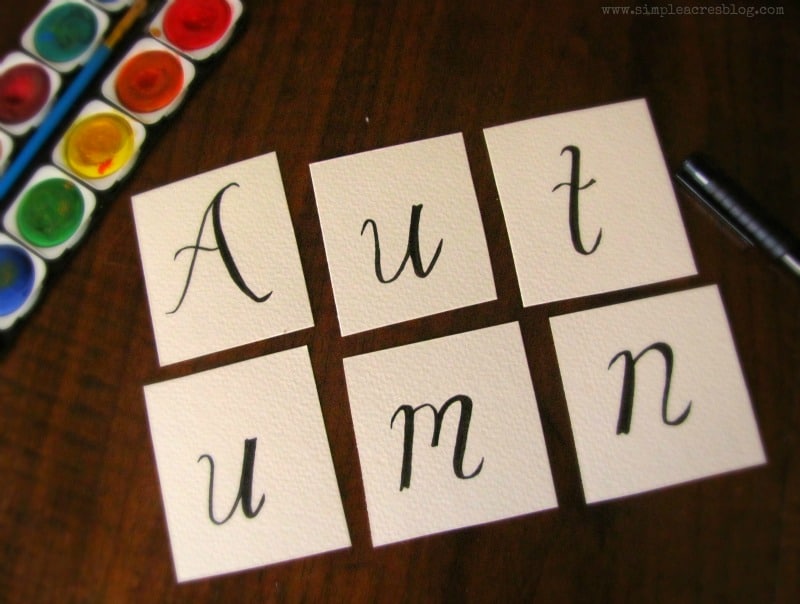
Once all the leaves are attached I then created my “Autumn” watercolor banner by simply cutting 6 squares out of my watercolor paper.
Once cut, I wrote the letters on them with my black ink art pen.
After this, I proceeded to do a quick wash of watercolor. Check out that tutorial for this painting technique on my site. Once my banner pieces were dry I snipped the bottoms to give it a banner shape.
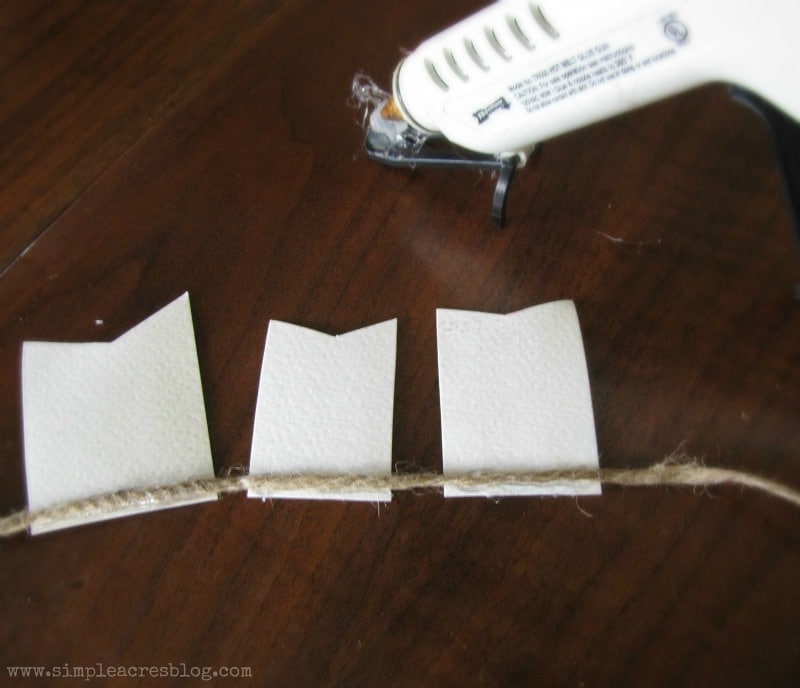
Then hot glue the back topside of the banner pieces to the twine (which you cut 8″ longer that the width of the fall wreath).
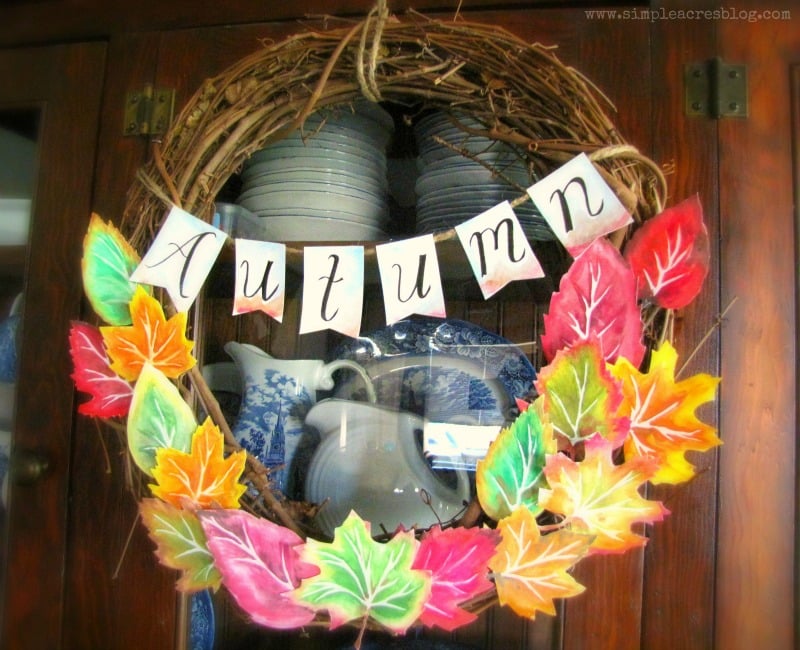
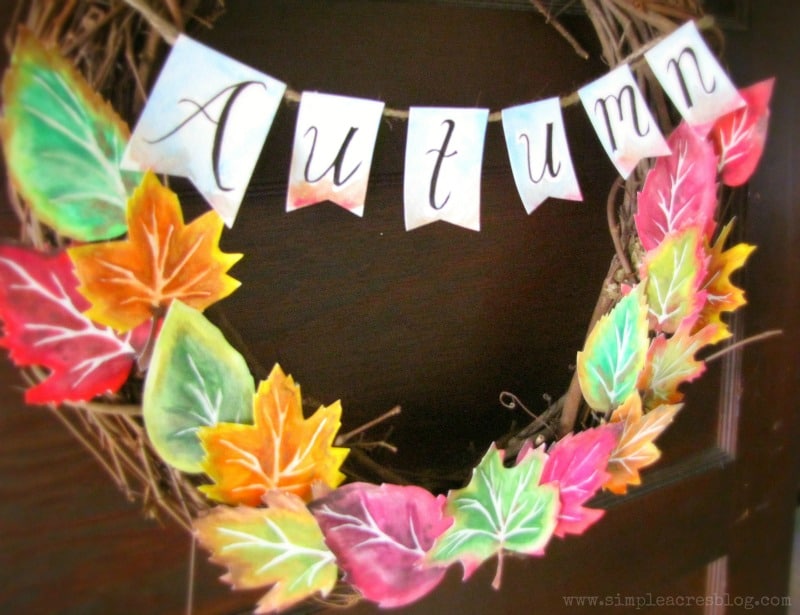
Once your banner is complete, simply tie it on your fall wreath and you are done!
Making this fall wreath brought me so much joy as I reflected on the beauty of the nature God gives us and the season upon us that brings love, laughter and gratitude!
This DIY Autumn Watercolor Wreath is the perfect fall craft!
Check out these amazing fall desserts next!
