This post may contain affiliate links. Please read our disclosure policy.
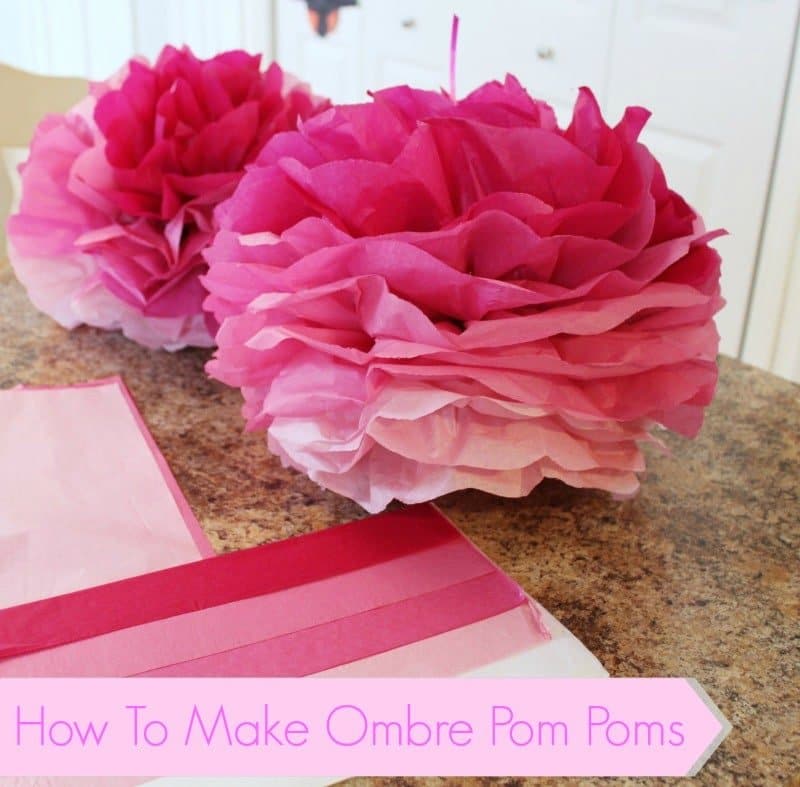
Love pom poms as much as I do? Make you own DIY Ombre Pom Poms with this quick tutorial! Still one of the top posts on All Things Mamma with dozens of Pinterest hits daily – check out our original post How To Make Tissue Paper Pom Poms if you need step-by-step directions with photos. They’re super helpful!
Need help with this recipe?
Click the buttons below to summarize it, adjust for diets, swap ingredients, or ask your own questions!
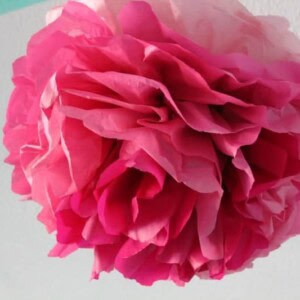
How To Make Ombre Pom Poms
Ingredients
- eight to twelve 20x30 inch various coordinating colors of tissue paper
- scissors
- fishing line or ribbon
Instructions
- Start by stacking eight to twelve 20x30 inch sheets of tissue paper together from lightest to darkest.
- Measure from the short edge of the paper up 1.5 inches and 3 inches and mark at each spot.
- Start to accordian fold the paper from the short end all the way up the length of the paper in 1.5 inch increments.
- Fold the paper in half to find the center and tie a ribbon, fishing line or floral wire around the center to hold the paper in place.
- Using scissors, trim the ends of the paper into a point or rounded.
- Start separating the tissue paper layers from each other, pulling toward the center CAREFULLY.
- Pull the layers all the way around the pom to create the full Pom look you'd like.
- Using a ribbon or fishing line, hang the newly made Pom from the ceiling or light fixtures.
That’s it! It’s really easy once you try it. I have bought them from the store when I was in a pinch and they never turn out as nice as the ones I make myself. Plus, they’re always more expensive. It’s silly to pay $10 for a few sheets of tissue paper when you can spend $2 and get two homemade pom poms that you made yourself!
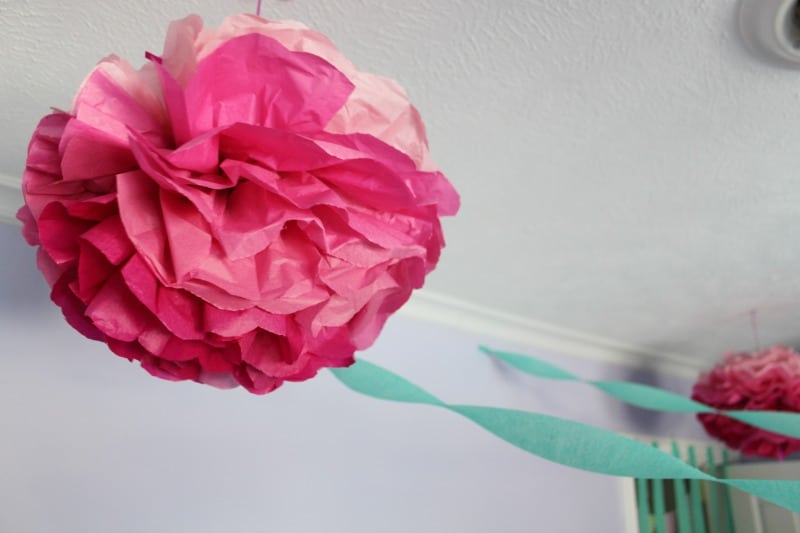
I hope this tutorial helps when you decide to make your own Ombre Pom Poms! They’re super cute and super easy (and so are these DIY Pottery Barn fabric-covered letters)!