This post may contain affiliate links. Please read our disclosure policy.
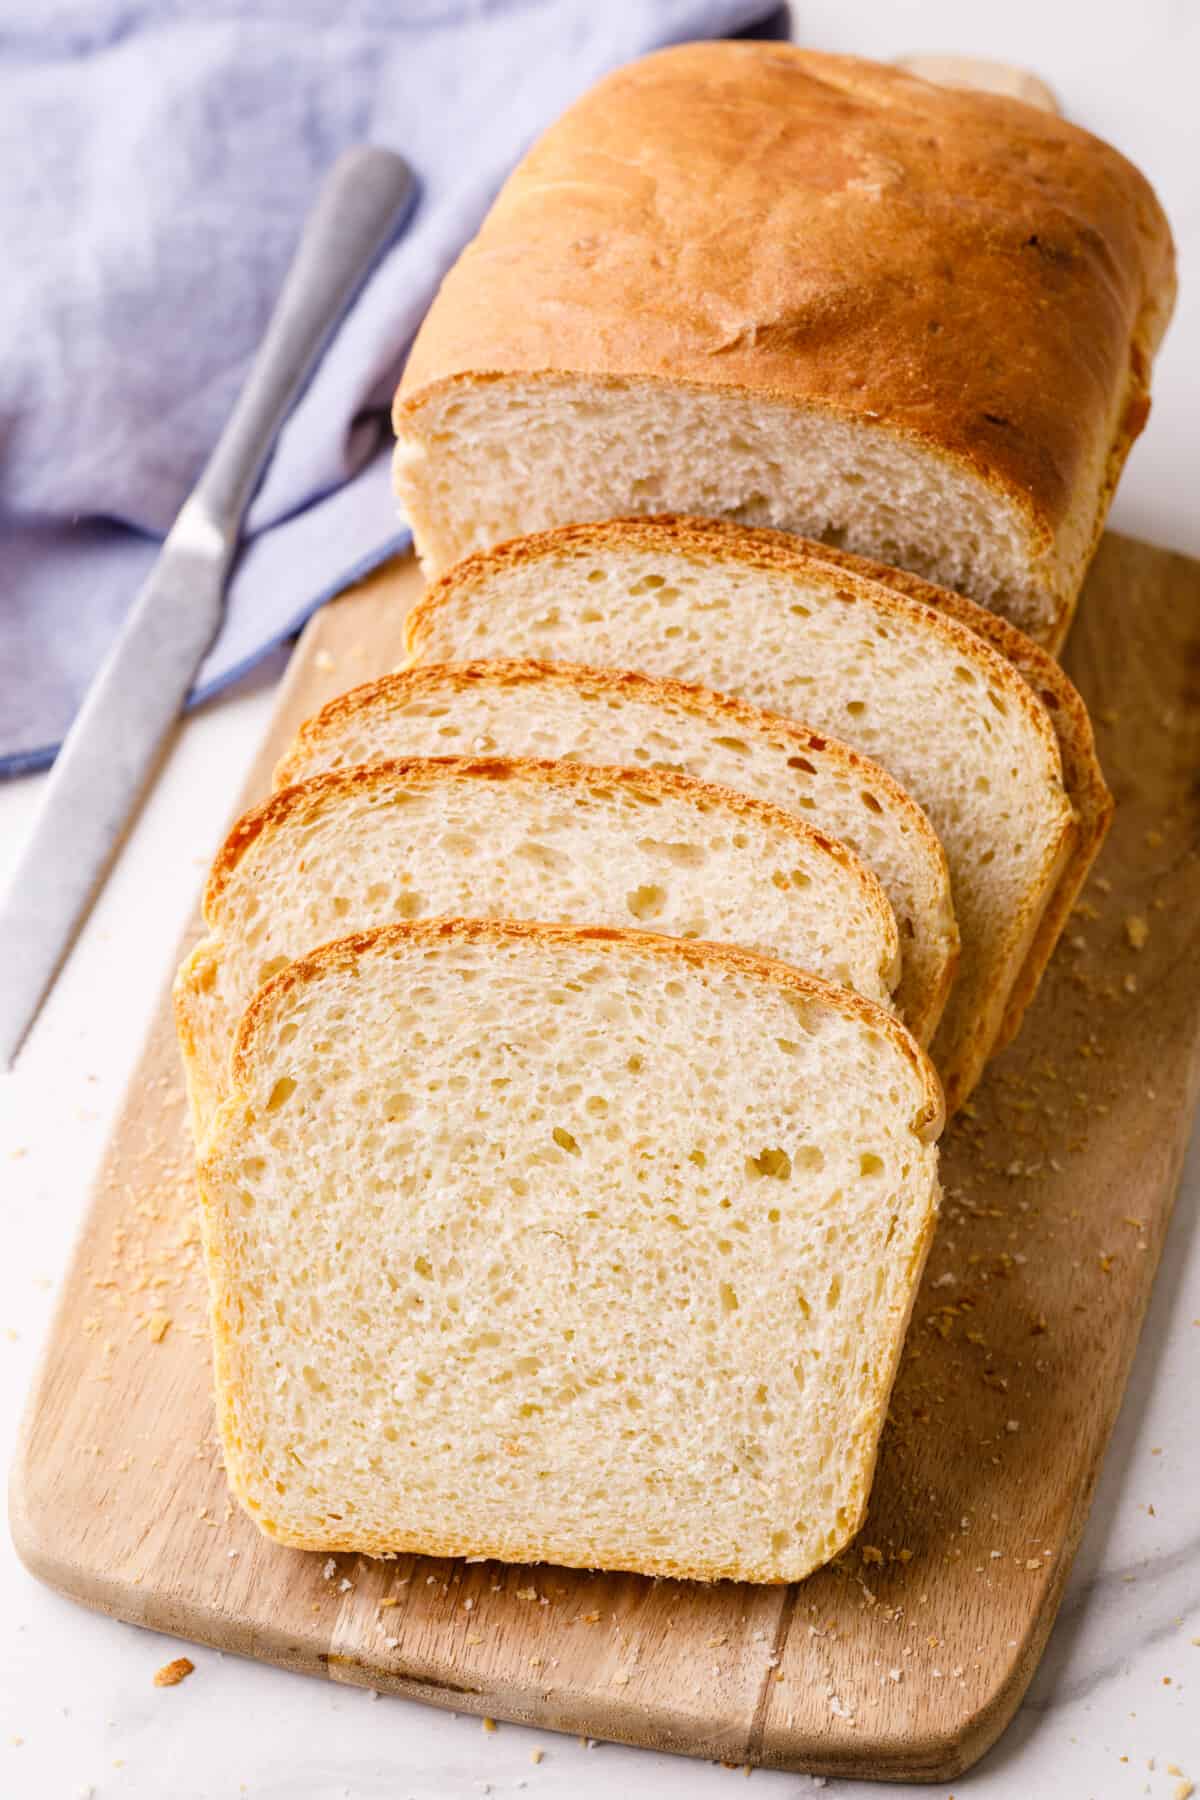
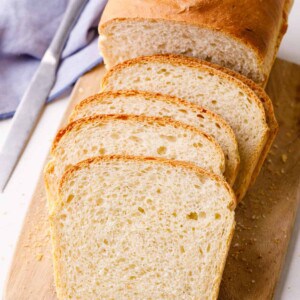
This white sandwich bread is soft, fluffy, and perfect for everything from school lunches to morning toast. With a tender crumb and a golden brown crust, this homemade loaf tastes so much better than anything you’ll find at the store.
For more homemade bread recipes, try my Easy Homemade French Bread and 1-Hour Soft Dinner Rolls.

Why you’ll love this soft white sandwich bread recipe!

If you’re thinking, “Why should I make sandwich bread when I could just buy a loaf at the grocery store?” I get it. I used to think that way, too! Then, I started making my own bread, and let me tell you: homemade white sandwich bread tastes so much better than store-bought because it’s not loaded with fillers and preservatives.
There’s also the fact that making homemade bread is fun. Yes, I promise!
- Soft and fluffy texture: Perfect for sandwiches and toast.
- Golden brown crust: Light and tender, not tough. Your kids won’t even ask you to cut the crust off of their PB&Js when you use this bread!
- Simple ingredients: This bread is made with pantry staples you likely have on hand.
Table of Contents
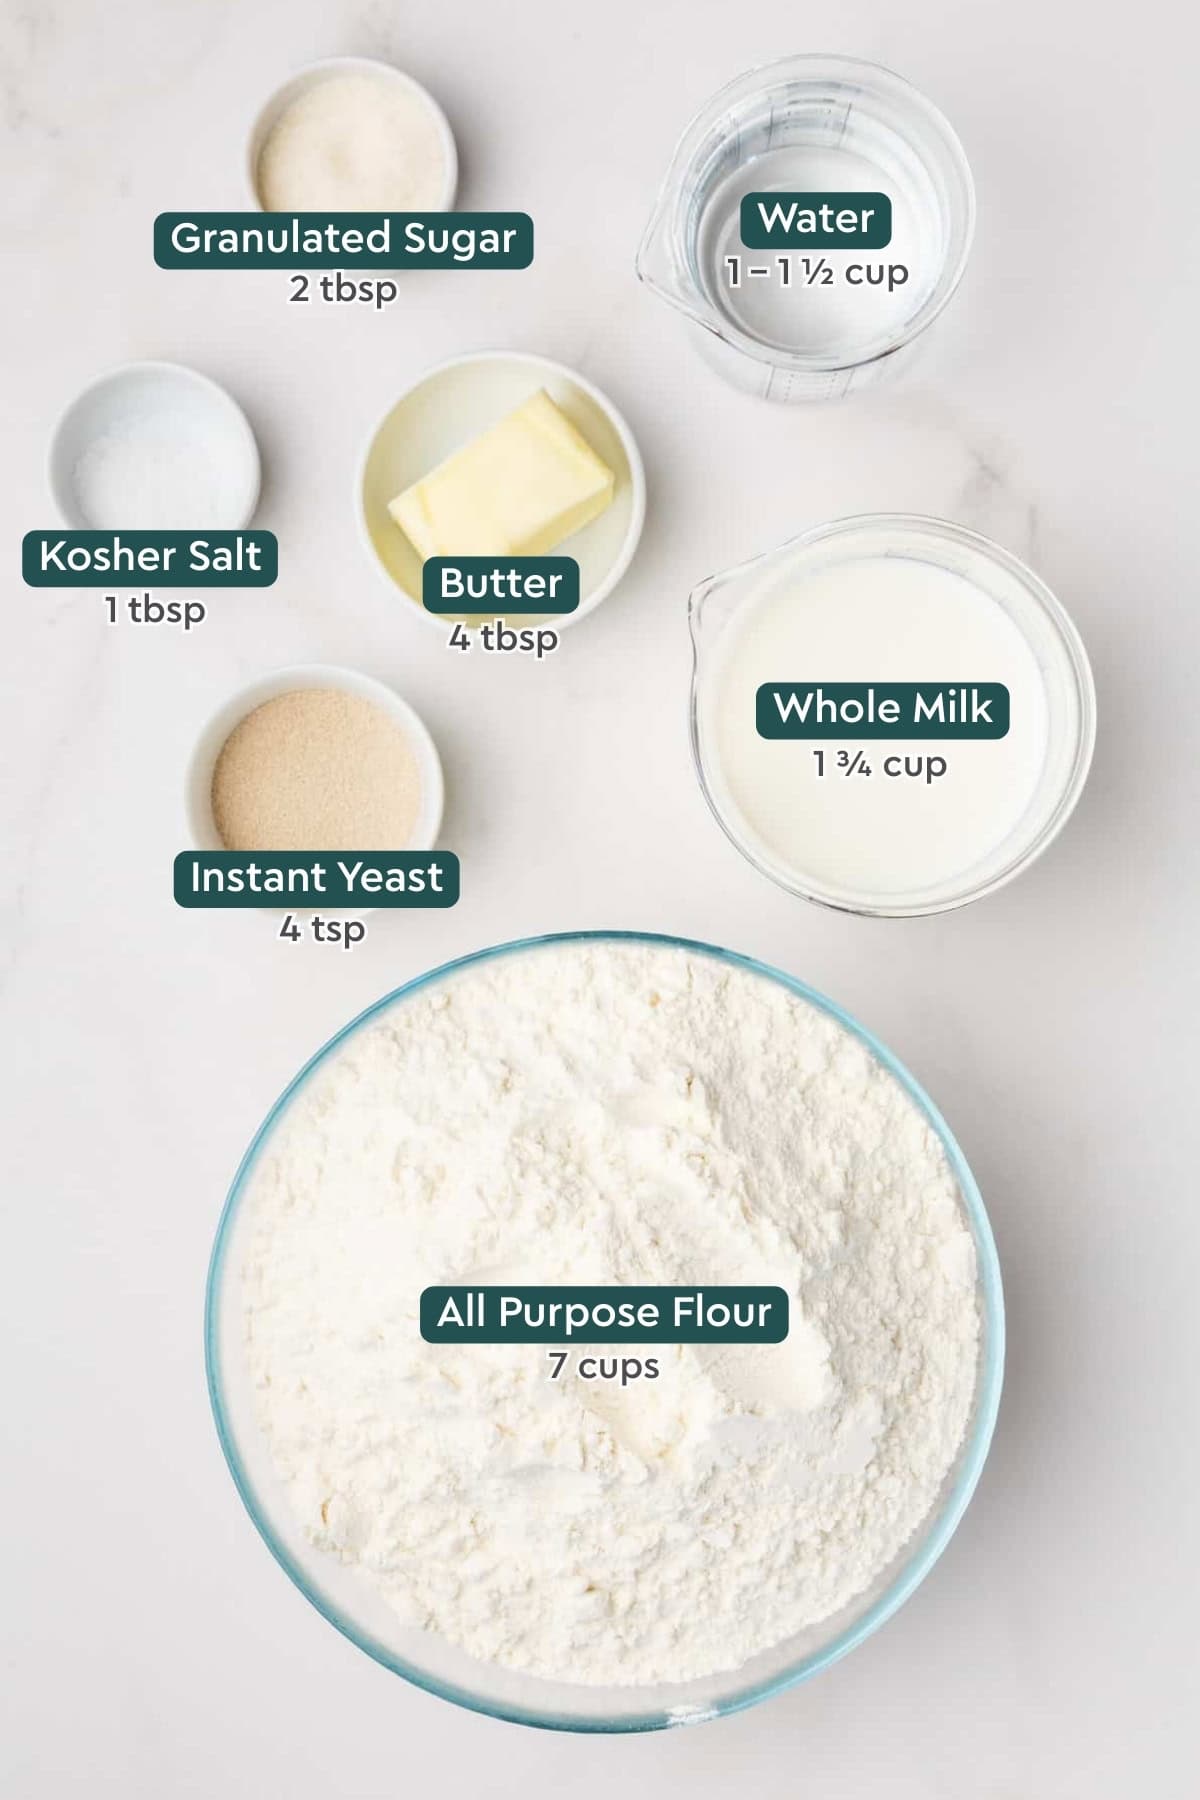
Ingredients You Need
See recipe card below this post for ingredient quantities and full instructions.
- All-purpose flour – I like using King Arthur flour, but any type of all-purpose flour is fine.
- Instant yeast – This recipe was developed with instant yeast, so I haven’t tested it with active dry yeast.
- Granulated sugar – Adds slight sweetness and feeds the yeast.
- Butter – It’s important that the butter is soft; this will allow it to mix in with the dough. Unsalted butter is best.
- Whole milk – Whole milk gives you a nice, tender bread.
How to Make Soft White Sandwich Bread
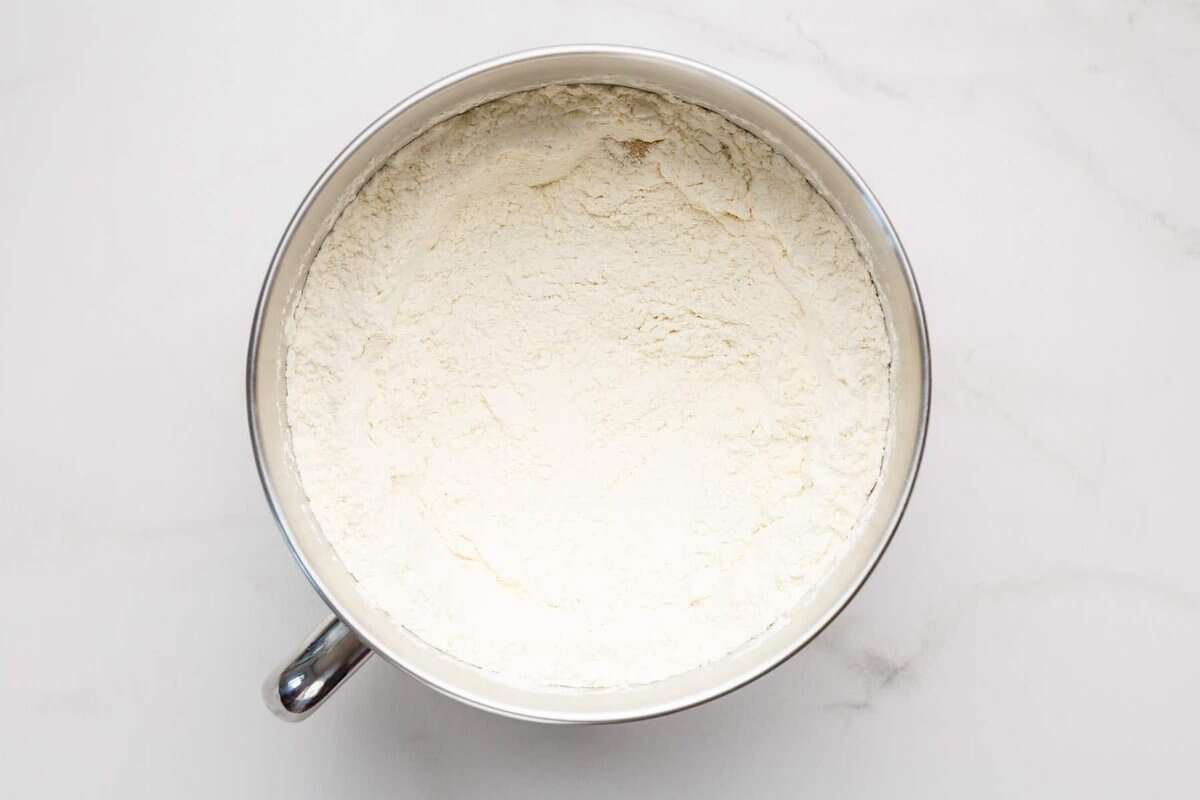
- Combine the dry ingredients. Add all the dry ingredients to the bowl of a stand mixer fitted with a dough hook attachment. Blend the ingredients on low speed, and slowly pour in part of the milk. Once it is combined, add water.
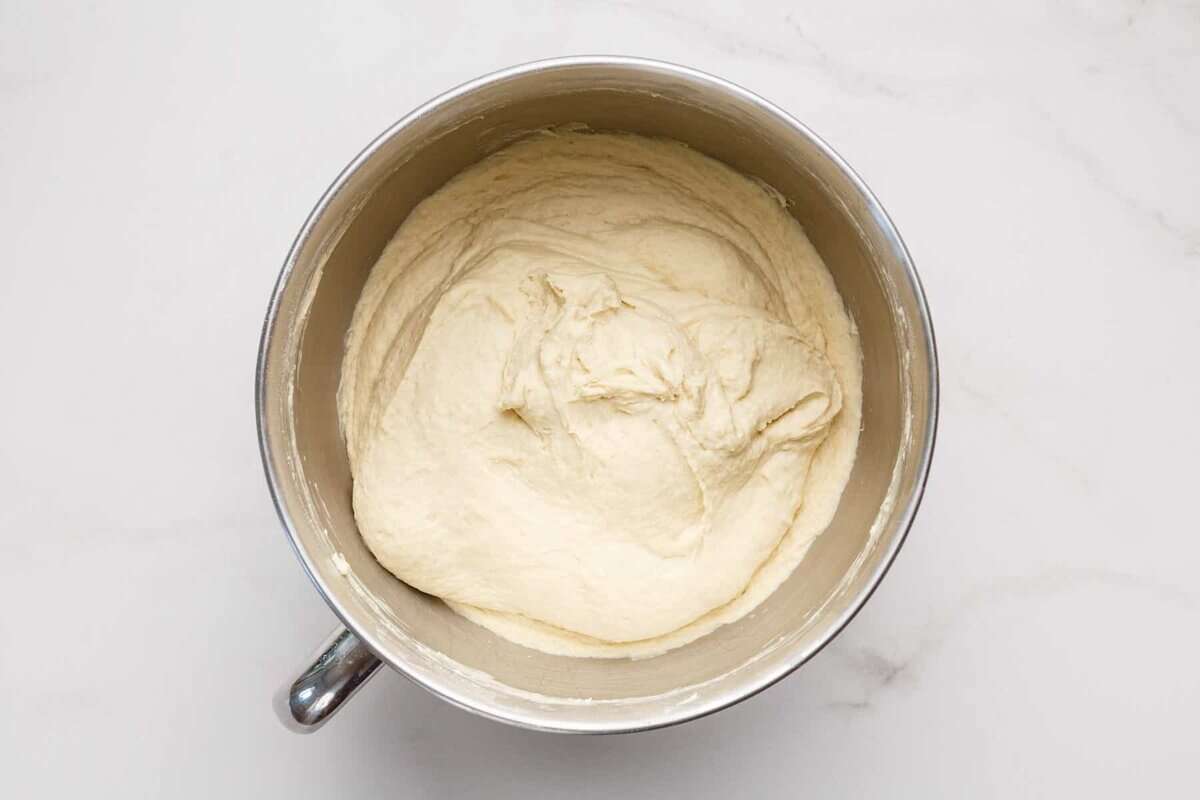
- Mix the dough. Gradually increase the speed to medium, and mix until the dough starts to stretch and pull away from the sides of the bowl. Add in the reserved water as needed.
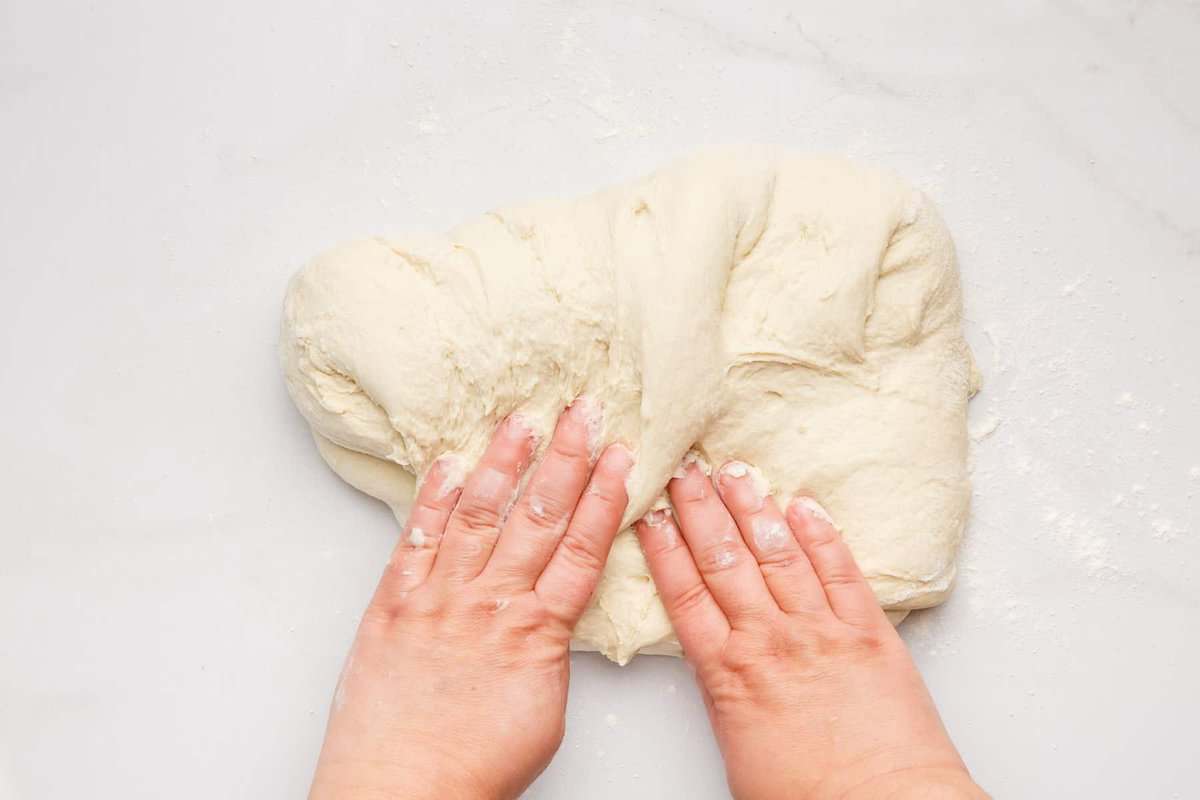
- Knead the dough. Transfer the bread dough to a floured surface, and knead it by hand until it starts to come together in a smooth ball.
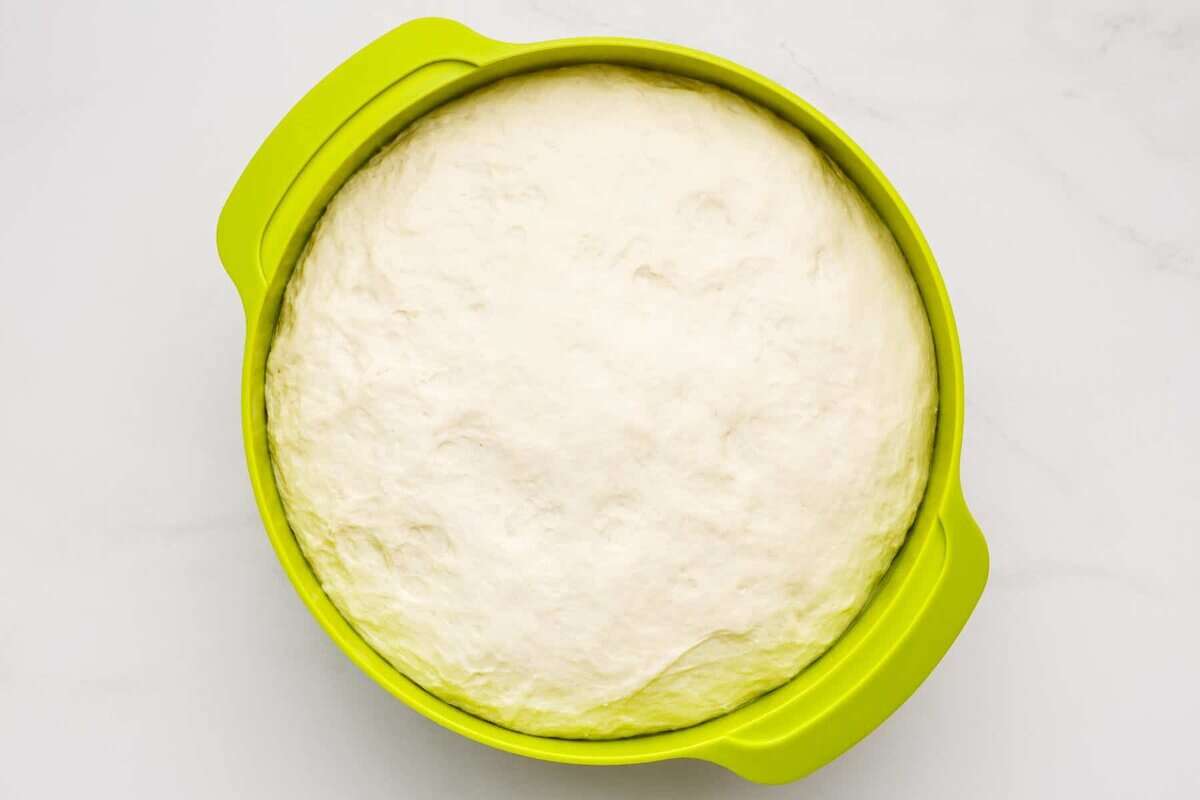
- Rest the dough. Transfer the ball of dough to an oiled mixing bowl, and cover it loosely with a damp towel or plastic wrap. Place the bowl in a warm place, and allow the dough to rise until it doubles in size.
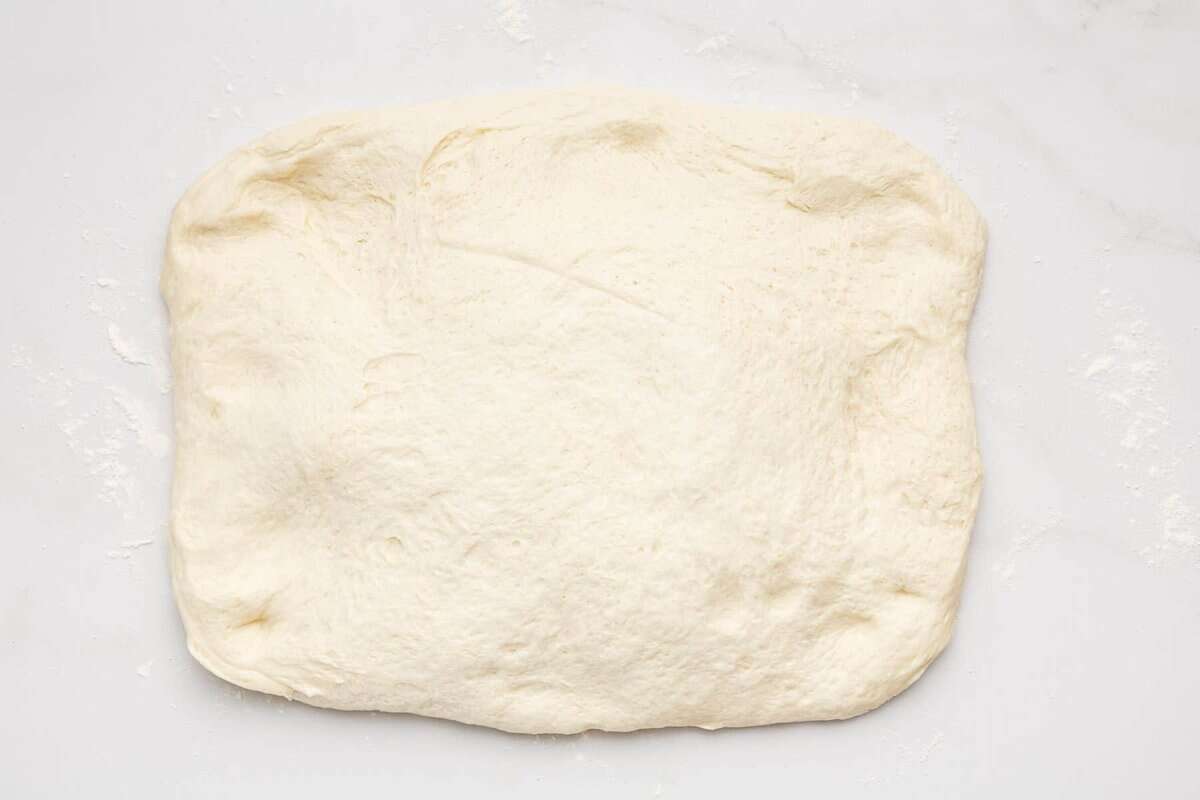
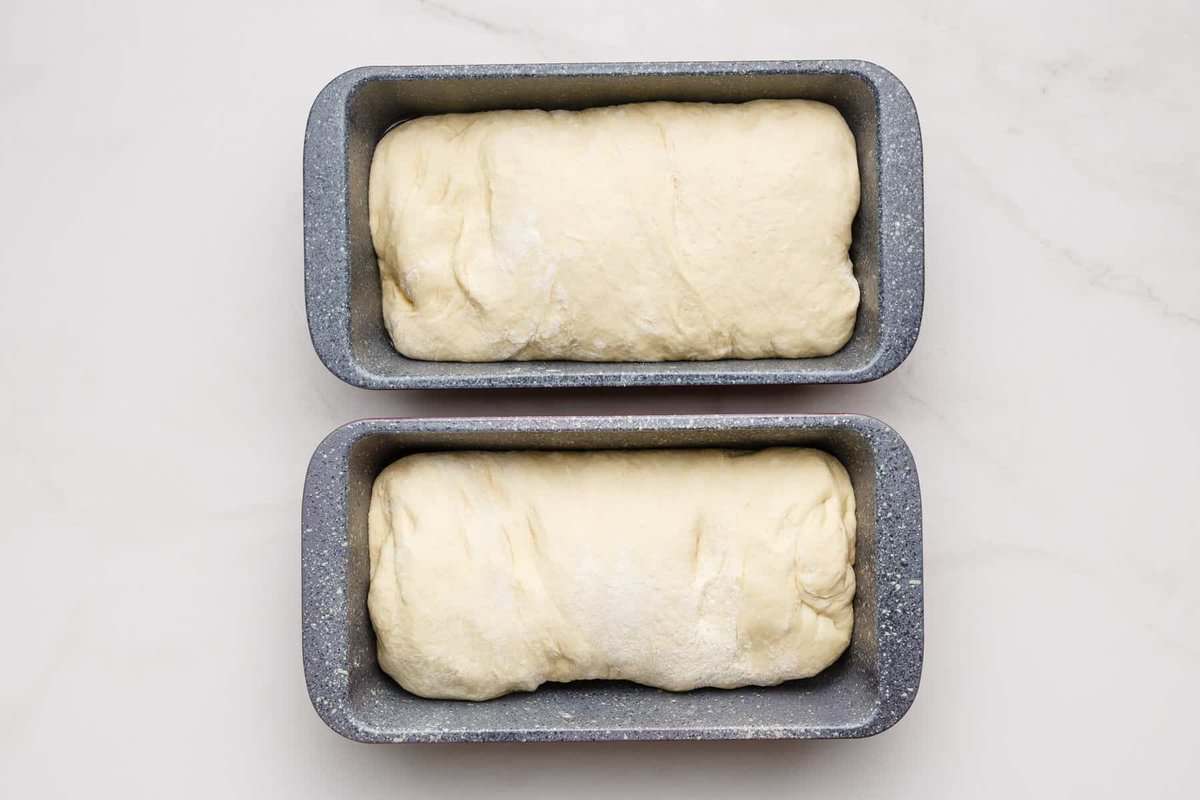
- Shape the bread. Gently turn the dough on a floured surface, and shape it into a rectangle. Be careful not to deflate it! Then, cut the rectangle into two equal-sized pieces.
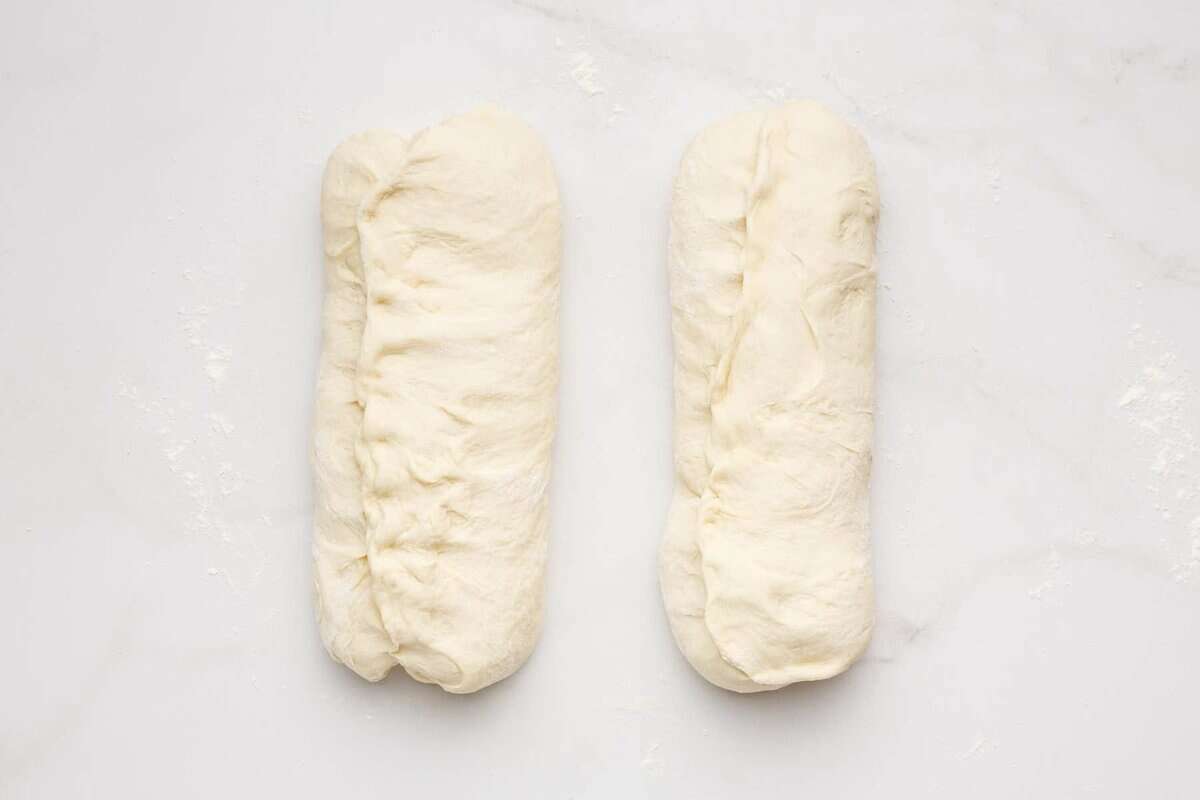
- Roll and rest the dough pieces. Roll each piece of white bread dough into a log, pinching down the seams to create a seal. Transfer each log into a greased loaf pan, and set them aside to rest and rise. They should reach close to the top of the pan.
- Bake. Brush the tops of each loaf with the leftover milk, being careful not to deflate the loaves. Then, transfer them to a preheated oven, and bake until the loaves are golden brown in color.
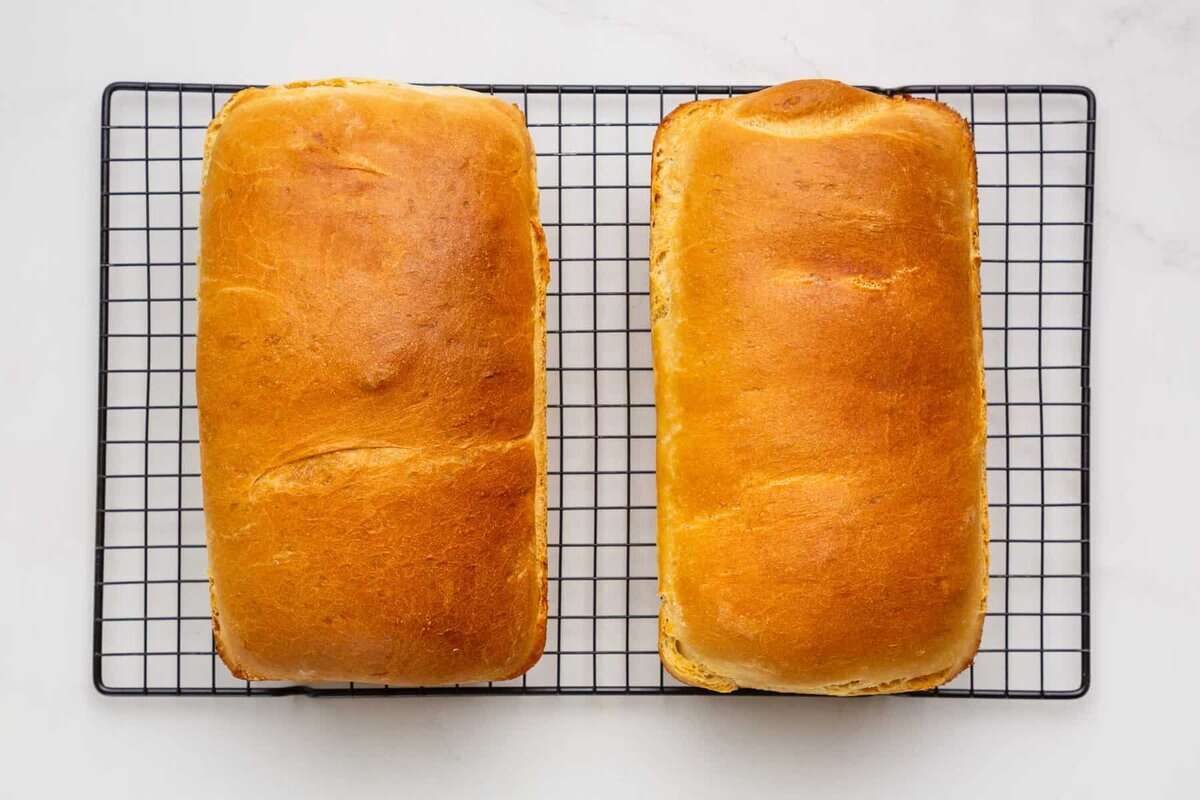
- Cool. Transfer the baked white bread loaves to a wire rack, and allow them to cool completely before slicing. This is crucial to prevent them from drying out!

Storage Instructions
Once your bread has cooled completely, you can store it in a plastic bag or airtight container at room temperature; it will stay fresh for several days. (Use any stale bread to make French toast!)
If you want your loaf of bread to last a full week, you might want to consider purchasing a dough enhancer or conditioner, which is added to the dough to improve texture and make the finished bread last longer.
Frequently Asked Questions
White sandwich bread is typically made with all-purpose flour, yeast, sugar, butter, salt, and milk. Some white bread recipes may include honey, egg, or dry milk powder, while others may use bread flour instead of all-purpose flour, which has a higher gluten content.
Sandwich bread is just a type of white bread that is tender and fluffy, making it ideal for sandwiches. It has a soft crust, rather than one that’s crispy or flaky.
Yes, white bread is made with wheat flour, but not whole wheat flour.
This white bread can be frozen for up to 3 months. Wrap it tightly before placing it in the freezer. When you’re ready to use it, the bread thaw overnight in the fridge before slicing and serving.
More Easy Bread Recipes to Try


💌 Love easy recipes? Join my newsletter and get my Top 10 Reader-Favorite Recipes eBook FREE! Sign up here.
Need help with this recipe?
Click the buttons below to summarize it, adjust for diets, swap ingredients, or ask your own questions!
White Sandwich Bread
Equipment
- Stand Mixer Fitted with a Dough Hook Attachment
- Mixing bowl
- (9×5 Inch) Loaf Pans
- Wire Rack
Ingredients
- 7 cups all-purpose flour
- 4 tsp instant yeast
- 2 tbsp granulated sugar
- 4 tbsp butter softened
- 1 tbsp kosher salt
- 1 ¾ cup whole milk divided, room temperature
- 1 – 1 ½ cup water room temperature
Instructions
- Add all the flour, instant yeast, sugar, butter, and salt to the bowl of a stand mixer fitted with a dough hook attachment. With the machine on a low speed, let the ingredients blend together, then slowly pour in 1 ½ cups of the milk. Next, slowly pour in one cup of the water.7 cups all-purpose flour, 4 tsp instant yeast, 2 tbsp granulated sugar, 4 tbsp butter, 1 tbsp kosher salt, 1 ¾ cup whole milk, 1 – 1 ½ cup water
- Once the mixture is fairly combined, gradually increase the speed to medium. If the dough looks very dry or the machine starts to labor, add in the reserved water.
- Mix until the dough is smooth and starts to stretch and pull away from the sides of the bowl.
- Turn out the dough onto a floured surface and knead by hand for a couple of minutes or the dough starts to come together into a smooth ball.
- Place the dough into an oiled mixing bowl and cover loosely with a damp towel or plastic wrap. Put in a warm place and let rise until it is roughly doubled in size, about 1 to 2 hours.
- Gently turn the dough onto a floured surface and form into a rough rectangle, taking care not to deflate the dough too much. Cut into two equal pieces.
- Roll each piece into a log, roughly 9 inches long, pinching down the seam to seal.
- Place each log into a greased 9×5 loaf pan, making sure the seam side is on the bottom.
- Cover loosely with plastic wrap and place in a warm place and let rise until the dough reaches almost the top of the pan, another 1-2 hours.
- While the dough rises, preheat the oven to 350F.
- When the dough has fully risen, gently brush the tops with the reserved milk using a pastry brush. Be gentle so as not to deflate the dough.
- Bake the loaves for 40-50 minutes until golden brown in color. If desired, you can check the internal temperature as well, they will be fully cooked at 195F.
- Turn out the loaves immediately onto a wire rack to cool. The internal structure of the bread is still developing at this stage of the process, so wait until the loaves are fully cool before slicing.
Notes
- It’s very important to be accurate when you’re measuring dry ingredients for bread. Never scoop your measuring cup into the flour! Instead, use a food scale or the scoop and level method, lightly spooning flour into your measuring cup. Then, use a butter knife to scrape off the excess. Too much or too little flour can affect how your sandwich bread turns out.
- If you want to make even slices, I recommend getting out a ruler and setting it right on your cutting board so you can see where you want to make your cuts. Use a serrated knife, and saw back and forth gently, using very little downward pressure to avoid smashing the bread.


This sounds so soft and comforting. I love how simple and homemade it is!
This looks incredibly soft and homey — nothing beats fresh, warm sandwich bread!
That golden crust looks perfect!
Looks so soft and perfect for sandwiches!
Saving this—store-bought can’t compete!
So where in this recipe do we add the butter?
Add it in step 1 – thanks for catching that! We’ll work on updating the instructions. 😊