This past weekend was my oldest’s 8th Birthday! I can’t believe it! I remember when she was tiny and an only child. Now she is the oldest of 3, getting taller everyday and turning into a young lady. I get all weepy thinking about it!
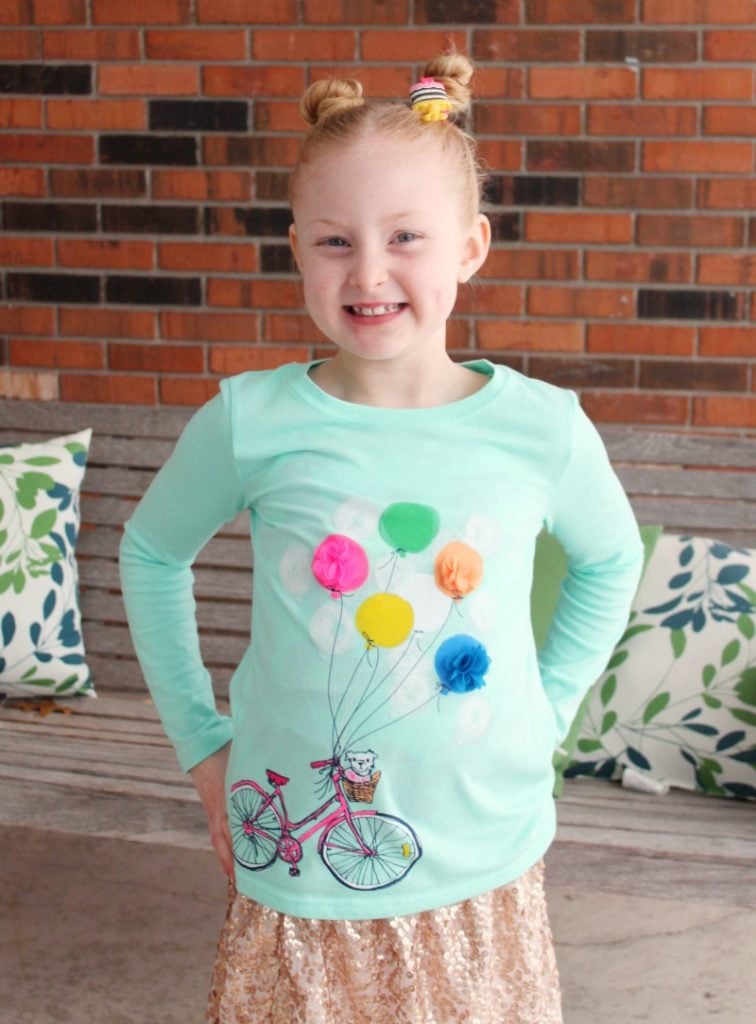
The good thing about birthdays around here is that we make a BIG deal out of it! I can’t think of a better way to celebrate than making lots of cupcakes, decorating and partying for at least a week. ha! Really…we do celebrate for days. Last week Ella had a skating party with her friends – so fun! Then on her birthday we decorated the kitchen (as we always do!), decorated her bedroom while she was at school and celebrated with gifts and cake when she got home. Then, the next day she had for first sleep over with more than one friend. It went really well! They made homemade pizza, did their nails, had a Just Dance marathon and played school with their American Girl dolls. It was good!

For the sleepover I made these yummy cupcakes! I used The Recipe Girl’s White Wedding Cupcake recipe that never fails and topped them with my buttercream. They are so delicious!

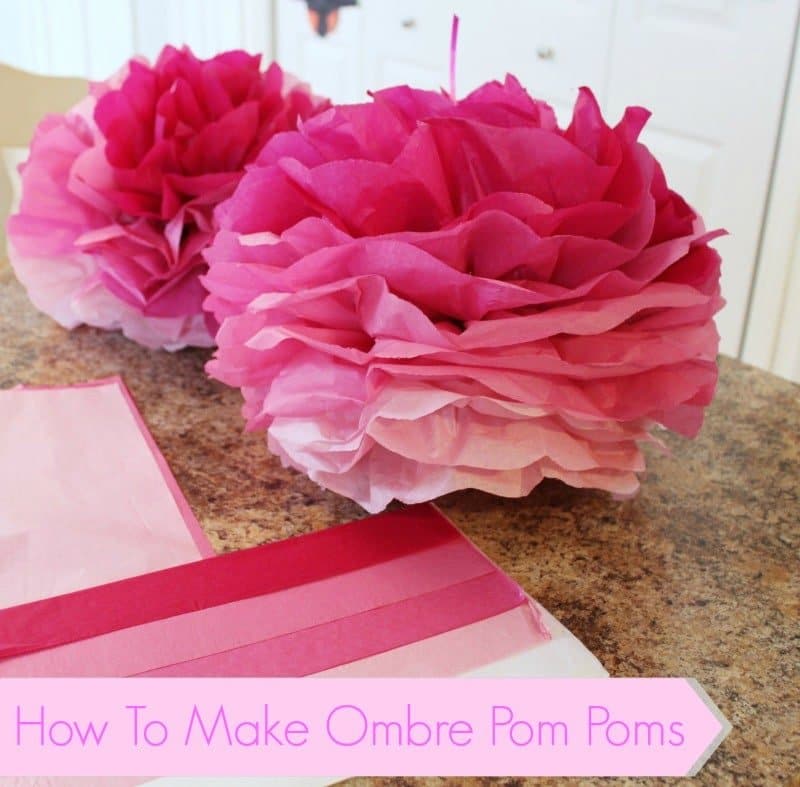
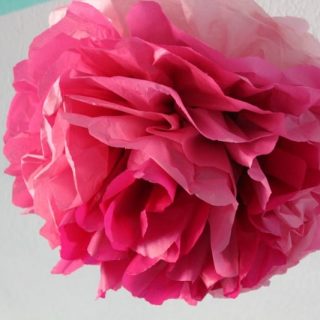
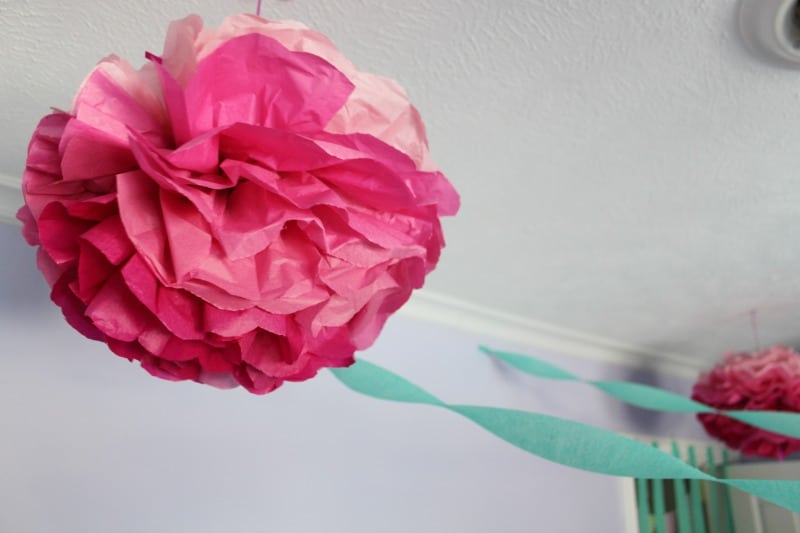
I also decided to make new Pom Poms and decorate Ella’s Bedroom with them. It had been a while since I made them, so I pulled up my own tutorial to make them! I’m glad I did it! This time I made them multi-colored instead of just one color. They turned out so cute!!

I wasn’t planning on doing them this way, but when I stopped by Target, they didn’t have tissue paper in one color. They had packages of coordinating colors. So, I grabbed a few and decided to make Ombre Pom Poms!
Here’s a quick tutorial on making these Ombre Pom Poms for your next gathering or just because. (we have them hanging all over the house!) If you need a step by step with photos, check out my original post on How To Make Tissue Paper Pom Poms.
How To Make Ombre Pom Poms
Ingredients
- eight to twelve 20x30 inch various coordinating colors of tissue paper
- scissors
- fishing line or ribbon
Instructions
- Start by stacking eight to twelve 20x30 inch sheets of tissue paper together from lightest to darkest.
- Measure from the short edge of the paper up 1.5 inches and 3 inches and mark at each spot.
- Start to accordian fold the paper from the short end all the way up the length of the paper in 1.5 inch increments.
- Fold the paper in half to find the center and tie a ribbon, fishing line or floral wire around the center to hold the paper in place.
- Using scissors, trim the ends of the paper into a point or rounded.
- Start separating the tissue paper layers from each other, pulling toward the center CAREFULLY.
- Pull the layers all the way around the pom to create the full Pom look you'd like.
- Using a ribbon or fishing line, hang the newly made Pom from the ceiling or light fixtures.
That’s it! It’s really easy once you try it. I have bought them from the store when I was in a pinch and they never turn out as nice as the ones I make myself. Plus, they’re always more expensive. It’s silly to pay $10 for a few sheets of tissue paper when you can spend $2 and get two homemade pom poms that you made yourself!
I hope this tutorial helps when you decide to make your own Ombre Pom Poms! They’re super cute and super easy !


Hi I am so happy I found your website, I really found you by error, while I was browsing on Aol for
something else, Nonetheless I am here now and would just like to say kudos for a fantastic post and a all round thrilling blog
(I also love the theme/design), I don’t have time to read through it all at the minute but I have book-marked it
and also included your RSS feeds, so when I have time I will be back to read a great deal more, Please do keep up the fantastic
job.
SO FUN! I love this idea. Pinning! Visiting from the SITS Girls link party!
HI Tasha! Thanks for stopping by!